

The Store widget enables you to sell products on your Website. Our robust eCommerce system is easy to set up, compatible with multiple payment processors and shipping providers, and can import products from CSV, or other shopping cart systems such as X-Cart or LiteCommerce. Use our eCommerce store to get your business online and selling today!
Adding a store
If you have not added store functions on your website, do the following:
- Click Store on the left menu.
- Click the Upgrade button to upgrade your plan and add the store feature to your Website.
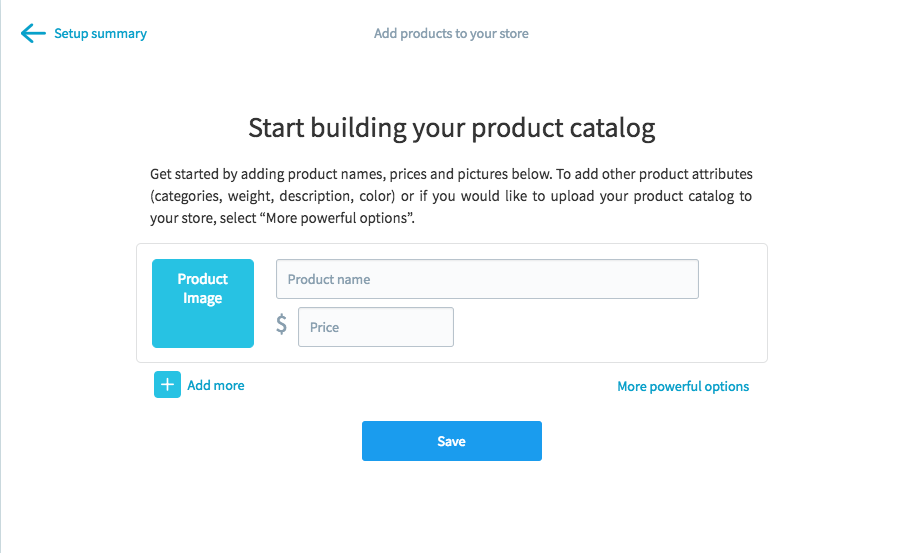
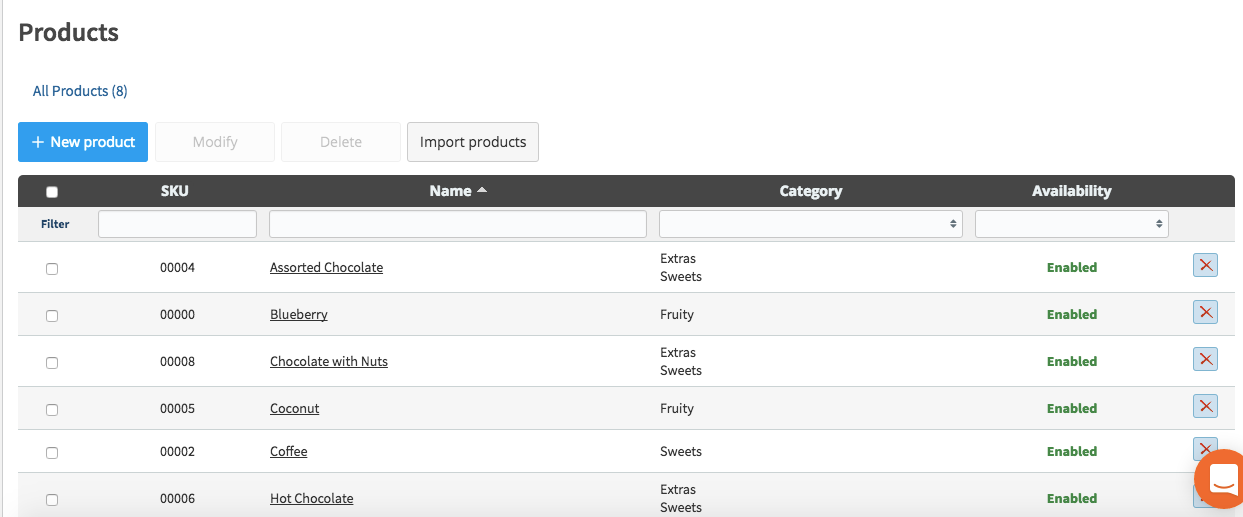
Adding products to your store
Enter a product name and price, and upload an image for each product in your store. Click Add more to add more products to your store and click Save when you're done.
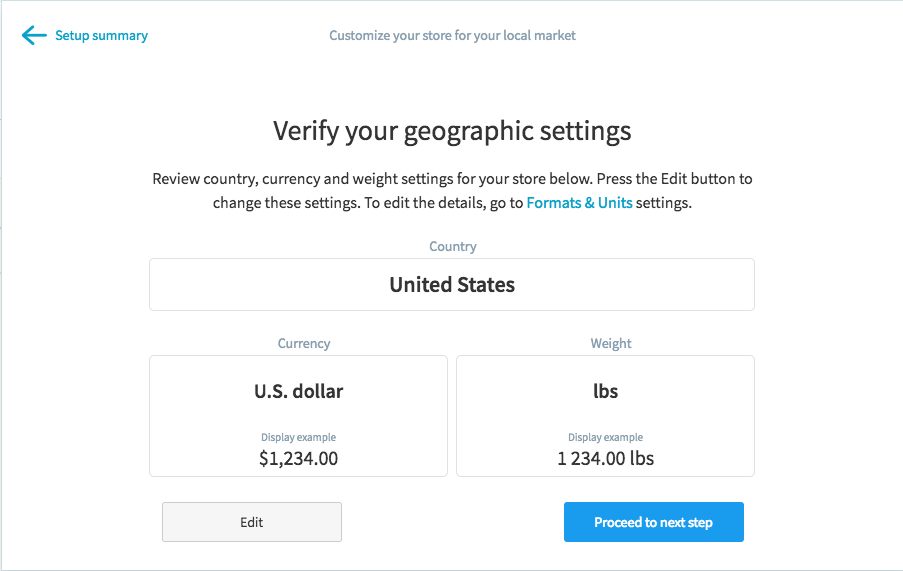
Localizing your store
For your store to work, you need to provide units of currency and weight for your products. The default is the U.S. dollar and kilogram, but you may wish to change these to better suit your location.
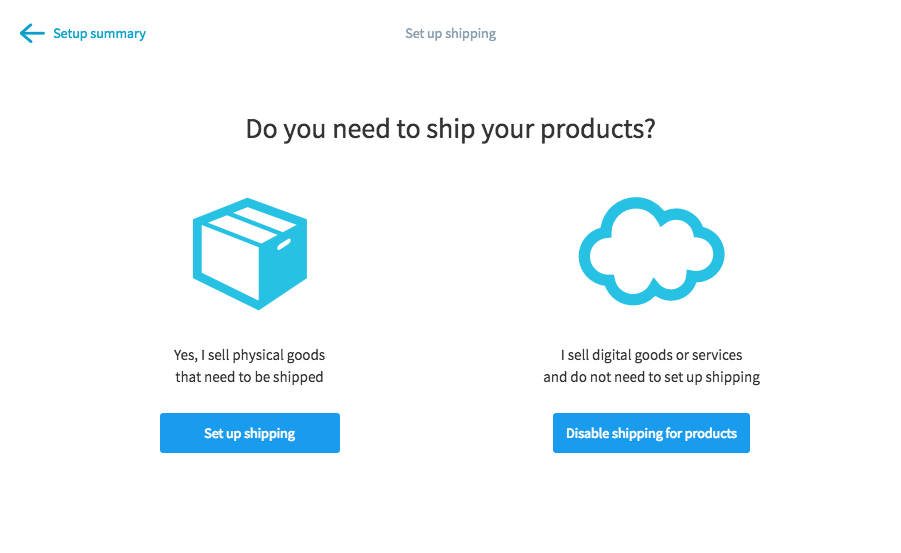
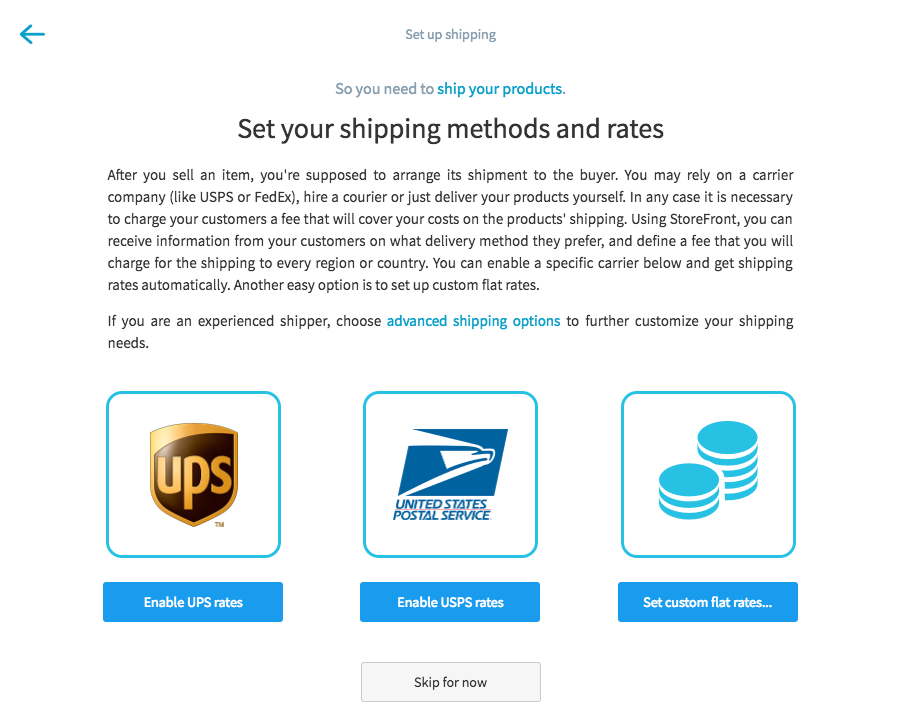
Setting up your shipping
If you're selling physical goods, you'll want to set up shipping for your store to make sure your customers pay you for the cost of shipping. If you aren't selling physical goods, you'll want to disable shipping for those products.
Setting up payment options
You need a way to get paid. By default, PayPal and Stripe are the simplest ways to let your customers pay you, but we allow for a huge variety of other payment methods. Click the PayPal or Stripe options to select a payment method, or click Advanced payments setup if you want to use a different method.
Finishing your store
Once you've gone through every step in the set up, click the Finish Store button to start selling. You can always come back to this page to edit your store's settings after you've created it.
Manage your store
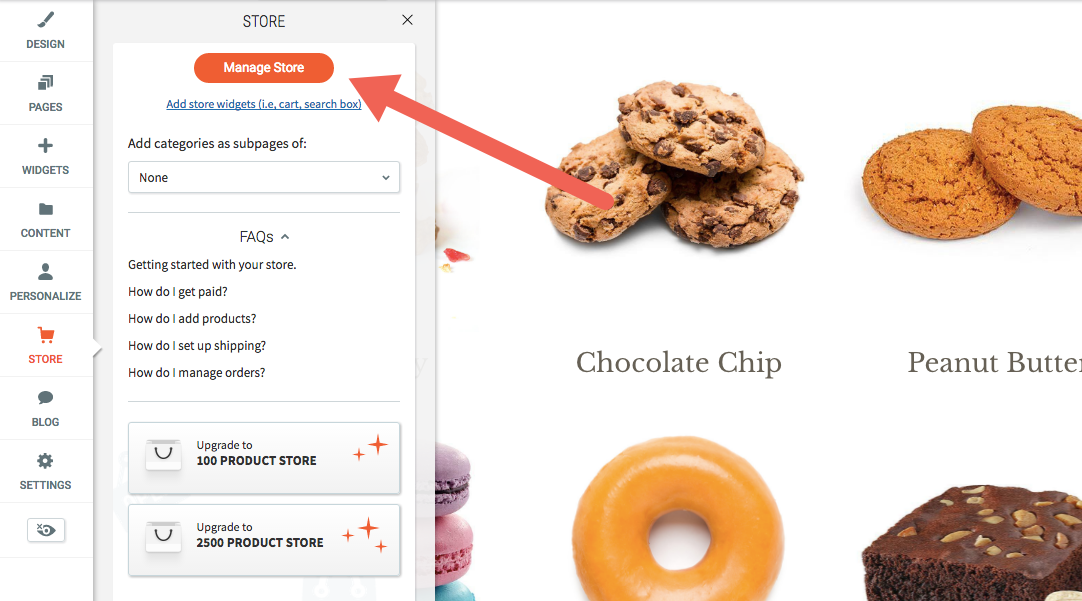
When your store is created, you can manage your store by clicking Store on the left menu, then clicking the Manage Store button. This will bring up the Store Control Panel, where you can manage your sales, catalog (products), promotions, and store settings.
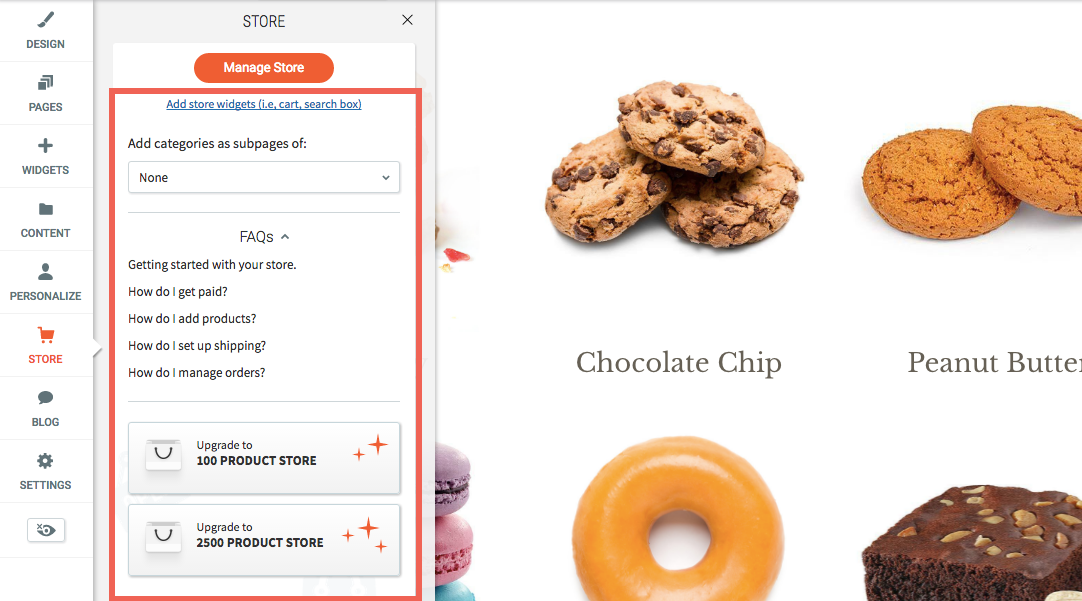
Other options include adding store widgets (e.g. cart, search box), adding store categories as a subpage of your home page or another page on your Website, accessing the FAQs to give you more information about your store, and upgrading your store to feature more products.
Considerations
In addition to having more products, each eCommerce Store plan has more features and functionality. Be sure to carefully check the plans descriptions for more information.