

Implement base code
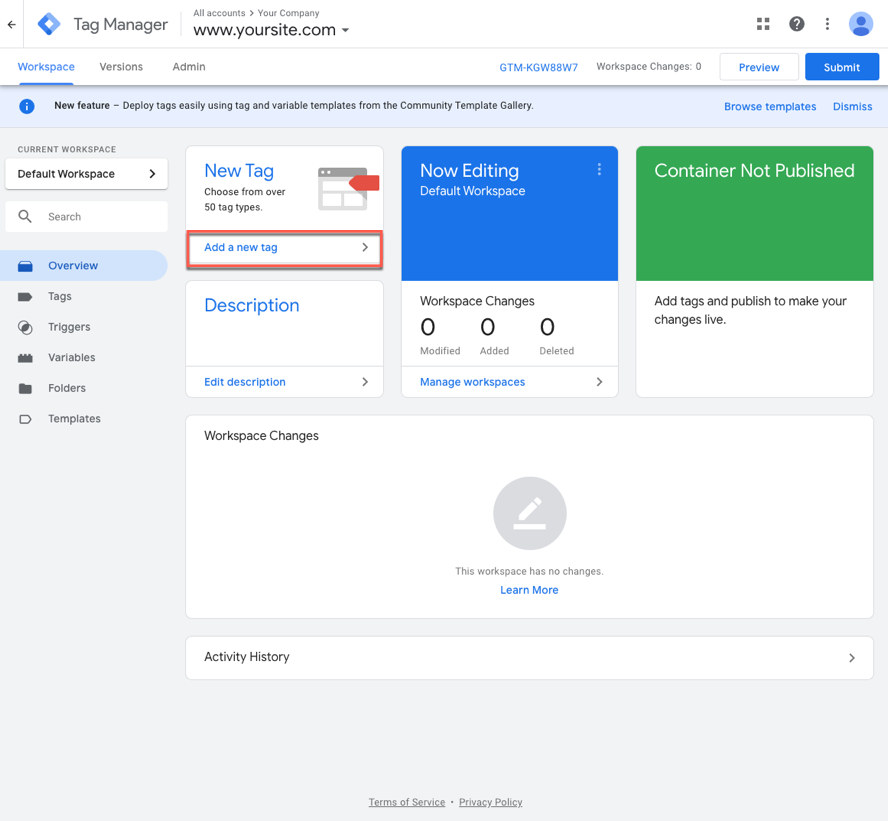
1. Go to Google Tag Manager and click Add a new tag.
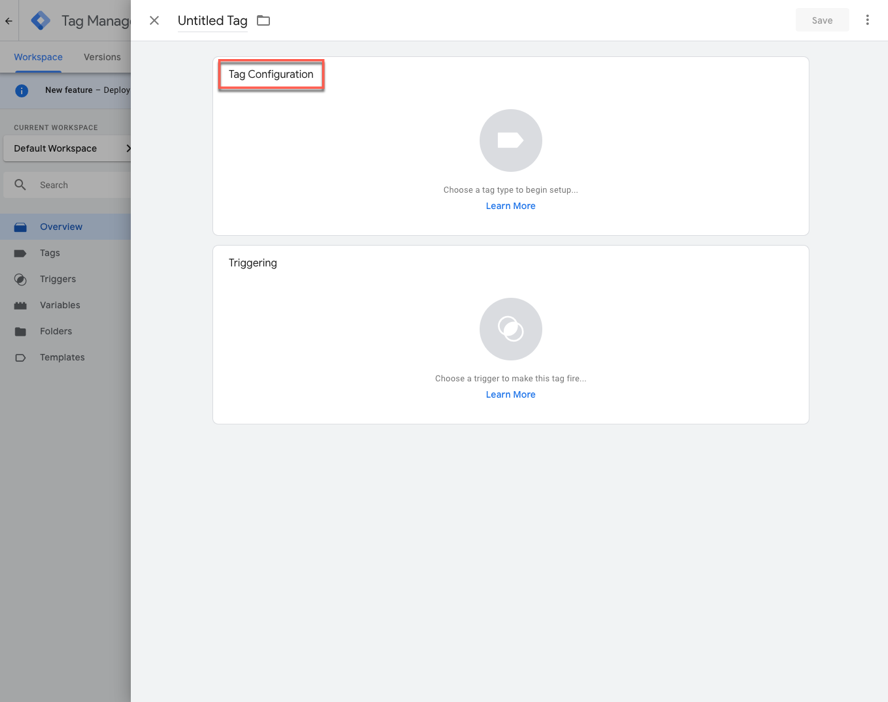
2. At the top, name your tag.
3. Click Tag configuration.
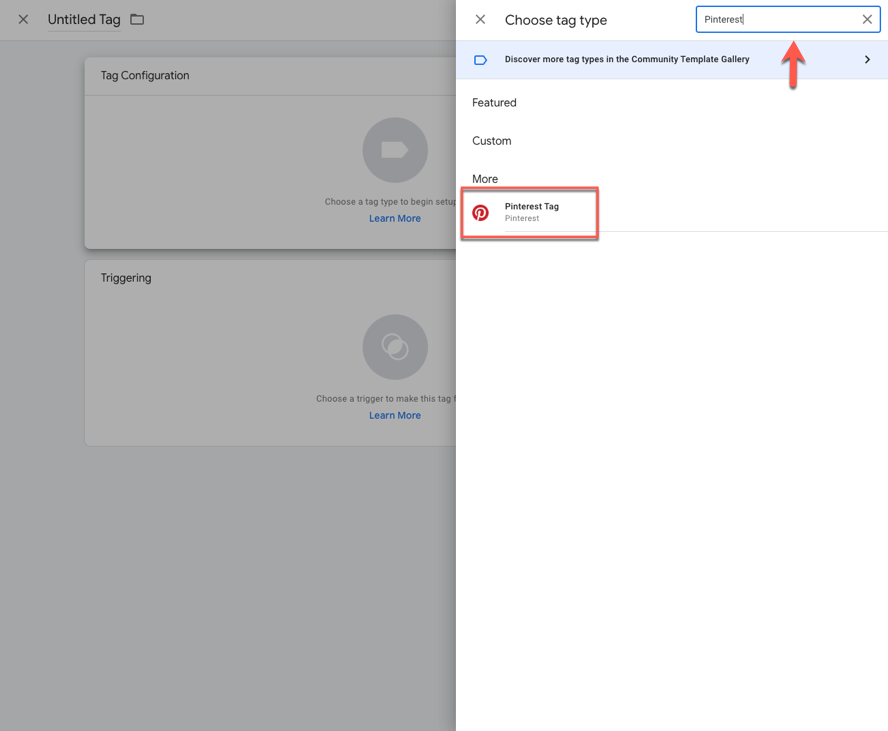
4. Search for Pinterest Tag in the search bar.
5. Enter your tag ID from your account's Conversions page. You can also choose a variable to reuse by clicking the brick icon for your Pinterest Tags.
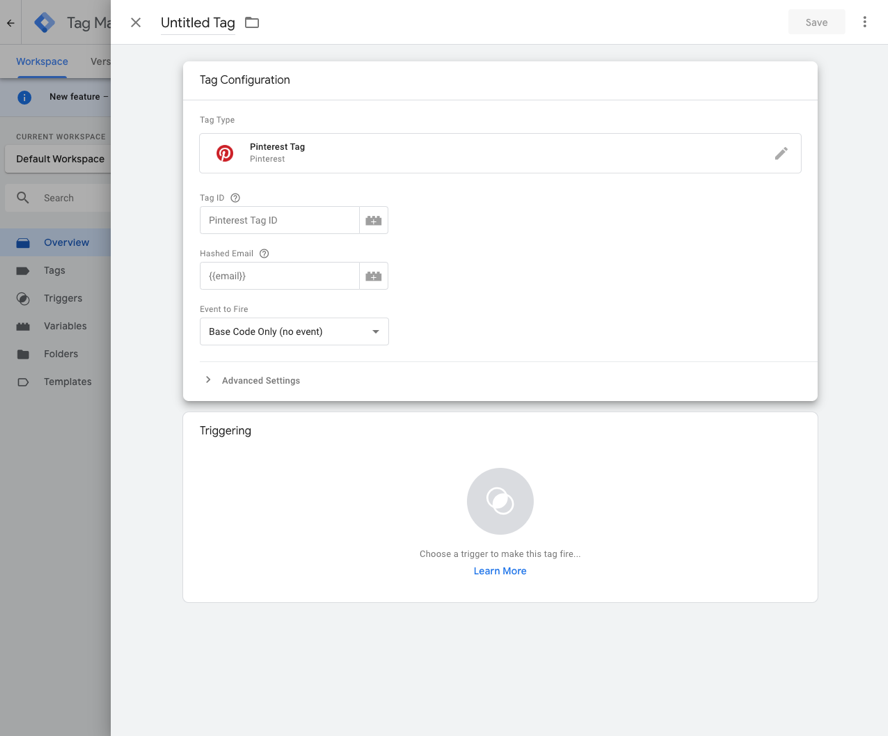
6. To use Enhanced Match, click the brick icon under "Hashed Email" and choose your website’s data layer variable for email or create a new one.
7. Click Triggering and choose the trigger that will track every page of your site, such as "All Pages".
8. Click Save.
Implement event code
Before you implement your first event code, you have to install the base code.
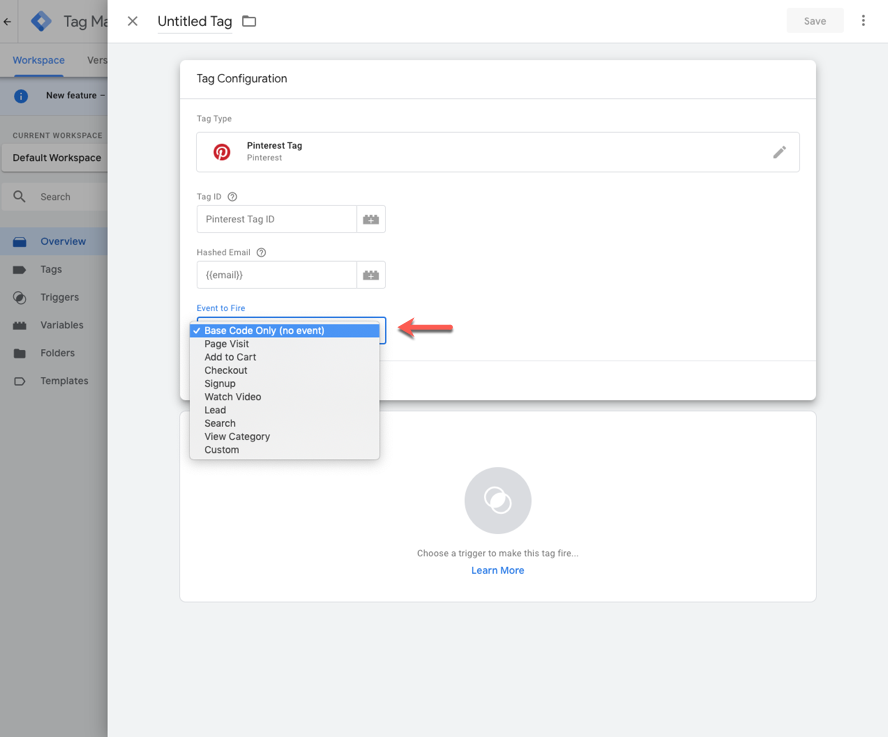
1. Go to the "Event to Fire" drop-down menu and select the event that you'd like to track on your website.
2. Depending on what you choose, optional inputs will appear. You can enter a static value or click the brick icon and choose the data layer variable for the relevant event data.
- For addtocart, checkout, and pagevisit event tags, you can add a dynamic variable for product_id event data for audience creation and retargeting.
- The product_id dynamic variable doesn't need any extra syntax, it just needs to populate the ID that matches your inventory.
- If you expect or want to send multiple product_ids at the same time, you’ll need to set up a data layer variable to use our line_items syntax; see below for the structure and an example of a line_items array.
3. If you’d like, choose custom parameters for audience targeting.
4. Click Triggering and select the specific action or page where you'd like your event to fire.
5. Click Save.
To verify your tag and view reporting, download the Pinterest Tag helper or view your event history. Check out Google's page on the Tag Manager for more information.
How to send in multiple product IDs
1. After selecting an event from the "Event to Fire" drop-down, select Custom Parameters. Leave "Product ID" and "Product Category" under "Line Items" blank in the event you want to edit the fields.
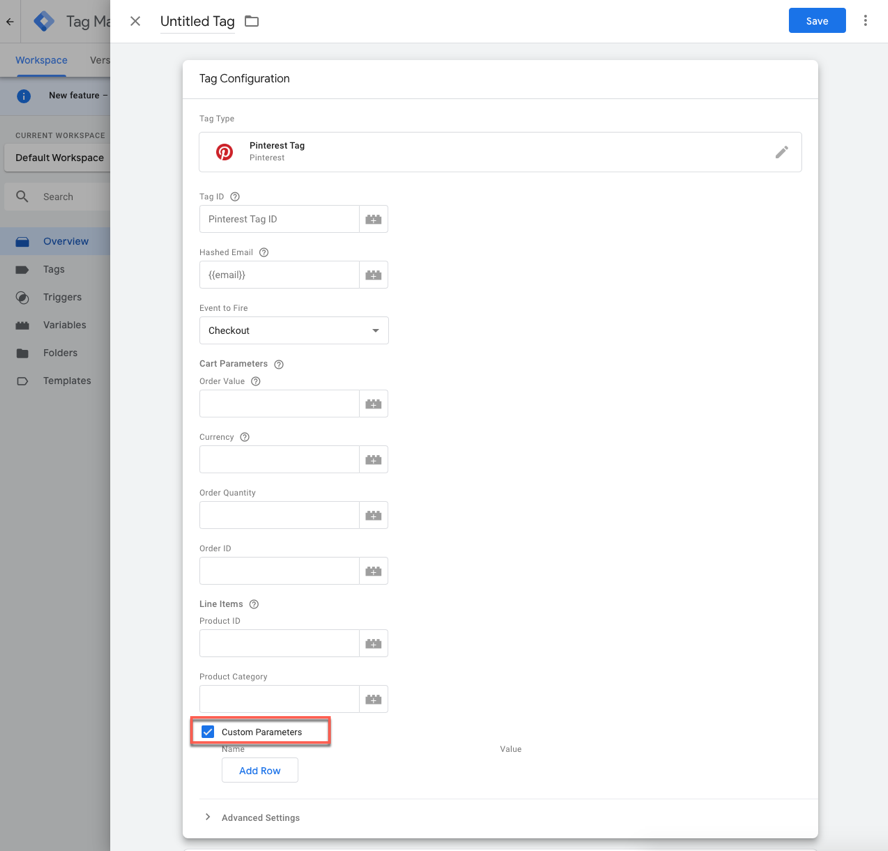
2. Click Add Row to add a variable.
3. Choose an existing variable or click  in the top-right to create a new variable.
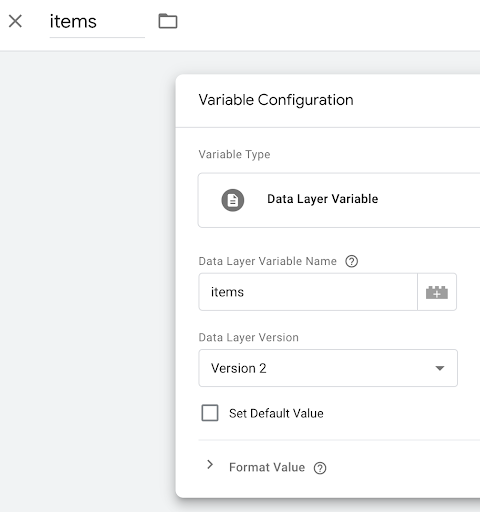
4. Create a new data-layer variable called items (you can use any name you like, we’re just calling it items for this example).
5. When you save, the custom parameters should look like this:

6. Click Triggering to set any triggers needed for your site (this is up to you), and then click Save.
In order for this to work, you'll also need to create a data layer variable called "items" on any page you want to set the product IDs and product categories. You can set all of them here:
<script>
dataLayer = [{
items : [
{
product_id: '1414',
product_category: 'Shoes'
},
{
product_id: 'ABC',
product_category: 'Toys'
}
]
}];
</script>
Once you've added the data layer, deploy or save your website's code.
Content security policies
If you’re using a content security policy with your Google Tag Manager tag container, add these domains as exceptions to any rule preventing code from accessing scripts:
- s.pinimg.com
- ct.pinterest.com