In a world of fake news and widespread media distrust, social media verification will be more important in 2020 than ever.
Many social networks now offer verification to large influencers and brands. In most cases, the social media site will request some of your personal info to verify that you are who you say you are, and in return will place a small 'official' badge next to your name. This badge gives your audience trust in your account, in turn improving interaction and helping you build your following.
However, over the past year, some platforms have changed their attitude about verification and those iconic checkmark badges. The unintended consequence is that some users end up believing that a verified account is endorsed by the platform. As you'll see, different platforms attempt to address the verification process and avoid a full blown endorsement of the individual or brand.
ORIGINAL SOURCE: SOCIAL REPORT
In this article, we'll show you how to get verified on all of the major social networks that you can, and discuss the process and eligibility requirements.
Twitter
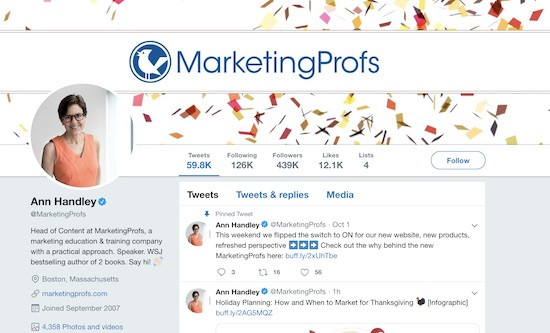
Twitter was the first social network to start issuing verifications. Verified accounts show a small blue checkmark next to their name, and the process for becoming verified is pretty easy: just make sure your account is completely filled out and send over examples of your web properties.
But we have some disappointing news for you.
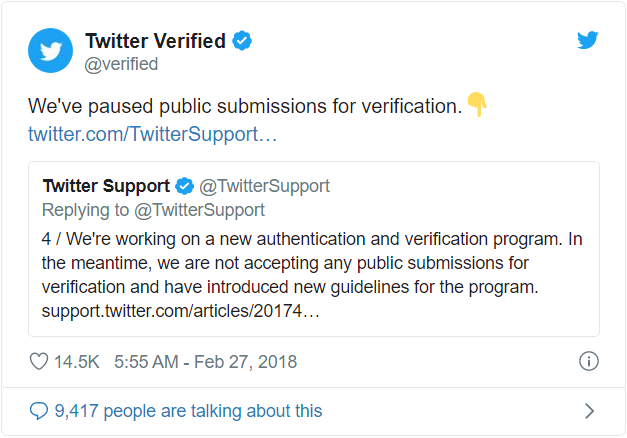
Twitter has paused all new account verifications since early 2018 😢
Yeah, you read that right. In February 2018, the micro-blogging network decided to pause verifications for new accounts while it worked on a new verification program.
Since then, no further details have been released, so we'll have to sit tight and hope that 2020 brings the advent of a new Twitter verification program.
We'll keep you updated.
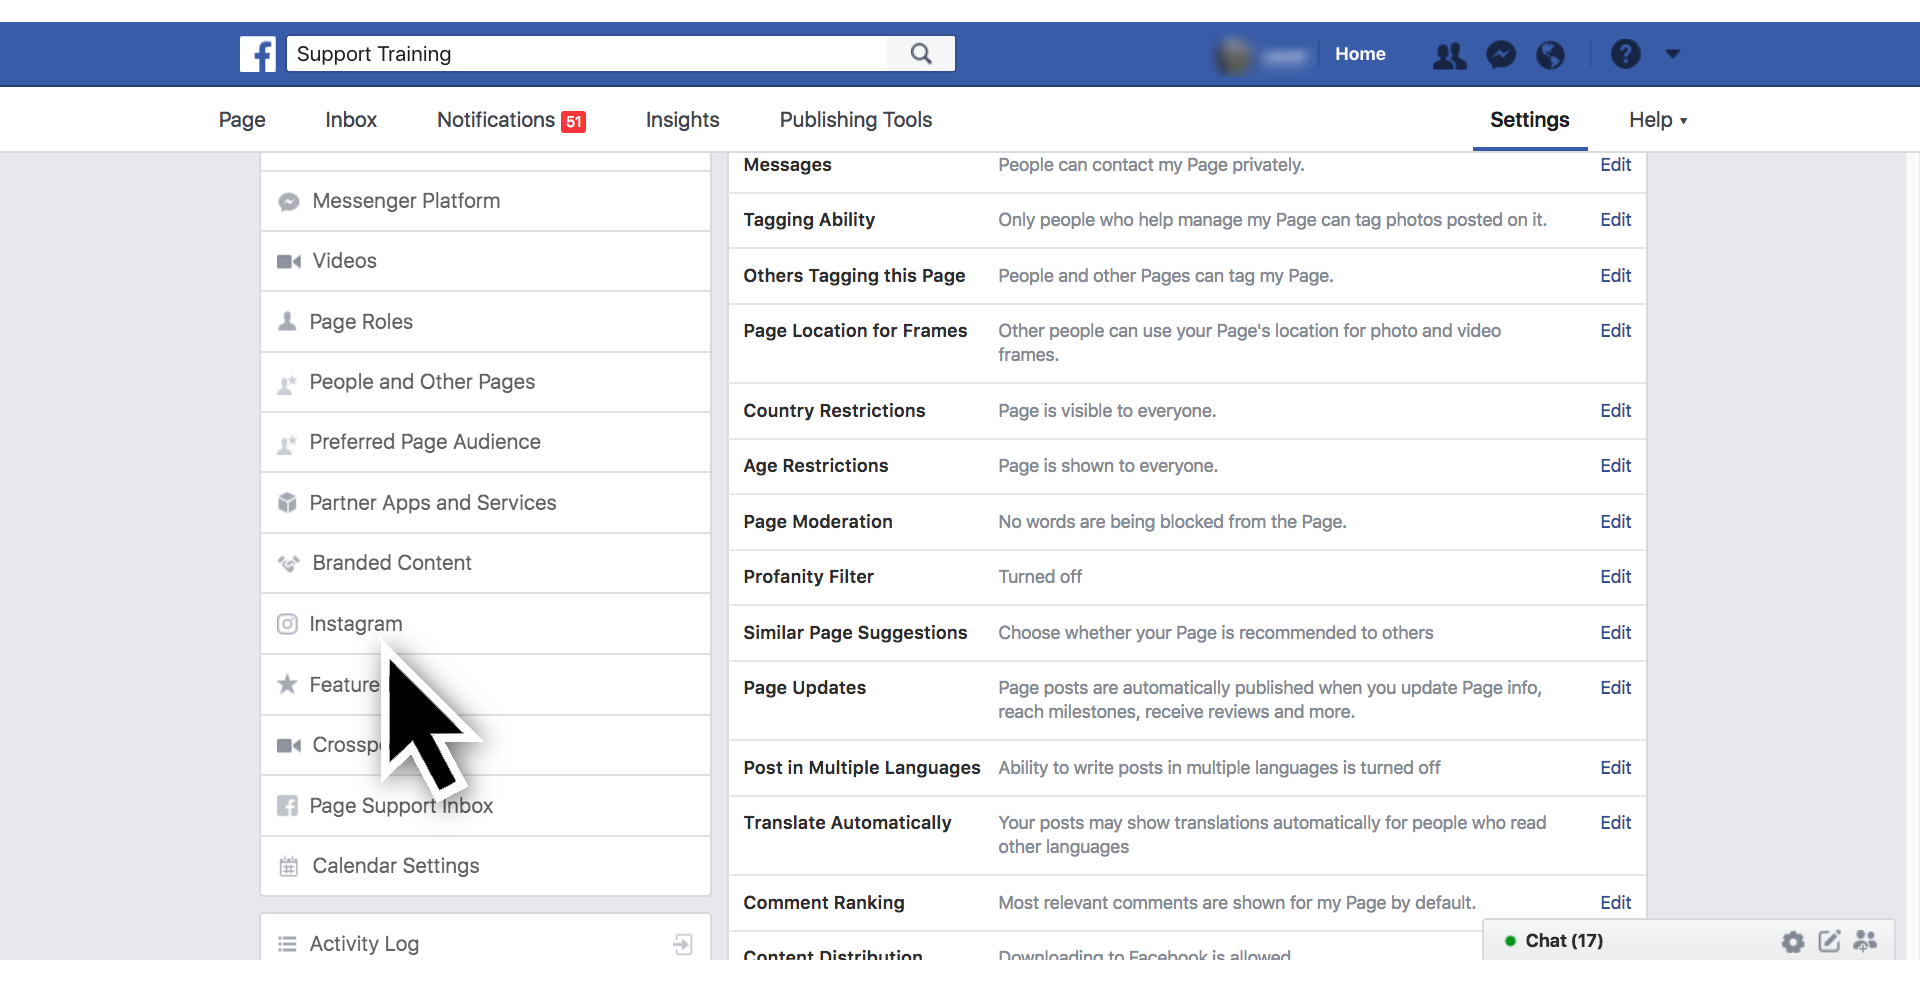
Facebook
Facebook is the largest (and arguably most important) social networks for business. So naturally, it has a relatively straightforward verification process.
There are two types of Facebook verification: blue badges and gray badges.
Blue badges are only for the following categories of people:
-
Journalists
- Popular Brand or Businesses
- Government Officials
- Celebrities
- Media
- Entertainment
- Sports Companies
If you have a compelling reason to be verified, high-quality content, and a large amount of press surrounding your brand, you can submit for verification.
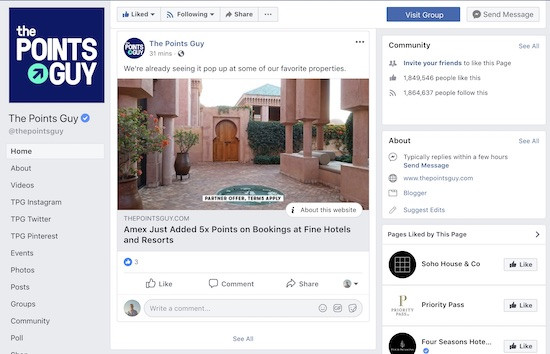
Once you're verified, your brand will have a small blue checkbox next to its name. Unfortunately, however, this doesn't carry over to its sister social network, Instagram.
To get verified, just do this:
- Make sure your cover photo, logo, and profile info are completely up-to-date
- Fill out this form and wait for a response from Facebook
Gray badges are only for business pages, and were introduced in 2015 as a way for businesses to confirm they’re authentic. The approval process is much shorter (about 48 hours) and the requirements are a lot less stringent.
Note: Facebook is phasing out gray badges “based on user feedback,” so you can no longer apply for it. Instead, Facebook encourages businesses to authenticate their profiles by linking to them on official websites, updating profile imagery, and making sure contact information is accurate.
YouTube
Did you know YouTube has a verification process?
It’s not as well known as some other platforms, and it’s different than the standard email verification process YouTube requires if you want to upload a video longer than 15 minutes.
We’re talking about the gray check mark that official channels of creators, artists, companies, or public figures verified by YouTube to help, “distinguish official channels from other channels with similar names on YouTube.”

You can normally apply for verification once you’ve surpassed 100,000 subscribers, but the program is currently down until the winter. This happened after proposed some changes to the verification process that frustrated creators and fans so much that the changes were promptly recalled.
The future of the verification program is currently a little up in the air. You can learn more about that here, but until they announce the new program, you can’t apply for verification. Stay tuned!
TikTok

As the successor to the now-defunct video platform Vine (RIP), TikTok blew up among the younger set for its fun, bite-sized videos. But it also attracted larger-than-life stars, which necessitated a verification program.
These days, there are two types of verification on TikTok: verified users and popular users. Becoming a verified user requires that you’re a person of note or an actual celebrity, so it’s probably out of your reach (for now!).
Becoming a popular user is easier, but more mysterious. The TikTok support team needs to pick you out as someone who consistently makes great content on the site. There isn’t a page where you apply for the status, it simply happens to you.
So, your best bet is to make fun content that people love and buzz about. Or, reach Rihanna-level stardom. Whichever comes first.
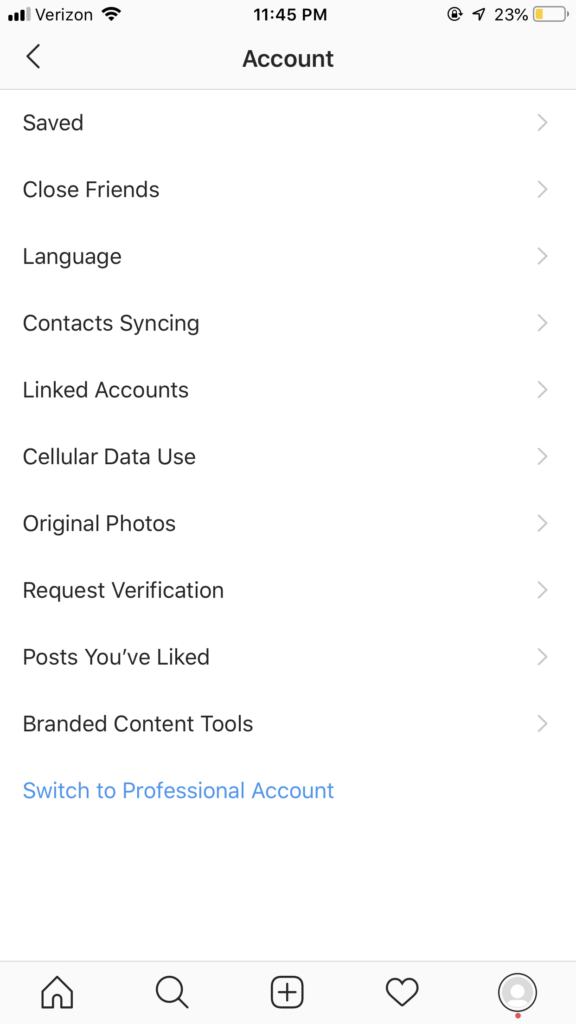
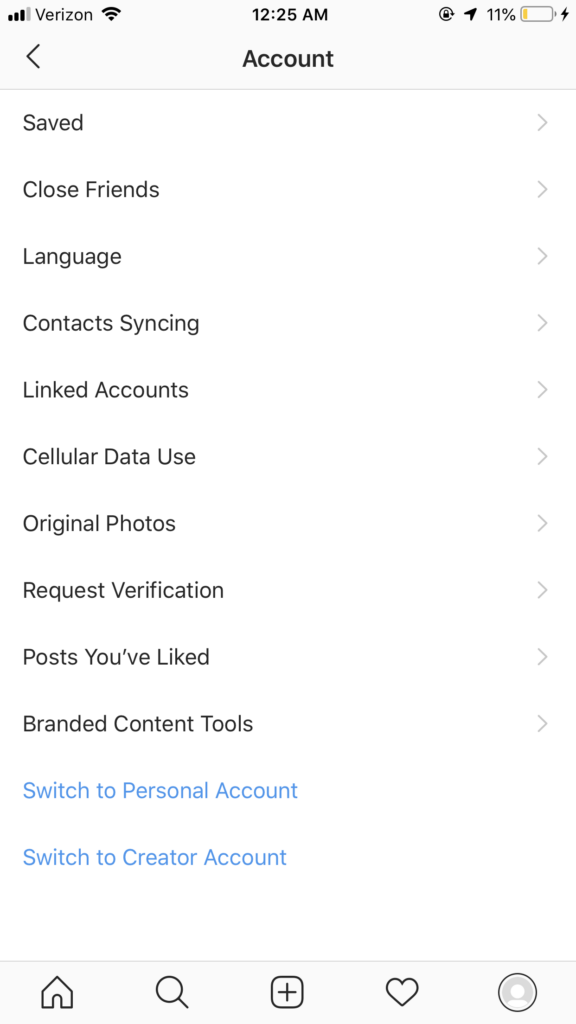
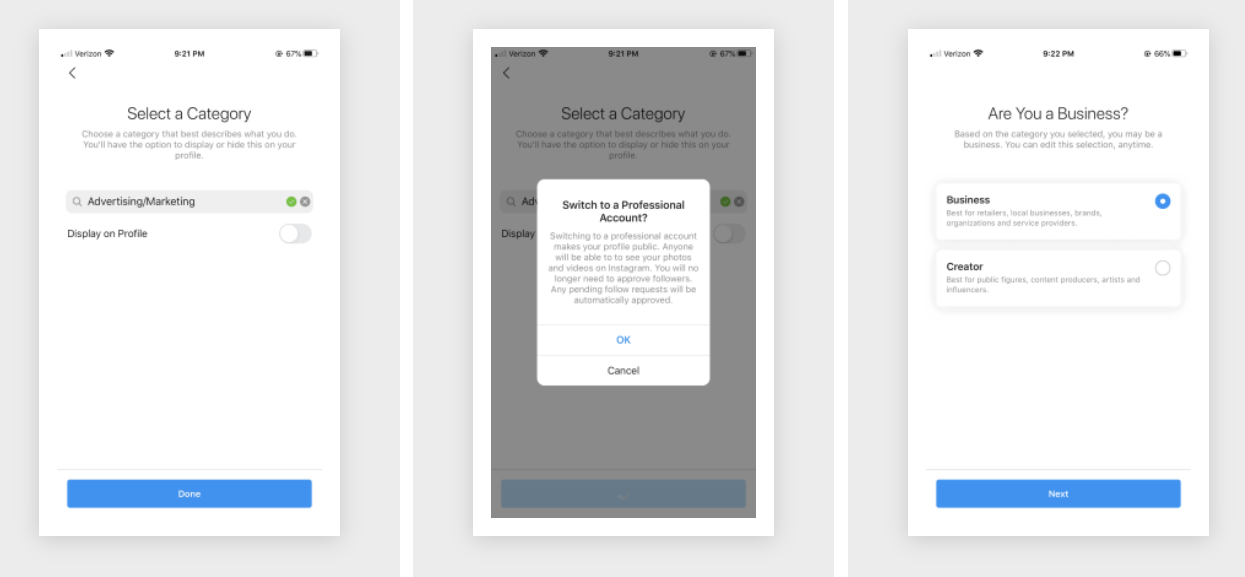
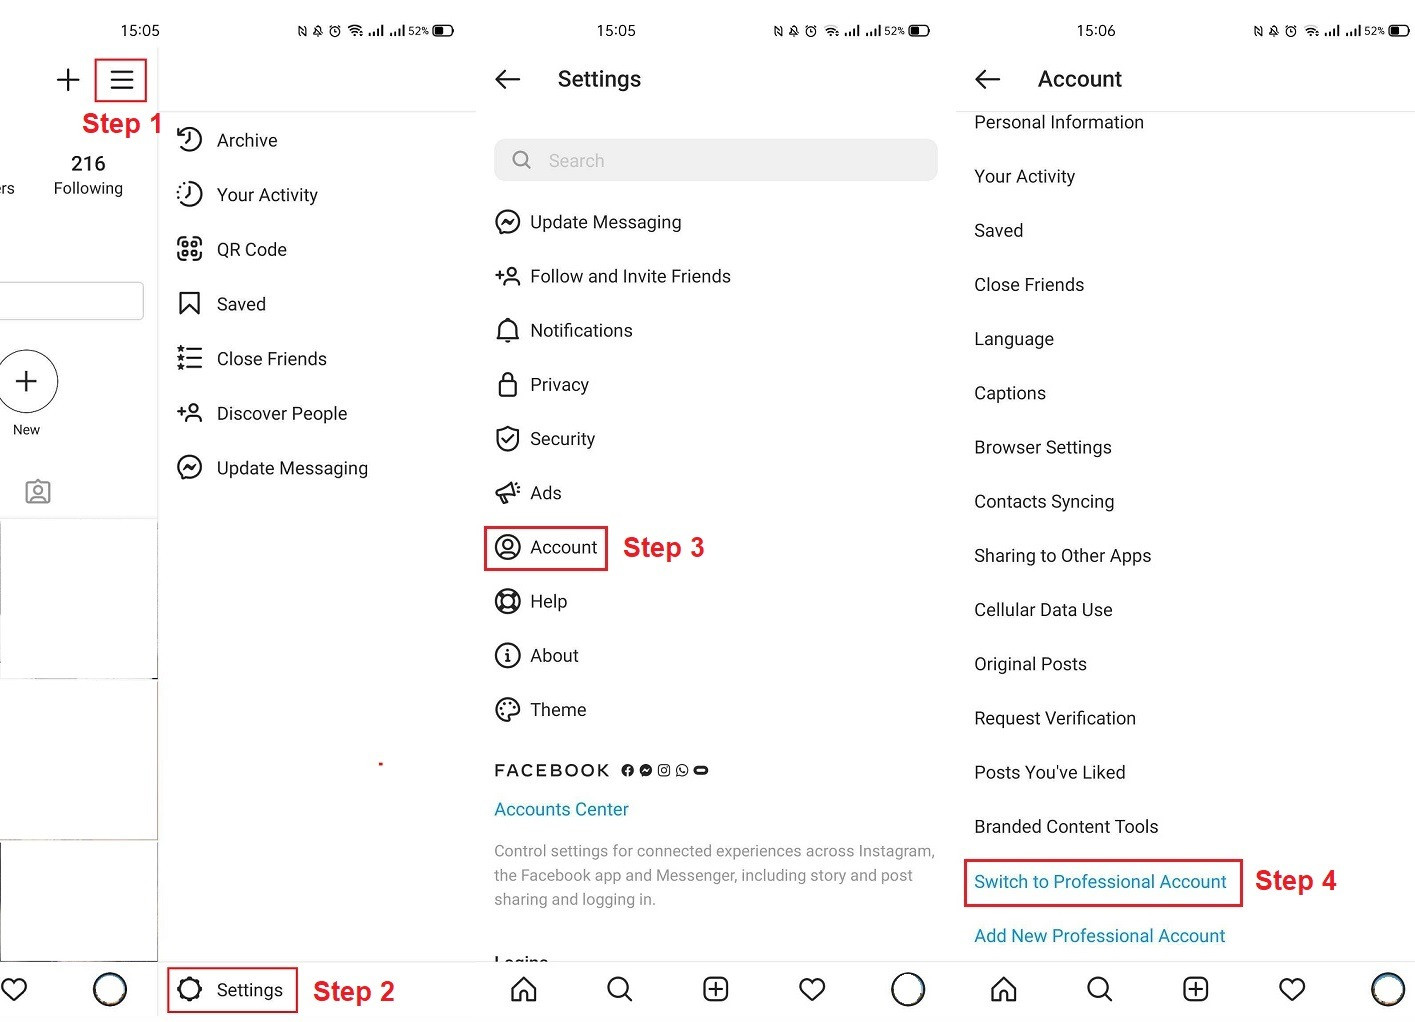
Instagram
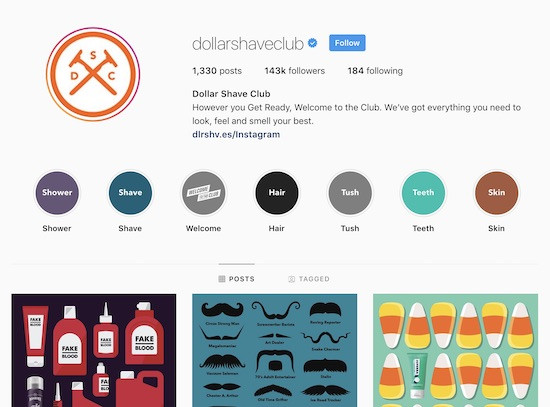
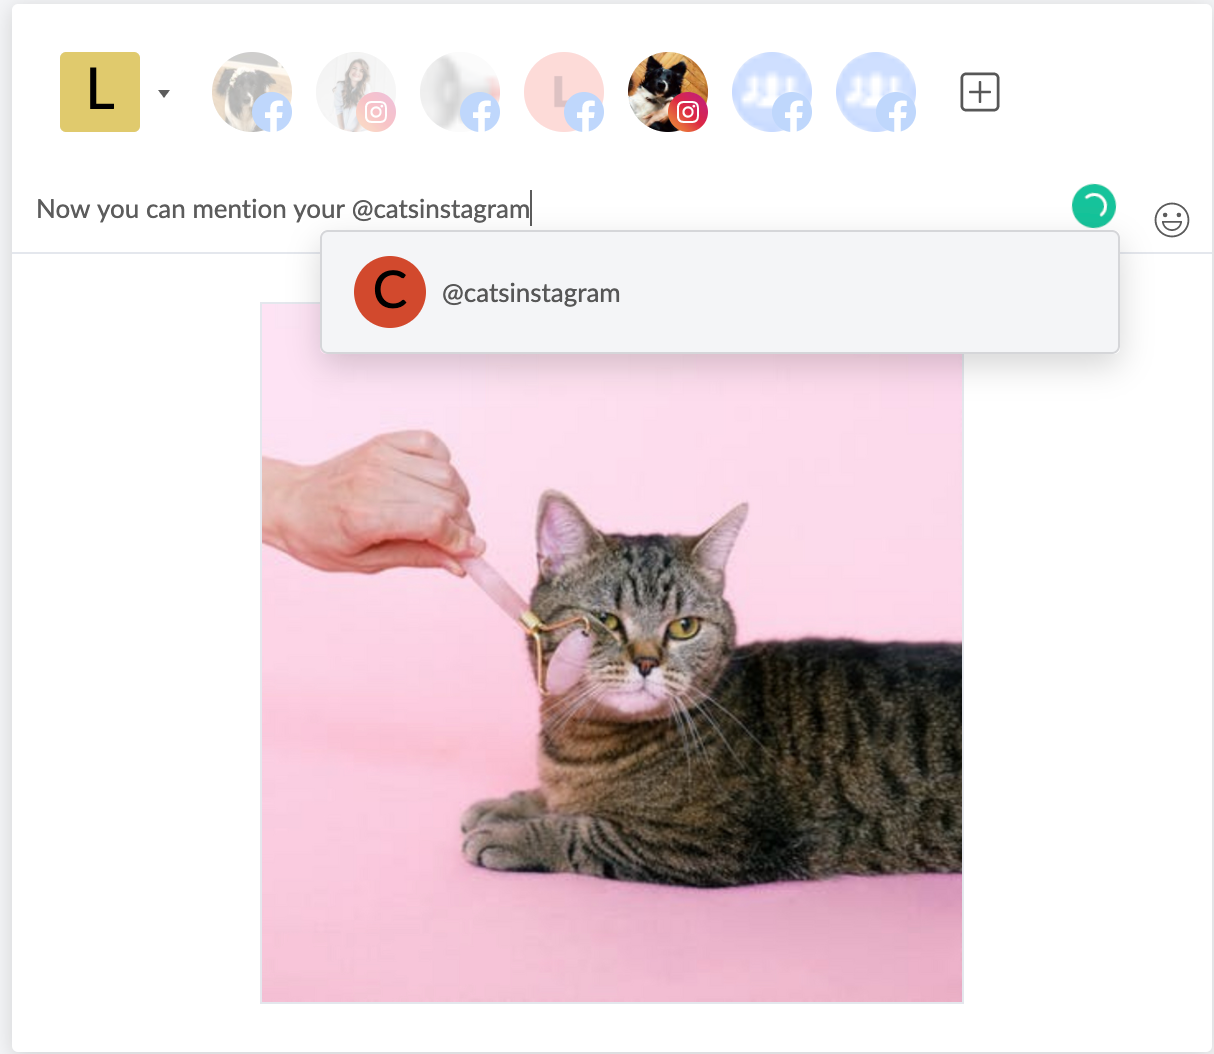
Instagram launched its verification program in mid-2018. When you're verified, a small blue checkmark will appear next to your name on the Instagram website and mobile app like on Twitter and Facebook.
Anyone can apply to be verified in the Instagram app, however, you must be a public figure, celebrity, or huge brand in order to be approved.
The application process is process is pretty straightforward though, so it's worth a shot. Here's how to do it:
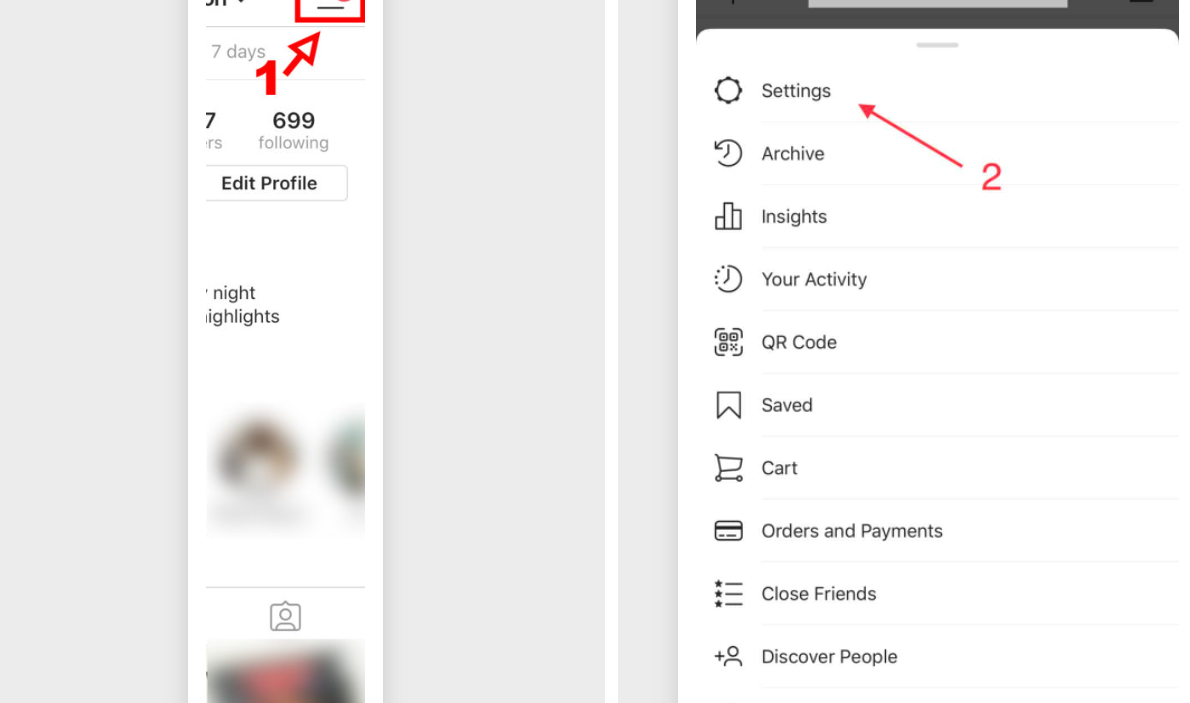
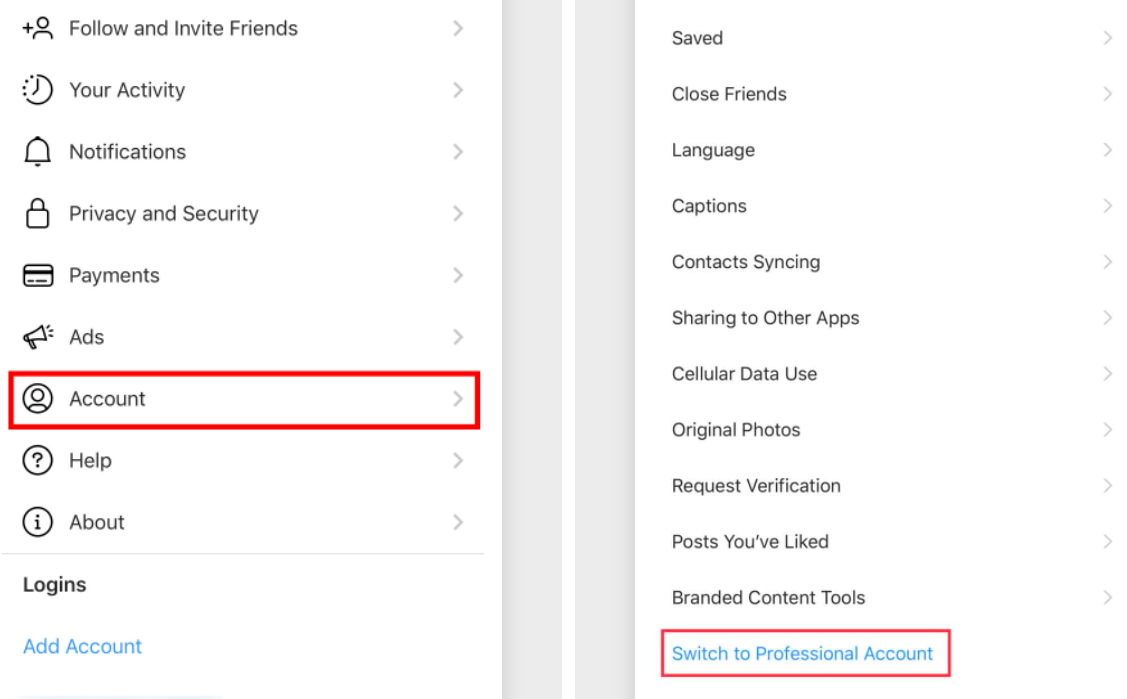
- Make sure you're logged in to the account you're requesting a verification for.
- Go to your profile and tap the hamburger icon at the top right-hand corner of the screen.
- Tap Settings > Request Verification.
- Enter your full name and provide a form of identification (generally a ID card or drivers license)
Google My Business
Getting verified on Google My Business is super important.
Once verified, your users will see a blue shield with a checkmark in it on your listing in Search and Maps. This is important because users will have no doubts that your hours, address, and other important info is up-to-date.
This will make them more likely to swing by and check out your establishment.
To verify your account, do the following:
- Sign in to Google My Business and choose the business you'd like to verify
- Click Verify now and follow the on-screen prompts to request your verification postcard
- Once the card arrives, log back in and punch in the verification code on the postcard, and you're verified!
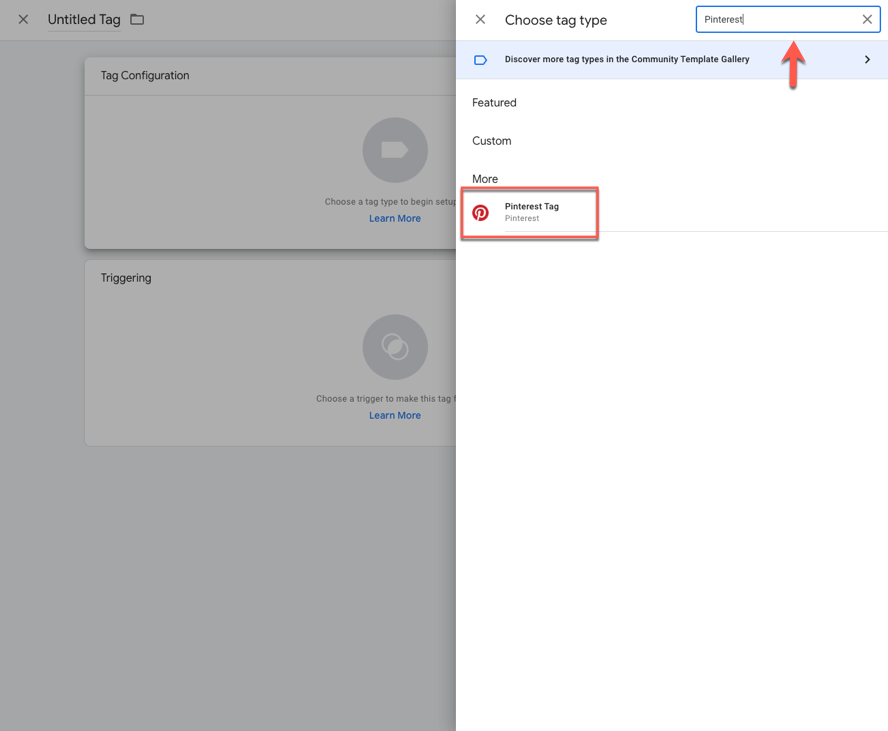
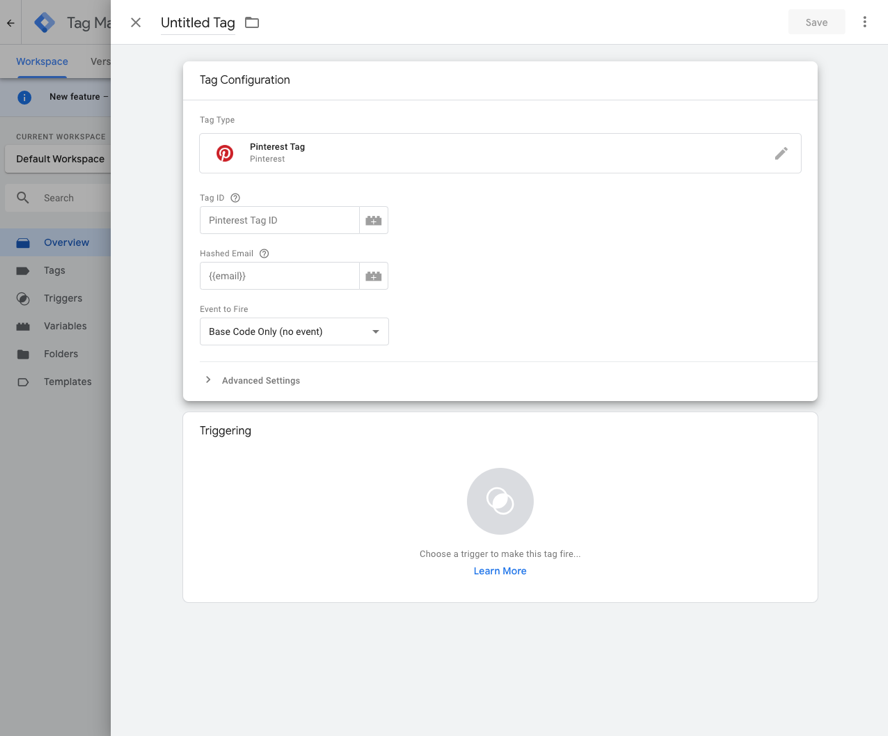
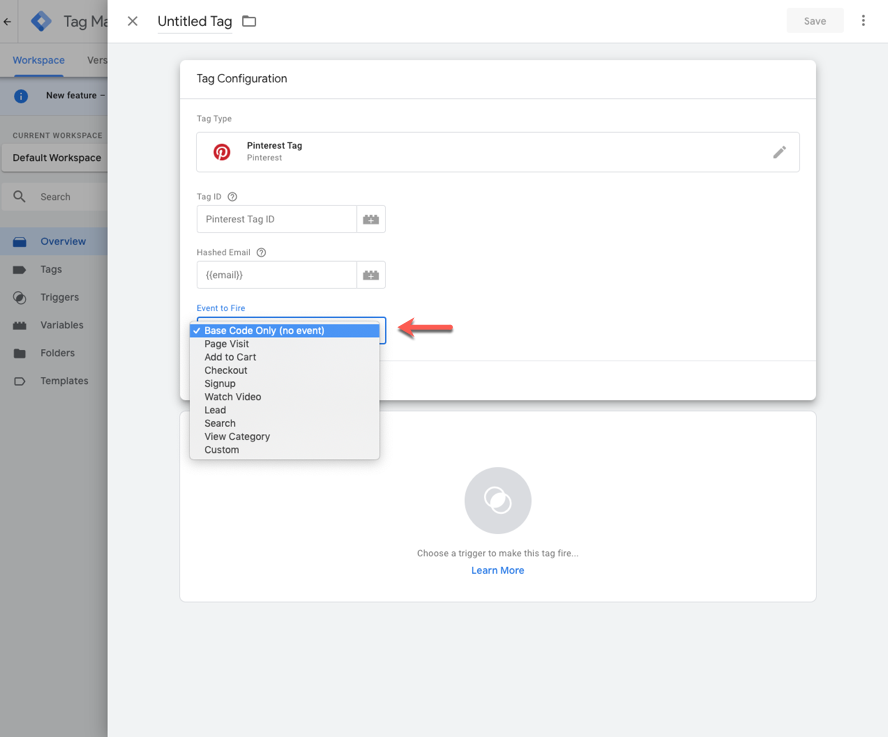
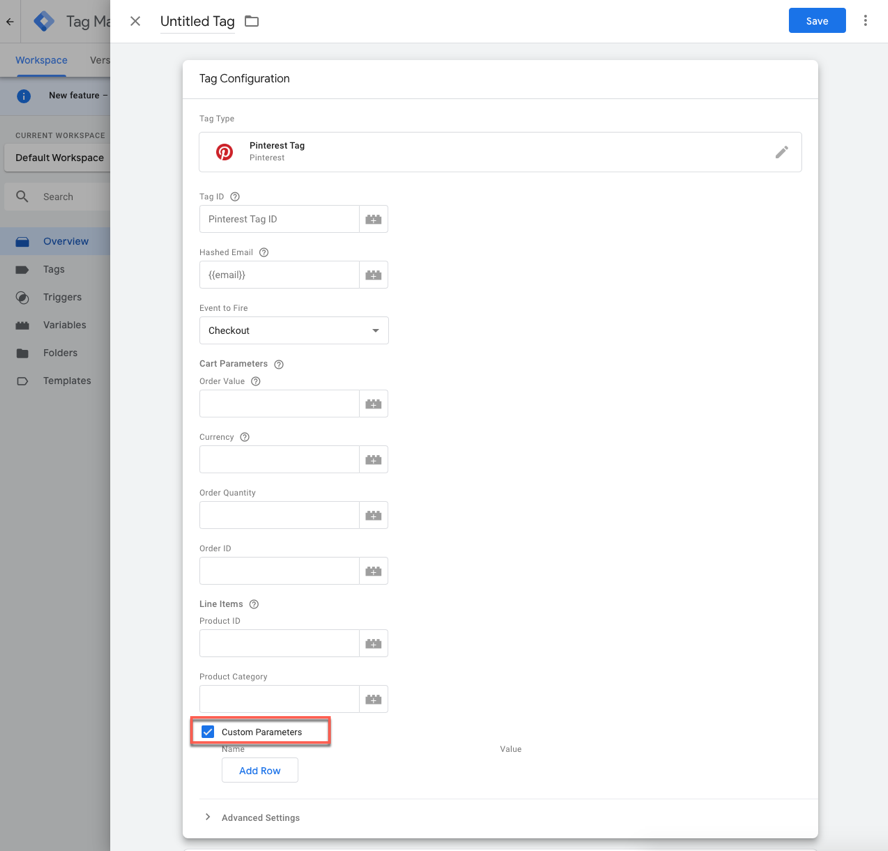
Pinterest
Verified accounts on Pinterest have a snazzy small red checkbox inside of their profile photo. This lets the world know that your Pins are indeed coming from your company.
It's really easy to get verified on the social network too.
Just do the following:
-
Go to the Settings page on Pinterest
- Change your profile picture to your business's logo
- And that's it!
Snapchat
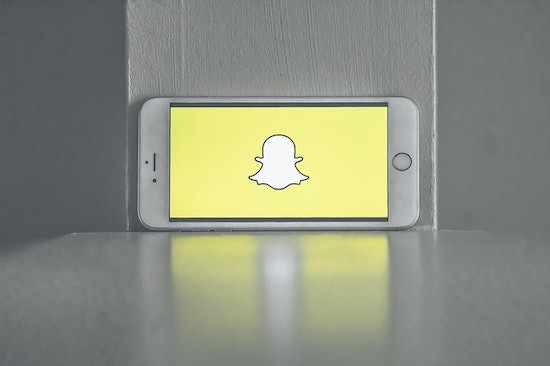
Currently, Snapchat does not have a public verified program.
However, it does have a verification program for celebrities with huge (and we mean huge) Snapchat reach. Some users in the program include social media icons DJ Khaled, Ryan Seacrest, and Casey Neistat.

These users are invited to an invite-only verification program. Once verified, these accounts have a small emoji placed next to their name in the app. See the example above.
Now, it's time to get verified!
That's all there is to it: how to get verified on all major social networks. If you're eligible, we highly recommend getting verified on as many social networks as possible. This will improve your audience's trust and bring in new followers and more engagement.
]]>


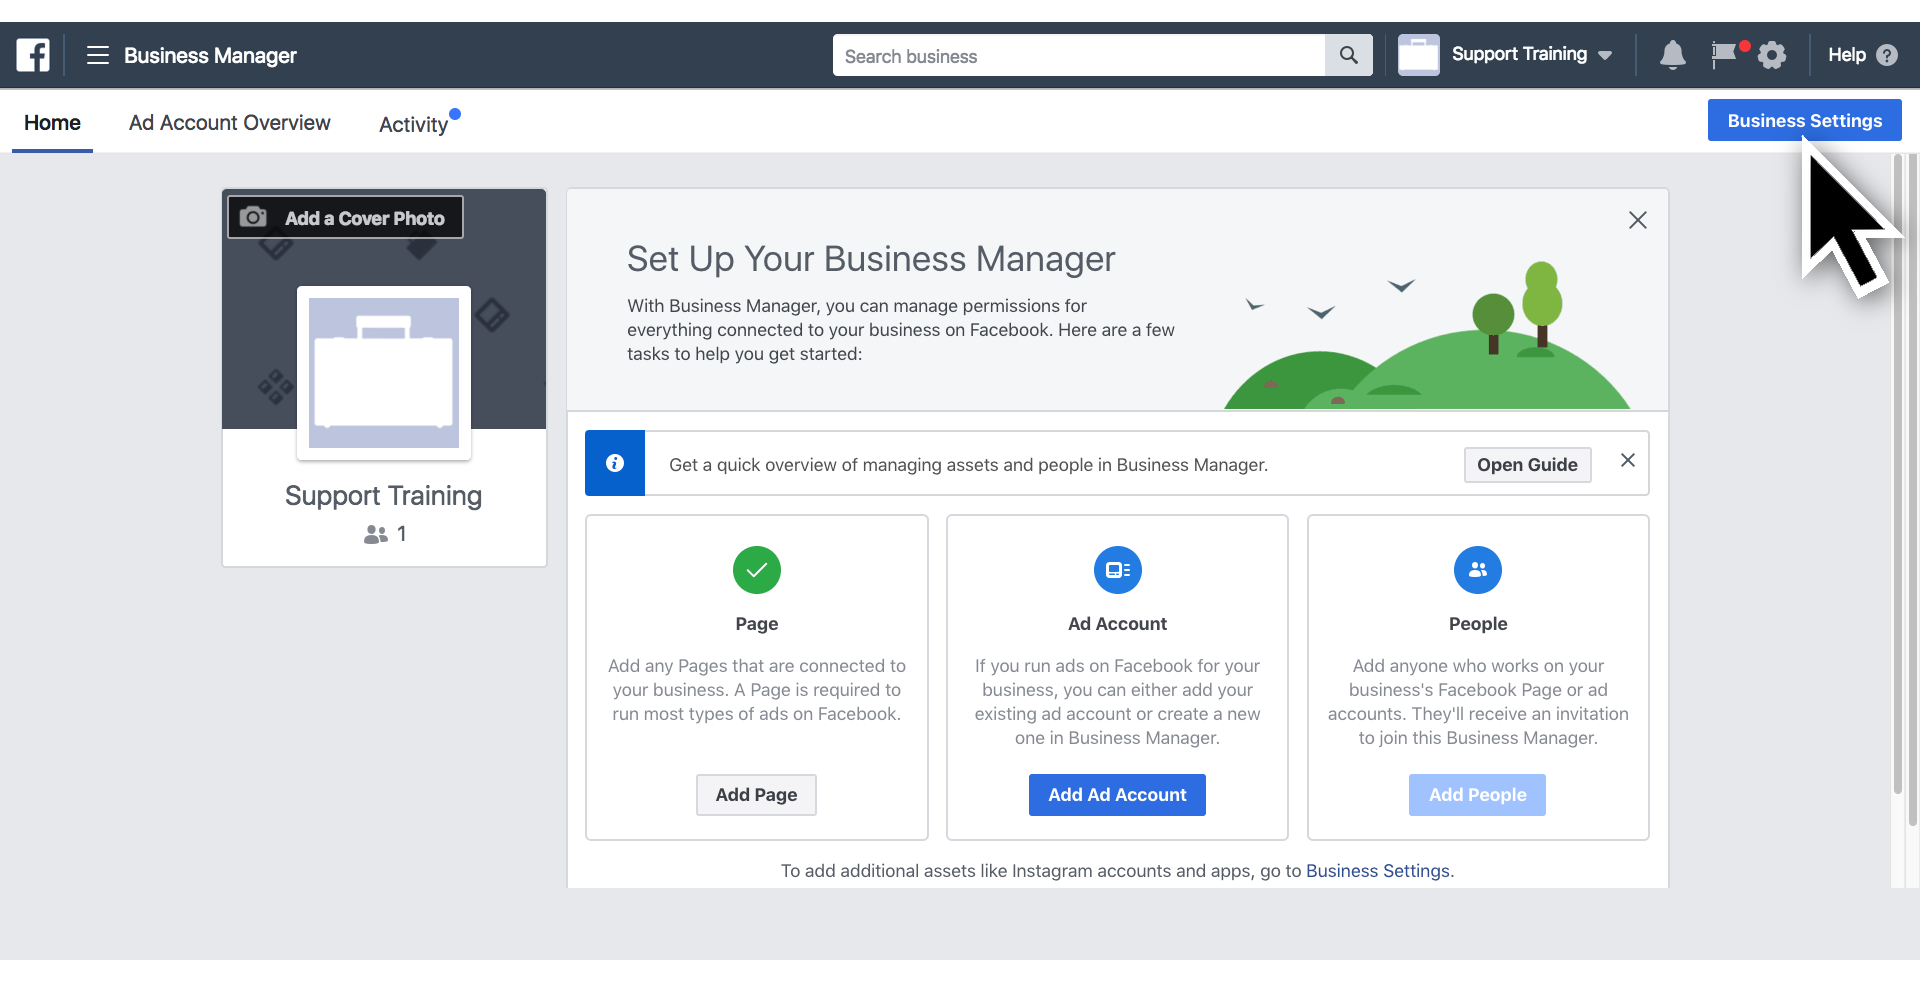
 Optional: Connect any relevant Ad accounts. If you do not wish to add one, click Skip.

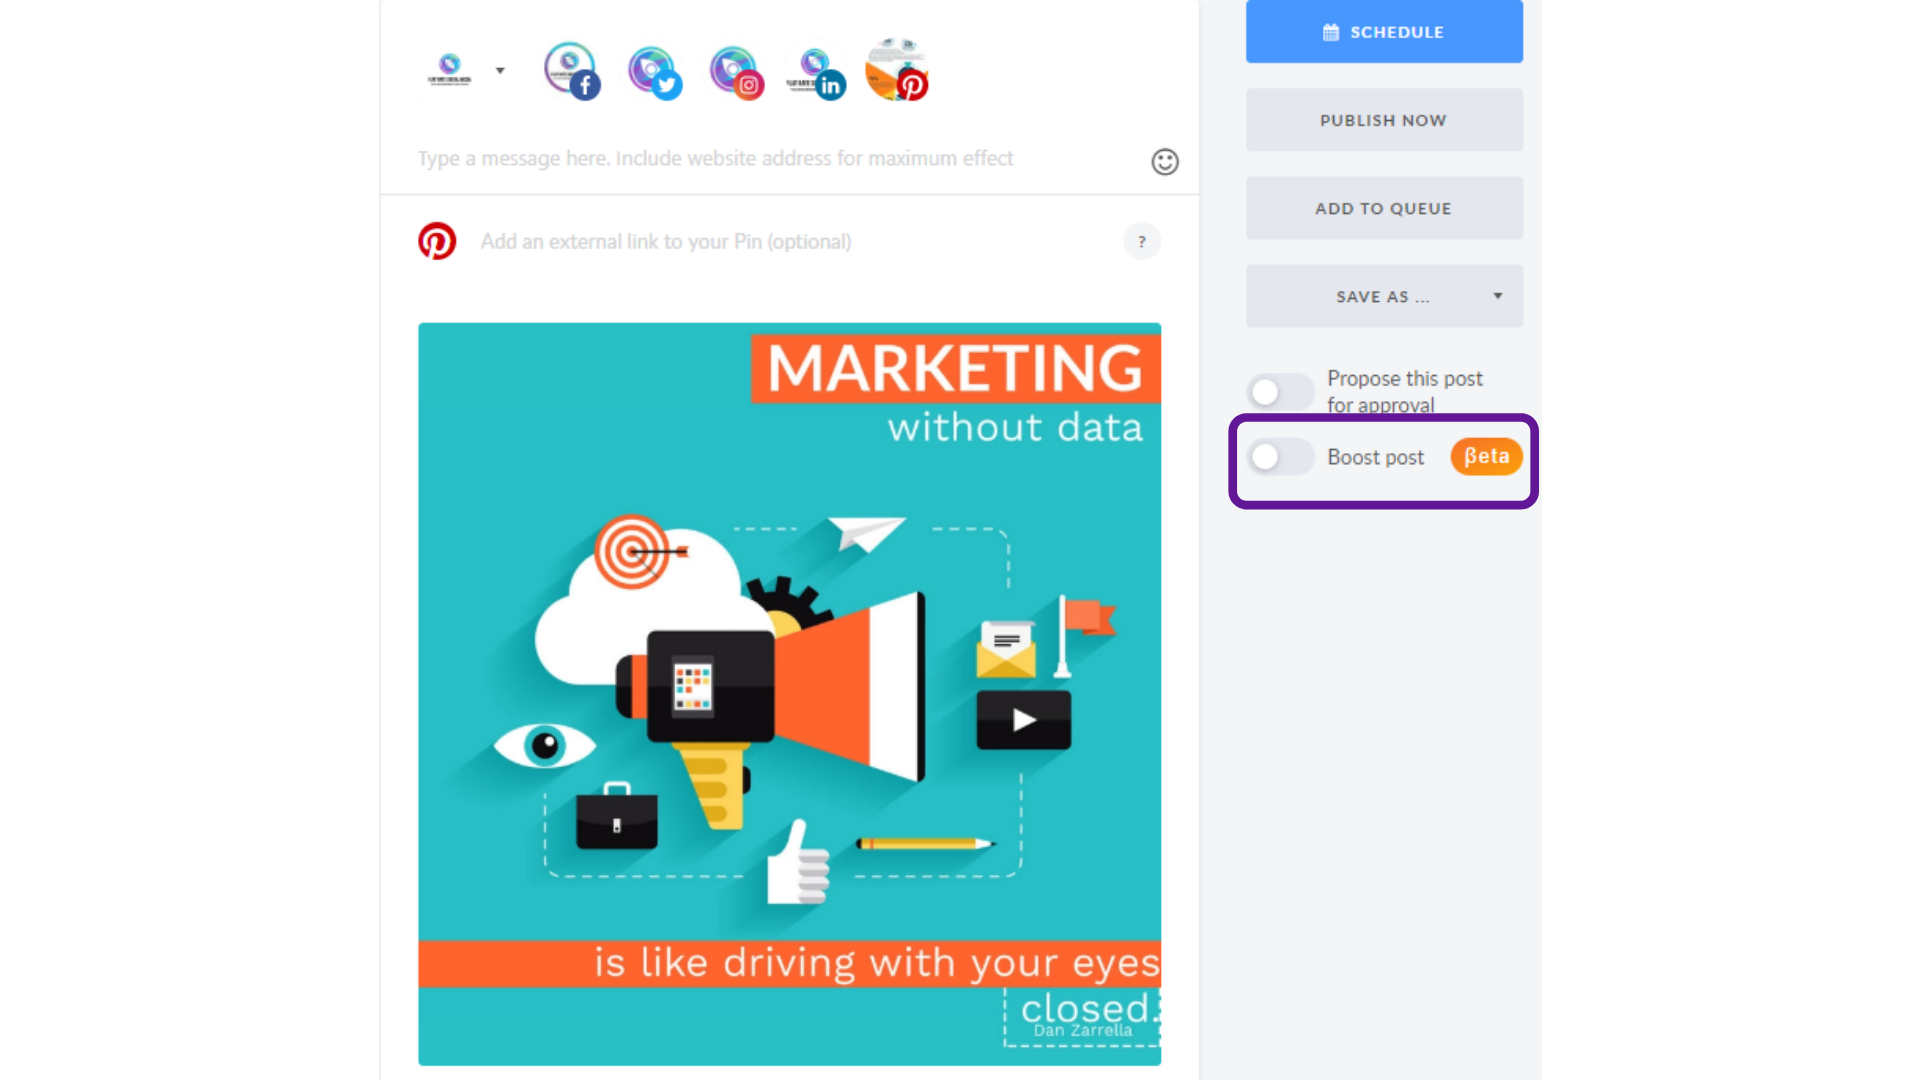

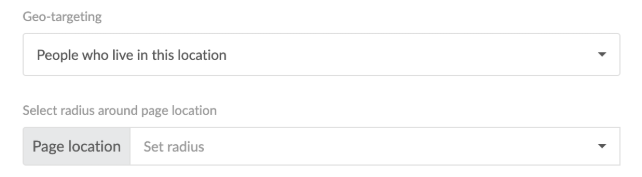
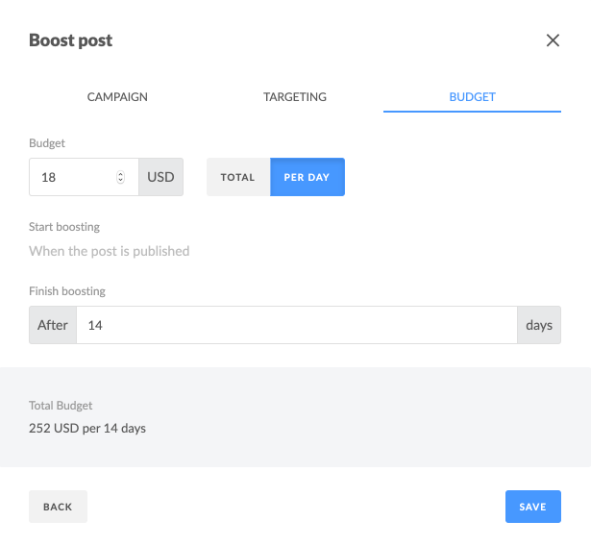
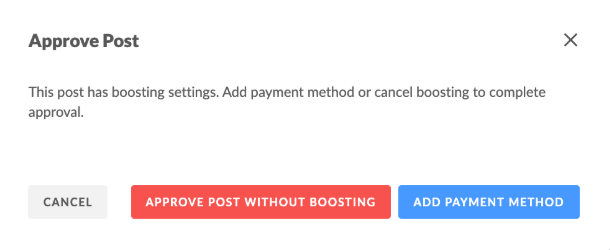
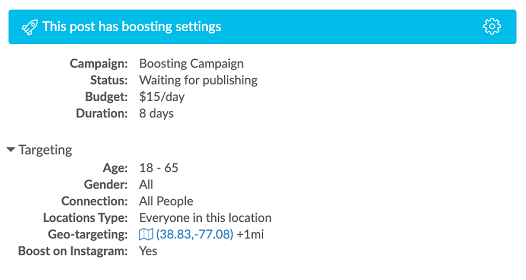
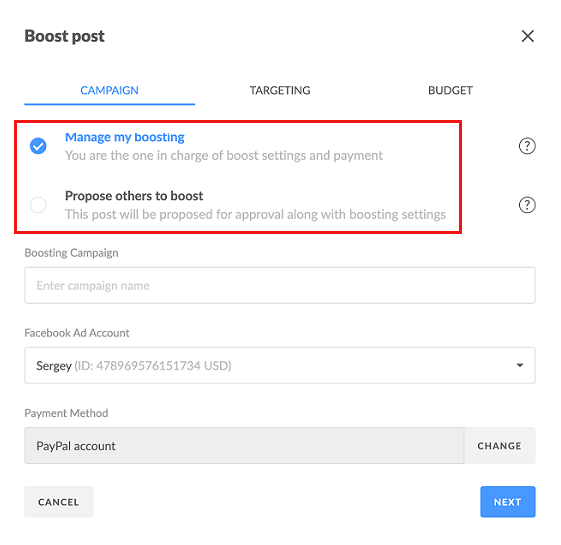 . In this mode you are the Manage My Boosting. In this mode you are the one in charge of boosting settings and payments. Boosting will be charged from your Facebook Ads Manager account. When the post is published and approved by Facebook, boosting will be activated.
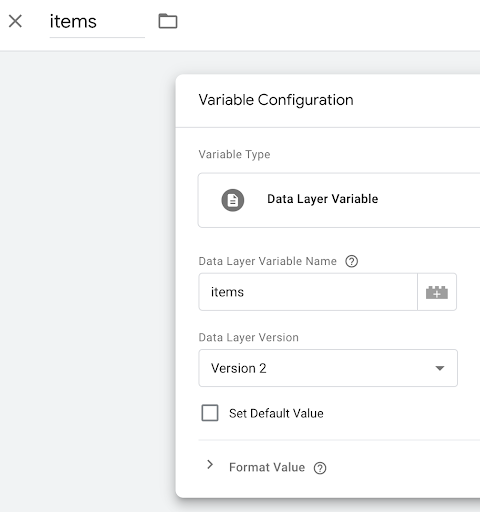
 in the top-right to create a new variable.

 caret of the <button> or <input> element


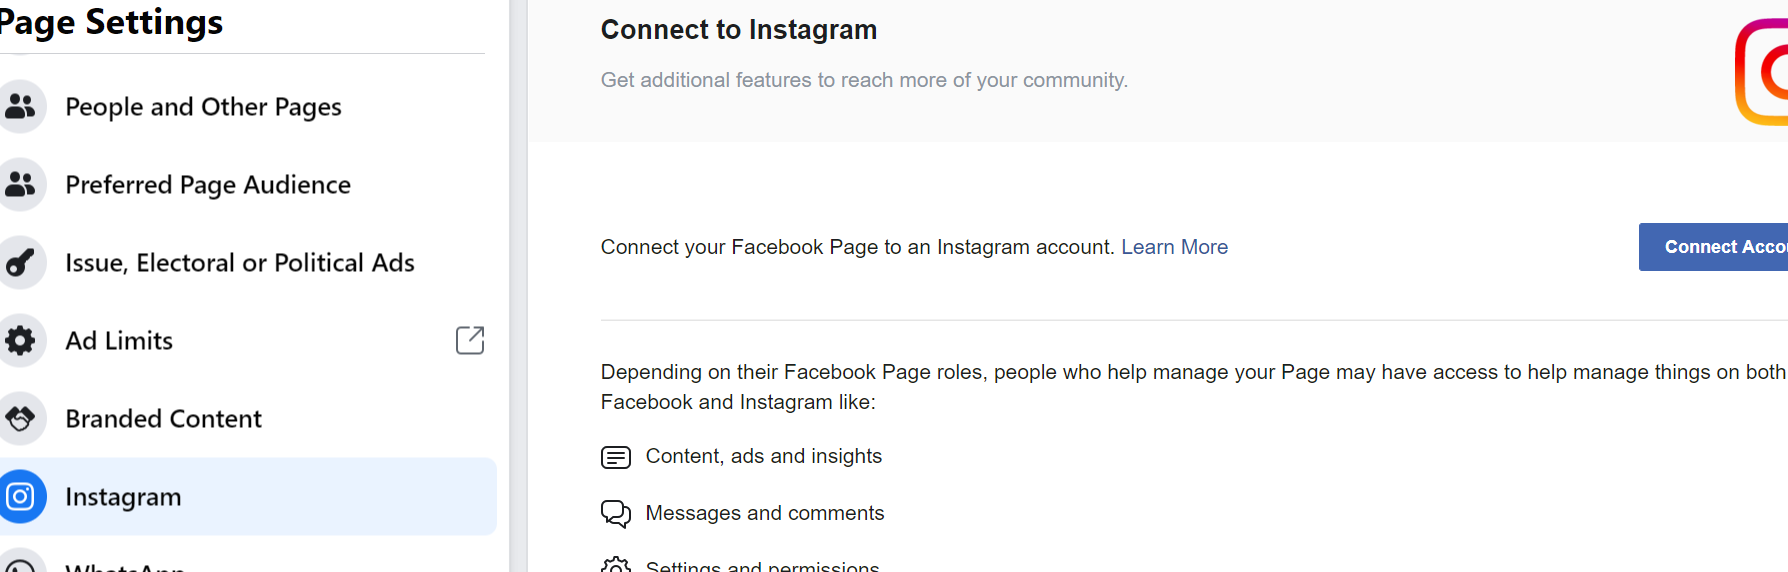


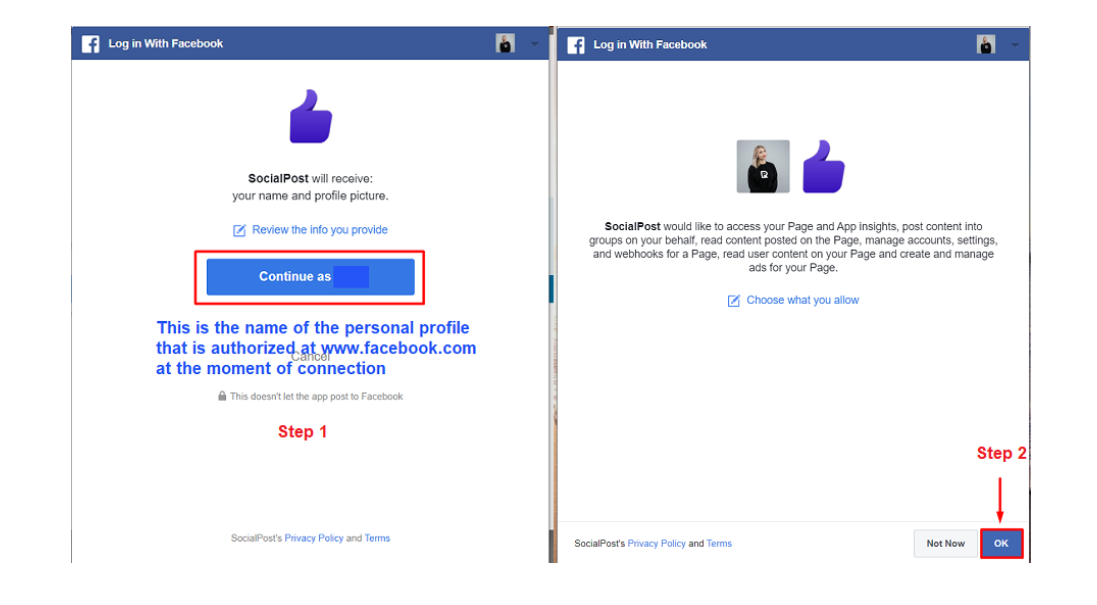


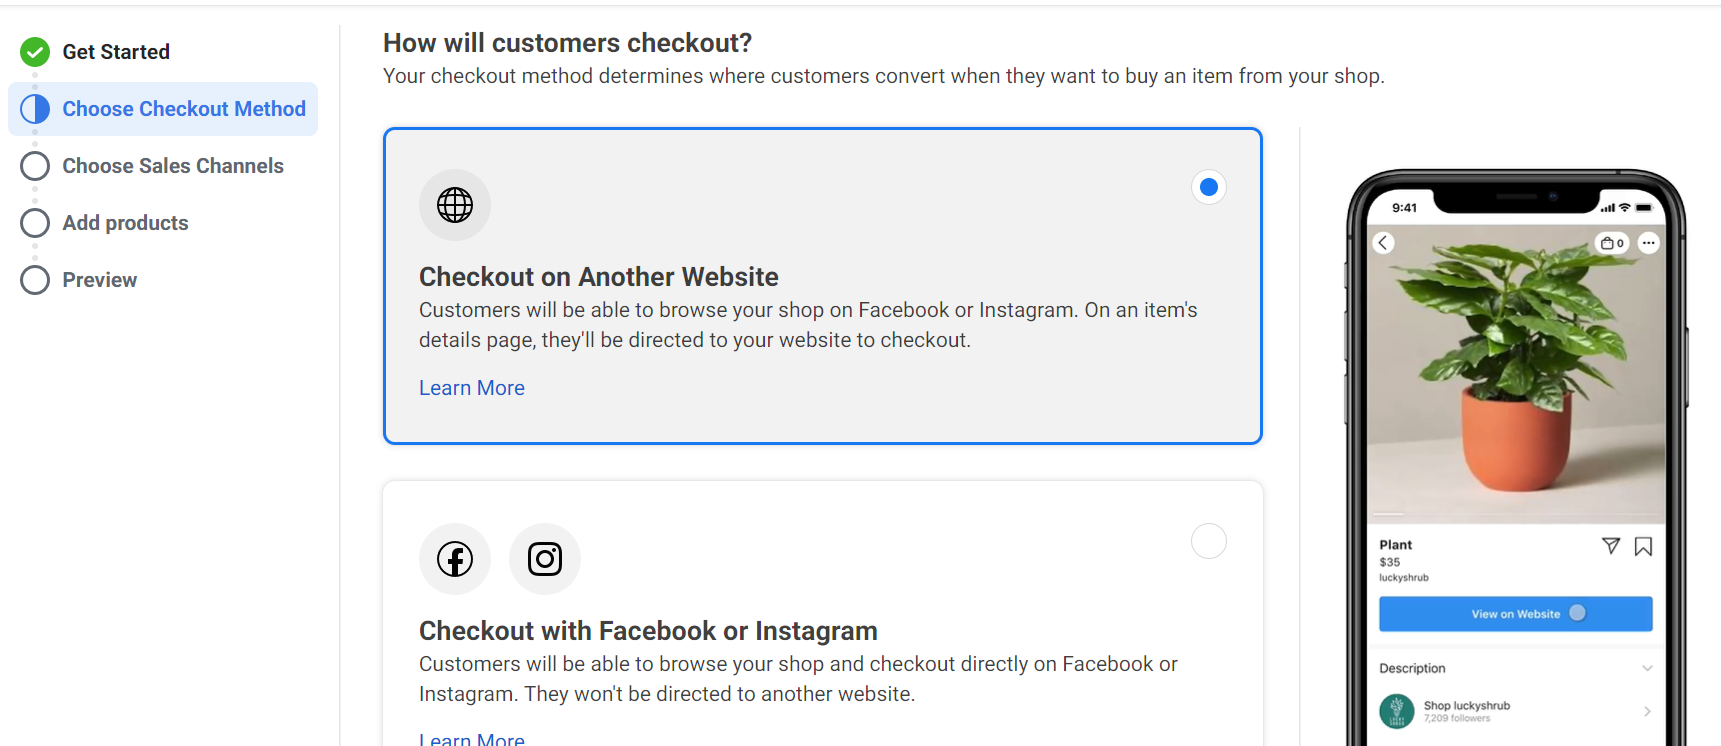

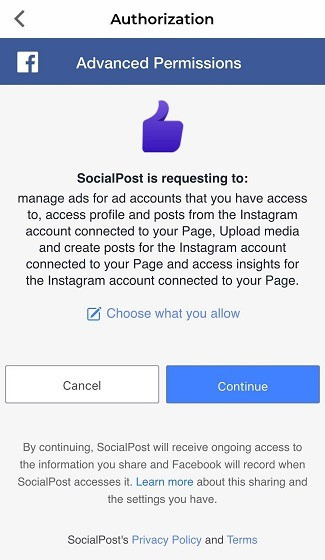
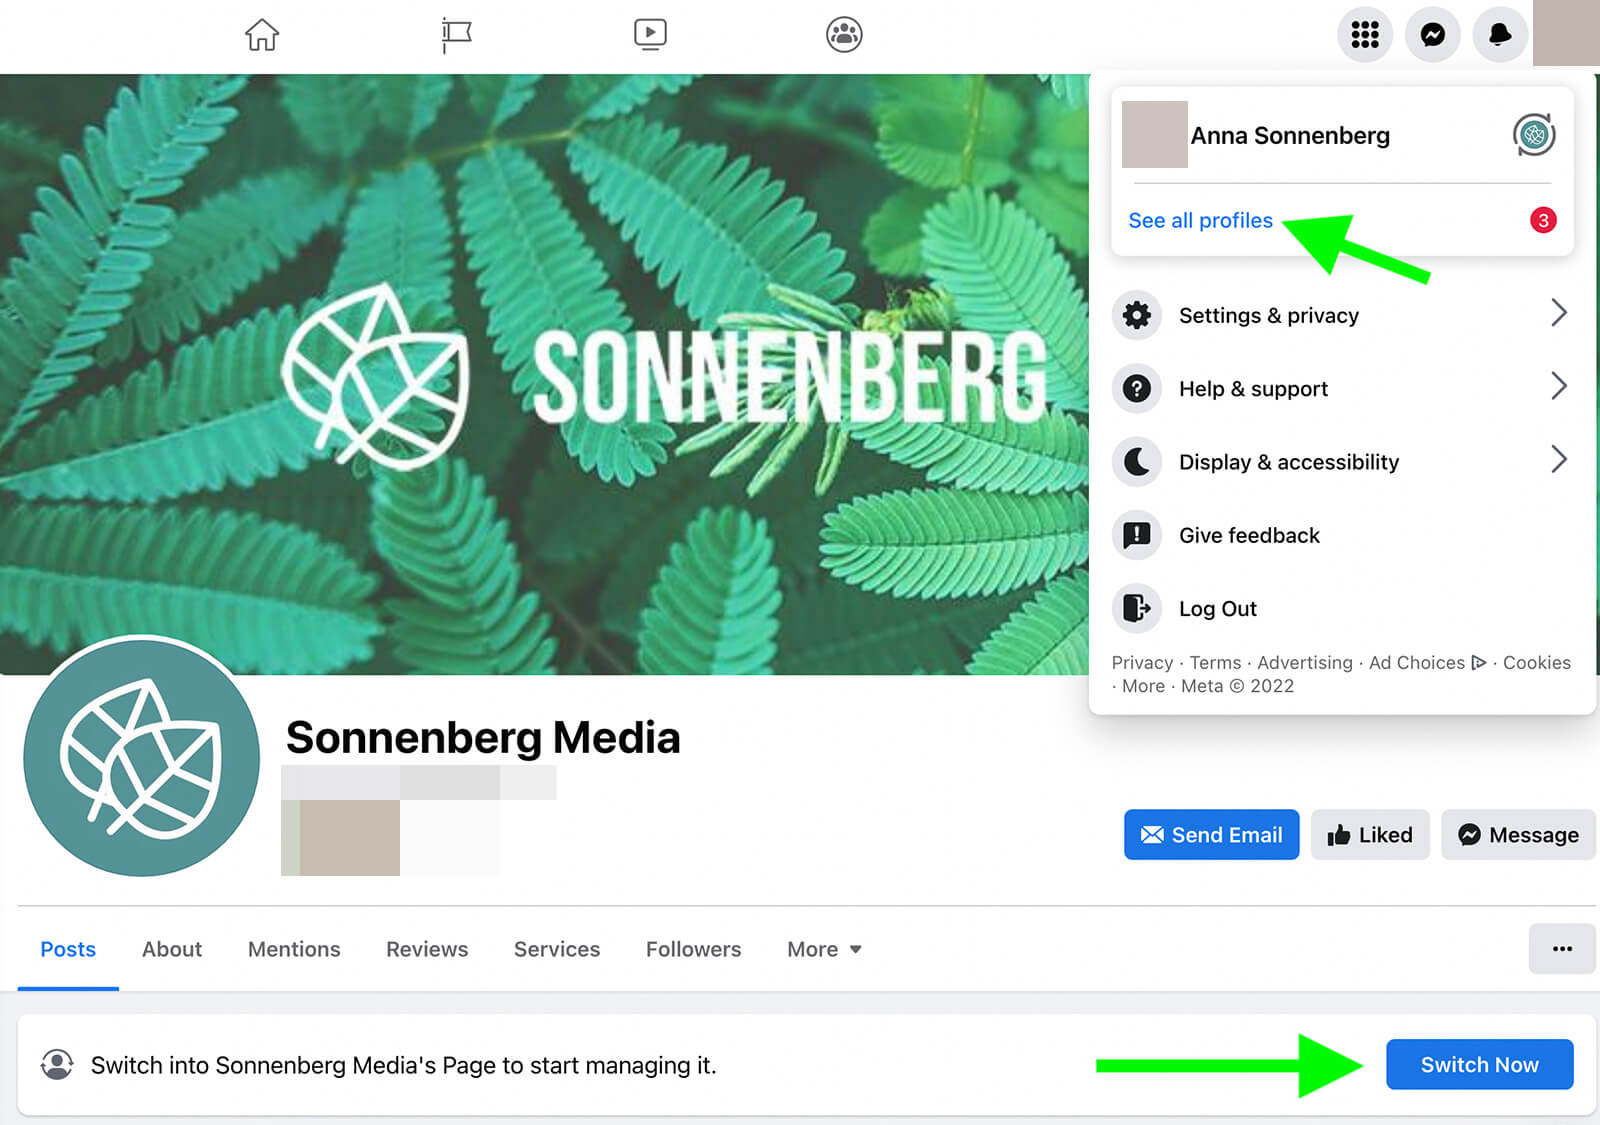
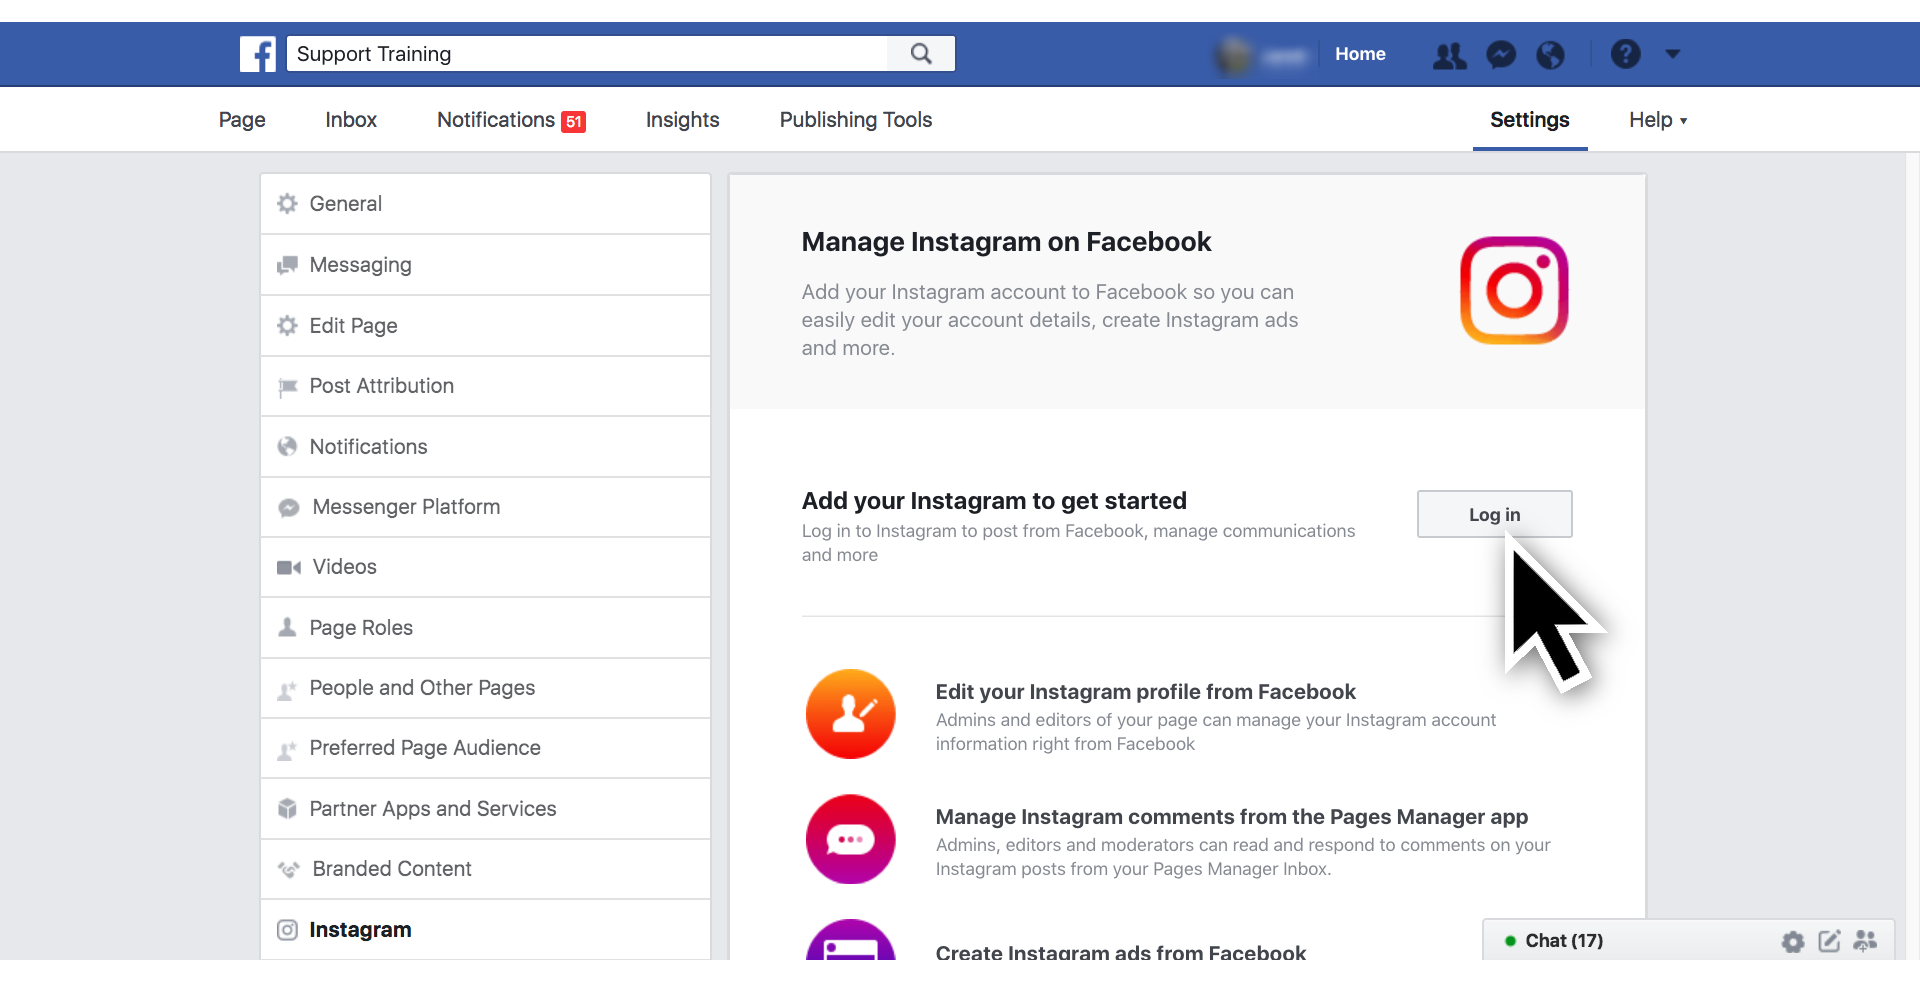
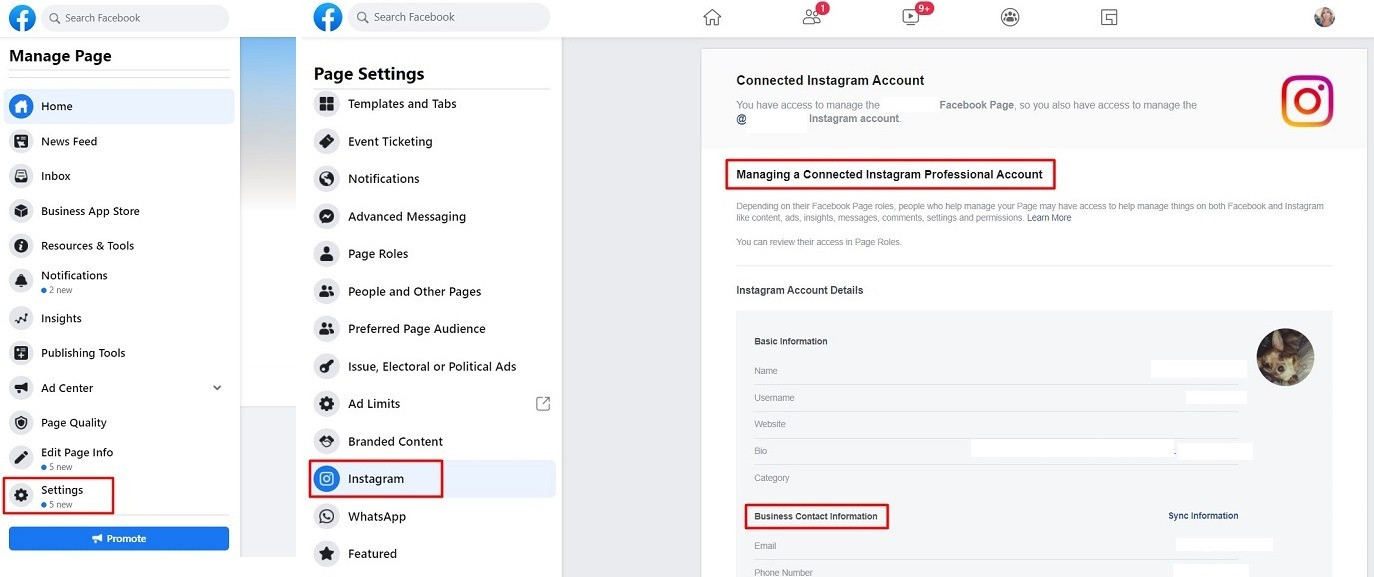 If you see a screen that differs from the image above, it means your Instagram account is either not connected to your Facebook Page, or it hasn't been converted to a business account.