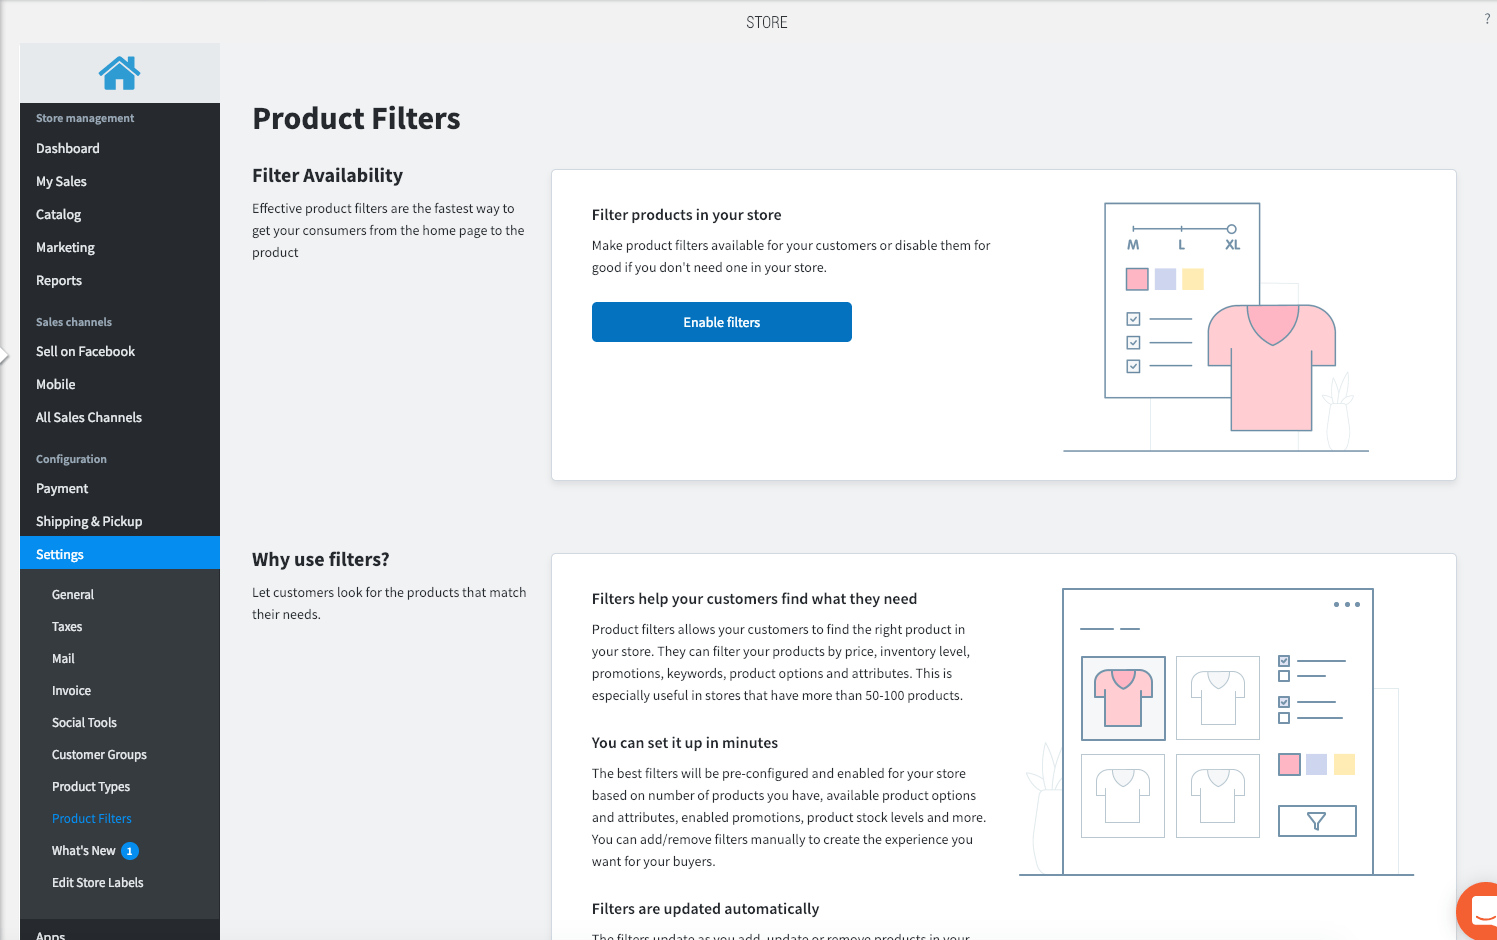
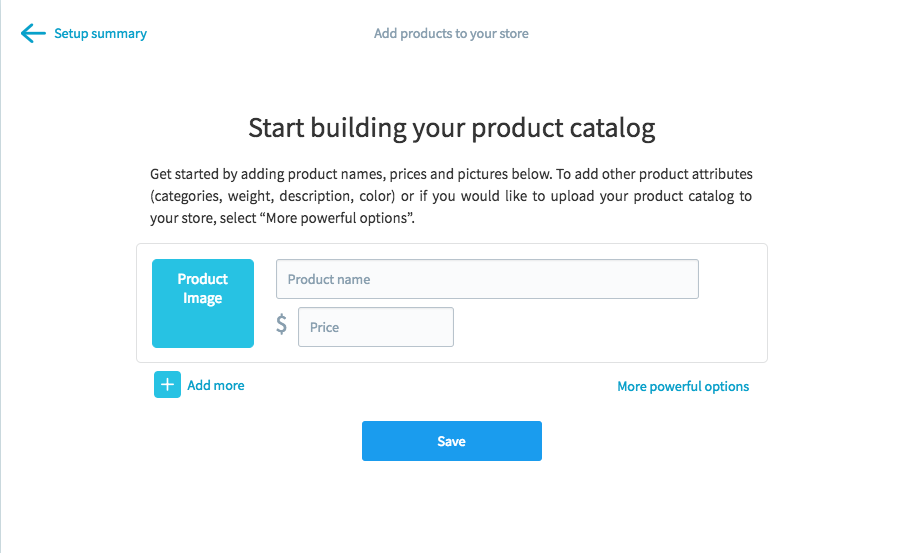
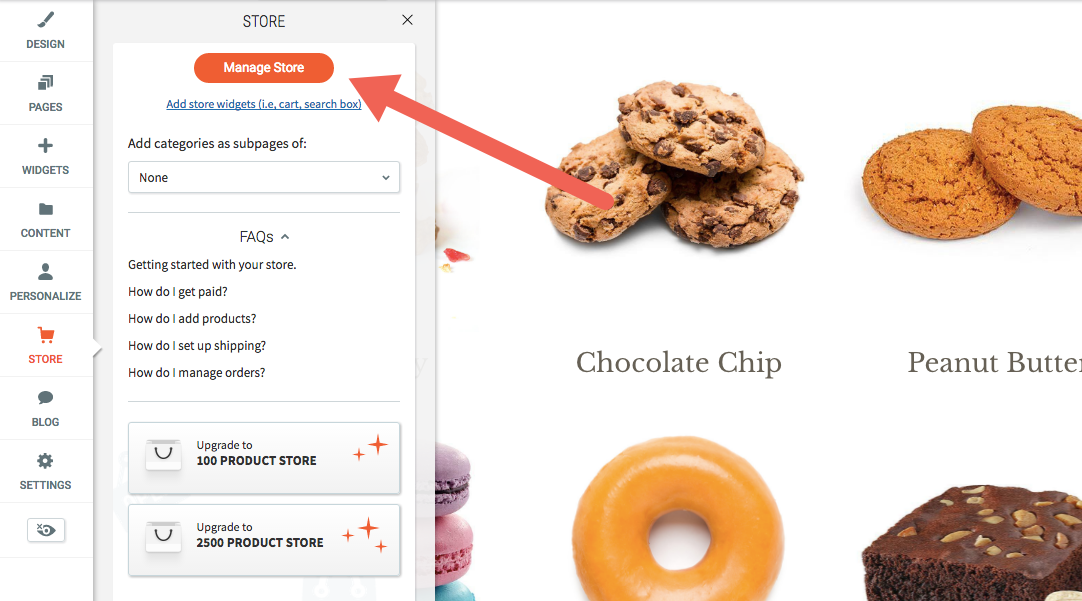
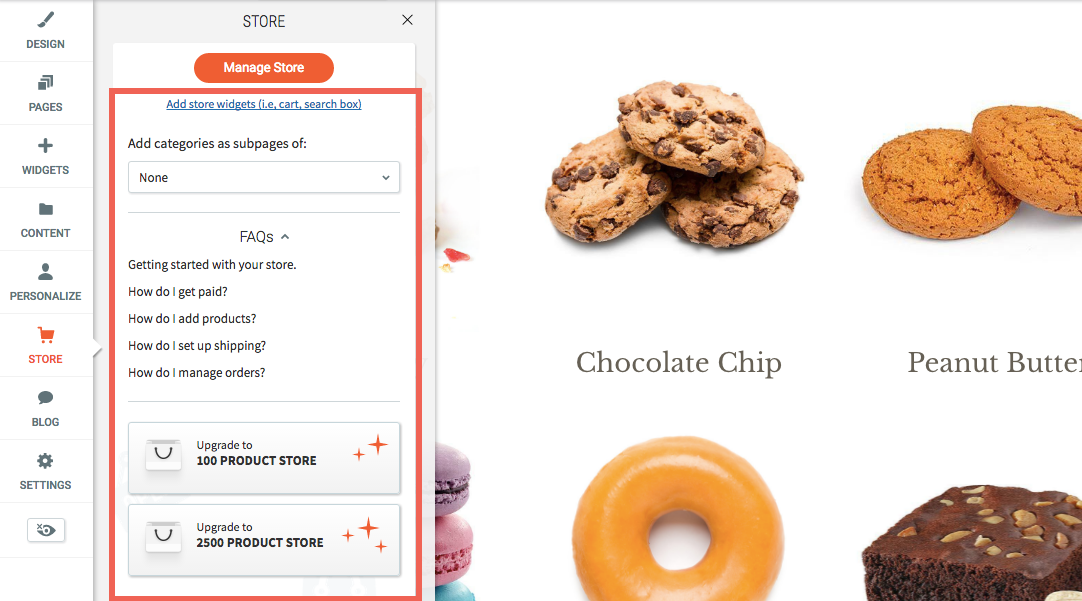
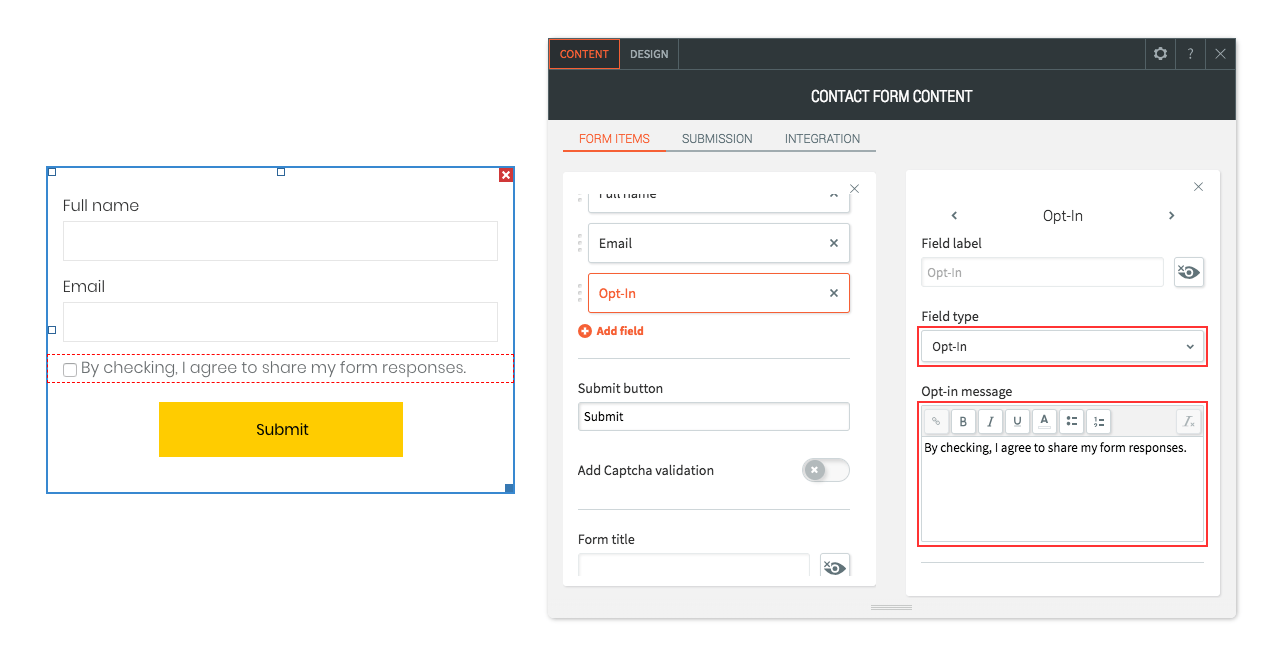
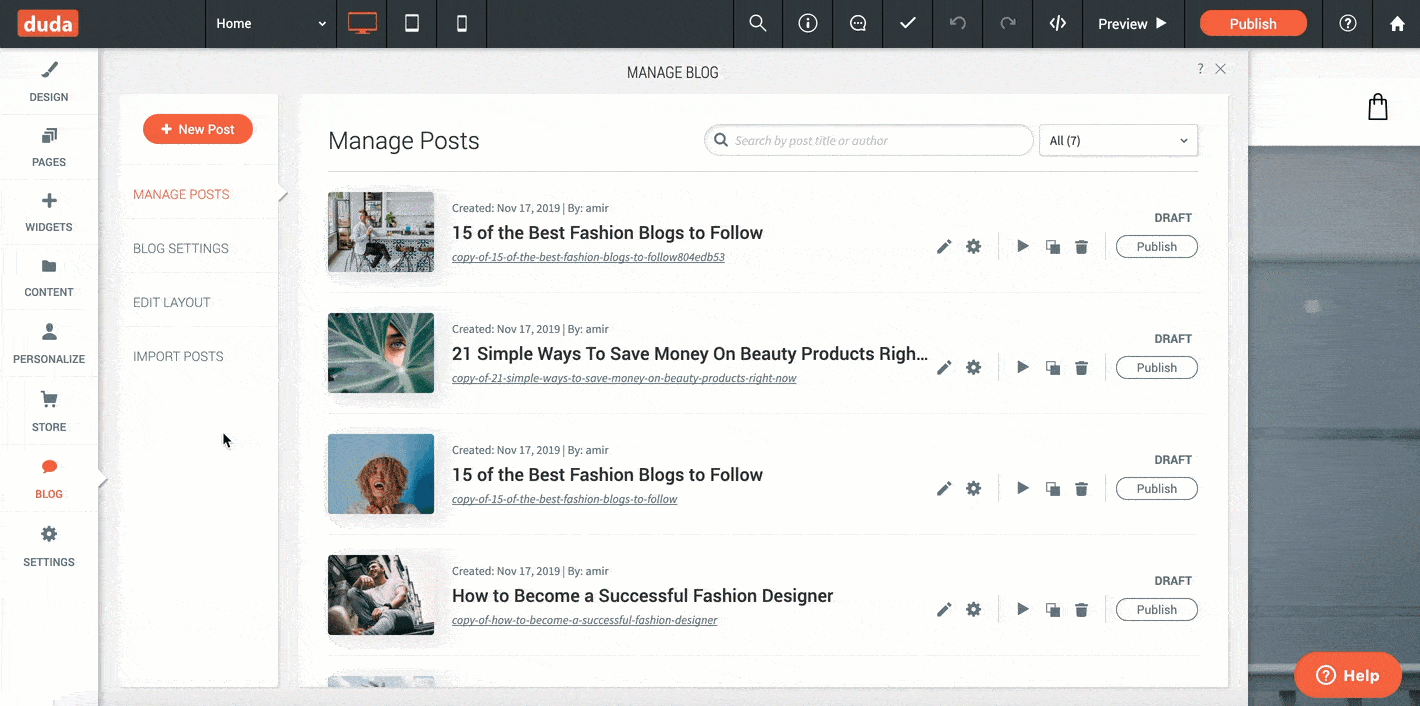
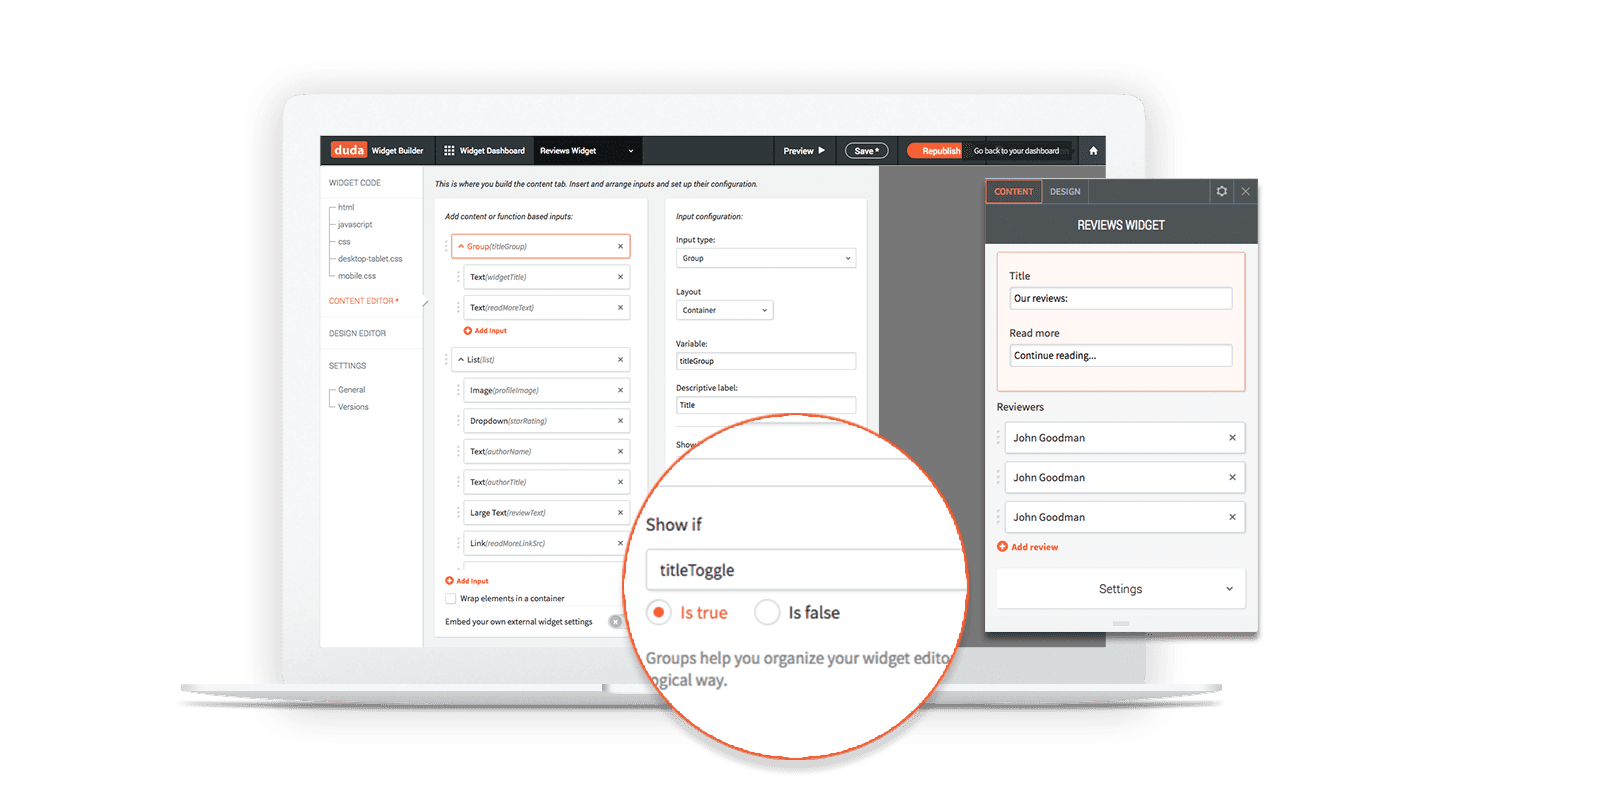
OverviewThe import tool in StoreFront allows to upload your products in the form of CSV files. You may want to use this if you need to add or update a lot of products at a time. In your control panel, you can find the import tool at Catalog → Products → Import products.
For examples of the import tool usage, please refer to this article: Import-Export.
CSV
StoreFront uses the CSV format for import and export of files.
http://en.wikipedia.org/wiki/Comma-separated_values
Essentially, CSV is a plain text format, thus you can use any text editor for creating or editing CSV files. On the other hand, spreadsheet editors provide better editing experience. Currently, the most powerful and convenient tools are OpenOffice, MS Excel and Google Docs. We should note that Excel (especially its old versions) won't always open CSV files properly. There are a number of workarounds, however, we recommend using the free OpenOffice app to edit & save your CSV import files.
File contents
Each line in a CSV file represents the properties of a certain item (e.g. a product, an order item or a customer) separated by a delimiter. The same delimiter should be used for the whole file.
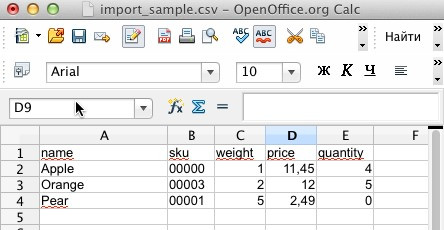
The very first line in a CSV file can contain column names, for example:

Export always puts column names on the first line. For import, it supports both formats (with or without column names line). The StoreFront import dialog has a relevant option - "Skip first line". In case this option is selected, StoreFront just skips the first line in the file without any verification. If the "Skip first line" option is off, it means that the whole file contains data, and StoreFront checks every line.
Data columns separators (delimiters)
StoreFront supports three CSV value separators:
Line separators
StoreFront supports three different line separators for CSV files:
- \r\n - Windows
- \n - Unix, Linux, MacOS X
- \r - classic MacOS
StoreFront automatically recognizes file line separators, you do not need to set it up or adjust it in any way.
File encoding
StoreFront supports more than 10 charsets, such as UTF-8, UTF-16, US-ASCII, etc. If all your products and categories are in English, you don't need to change anything. Use the default encoding settings ("UTF-8") and all the information will be imported correctly. If you want to import a CSV file with non-English characters, we strongly recommend using the UTF-8 encoding for your CSV file. If you cannot use UTF-8 for your CSV file for some reason but use some other encoding, you will need to set the correct encoding in the import settings. Otherwise, the information will not be imported correctly.
Number formatting
There are two strict requirements for number format in StoreFront import:
- The decimal mark (decimal separator) must be a dot (.)
- A number must not contain a thousand separators
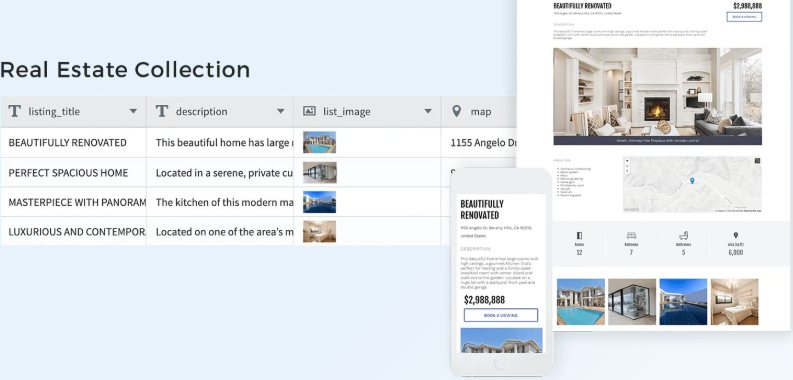
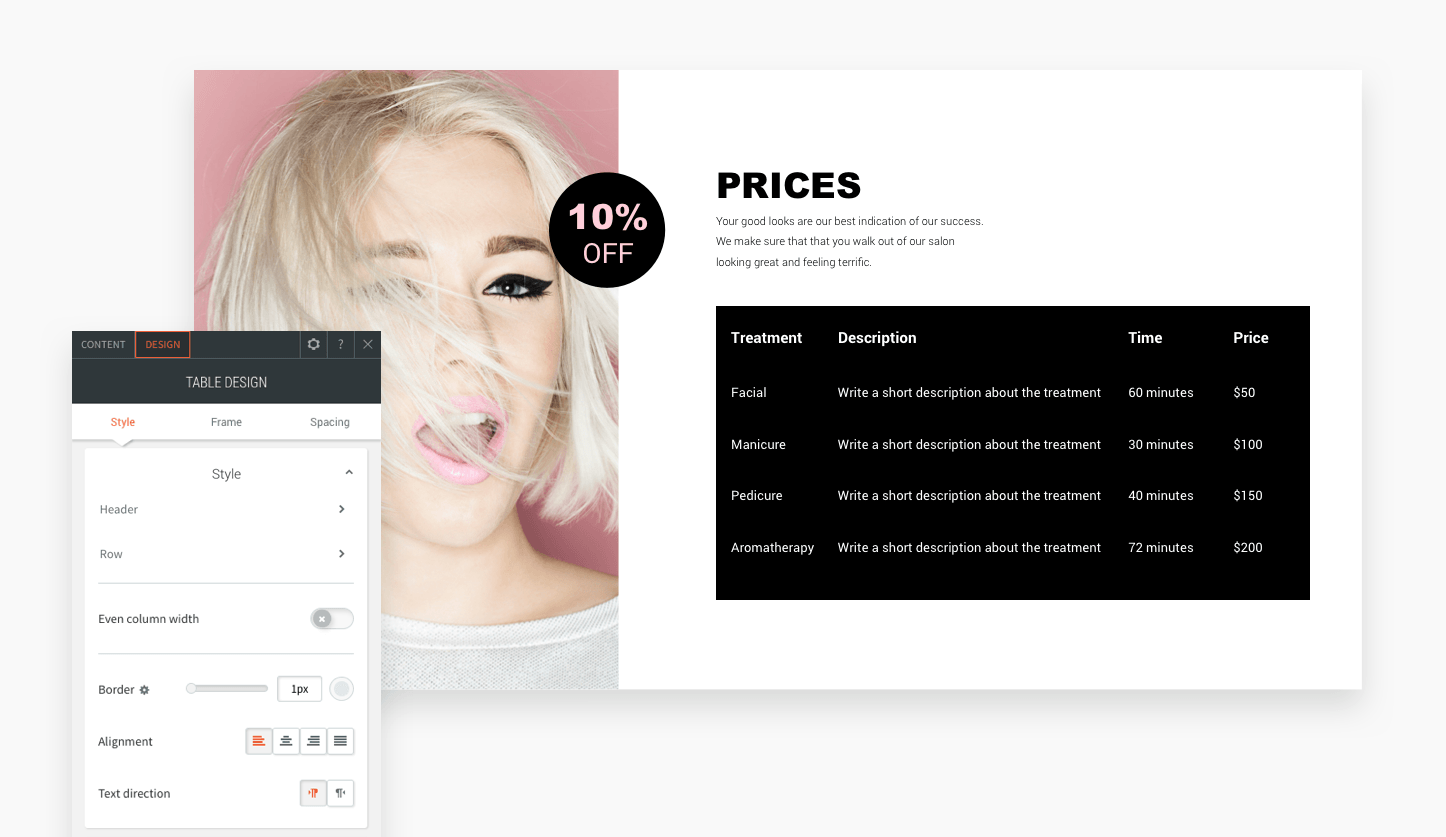
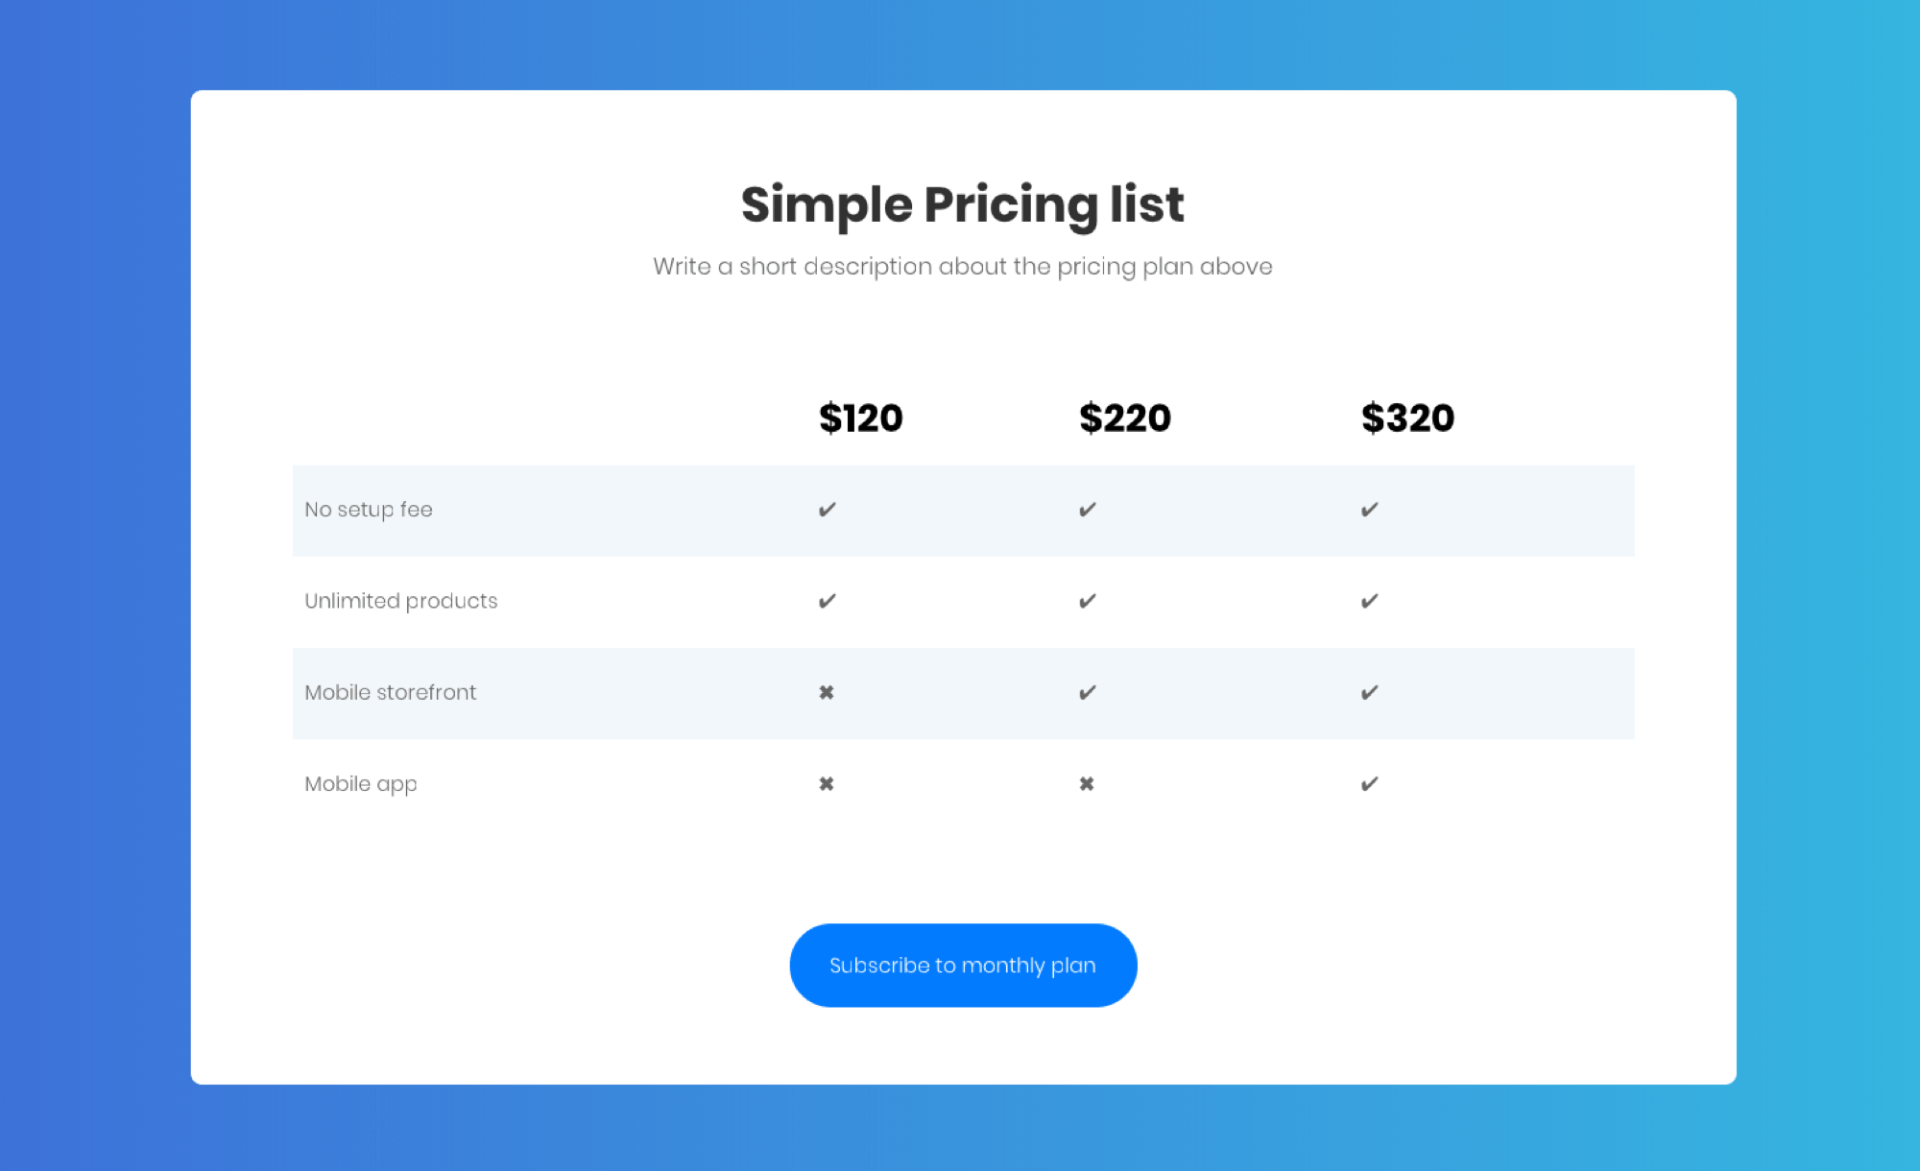
StoreFront recognizes 14 columns in the CSV file, their descriptions are below:
| Column name | Type | Description | Required | Limits |
| SKU | string | Product SKU | At least SKU or Name field is required | 255 symbols |
| Name | string | Product name | At least SKU or Name field is required | 255 symbols |
| Description | string | Product description | optional | no limits |
| Enabled | boolean | Product availability (enabled/disabled) | optional | "true", "yes", "on", "Y", "1" for true, any other values for false |
| Weight | floating number | Product weight | optional | Any valid floating number value, if column is present but empty, then product is intangible |
| Price | floating number | Product price | optional | Any valid floating number value (do NOT include currency symbol) |
| Recommended price | floating number | Product compare-to price | optional | Any valid floating number value (do NOT include currency symbol) |
| Quantity | integer | Product quantity in stock | optional | Any valid integer value, if column is present but empty - quantity tracking is disabled |
| Image | string | Product image url | optional | Only http:// and https:// links are allowed, any other values are ignored |
| Category 1 | string | Category name or path to category (e.g.Books/Science/Biology), which product belongs to | optional | 255 symbols for each name in path, "Books" - one name, "Science" - another name |
| Category 2 | string | Path to second category, which product belongs to | optional | the same as Category 1 |
| Category 3 | string | Path to third category, which product belongs to | optional | the same as Category 1 |
| Fixed shipping rate | floating number | Product shipping freight value | optional | Any valid floating number value |
| Fixed shipping rate only | boolean | If product has only fixed shipping rate | optional | "true", "yes", "on", "Y", "1" for true, any other values for false |
| UPC | string | Product 'UPC' attribute (see also: Product types and attributes) | optional | 255 symbols |
| Brand | string | Product 'Brand' attribute (see also: Product types and attributes) | optional | 255 symbols |
FAQ
Can I use an XLS/XLSX file for import?
An Excel spreadsheet file (XLSX) cannot be uploaded as is, but you can convert it to a CSV right in Excel and then upload to StoreFront. To convert XLSX to CSV, use the 'Save as' option in Excel and choose the 'CSV' format from the available options to save the file with '.csv' extension.
Please keep in mind that having a .csv extension alone doesn't make the file valid. The file contents also matter, so please make sure they comply with the import format specification.
How can I import product options?
The options are rather complex properties of the products, and it is not really feasible to put them into the same plain table, as described above. So StoreFront doesn't allow importing product options using the CSV format described here yet. However, you can partially import product options using CSV files in X-Cart format. Please, refer to this article: X-Cart import format and StoreFront
Can I import products from other file formats?
Yes, you can import your products in X-Cart and LiteCommerce formats.
More information on them:
- X-Cart import format and StoreFront
- X-Cart import-export guide
- LiteCommerce: Import/Export Procedures and CSV File Format
Can I import categories?
StoreFront doesn't allow importing categories using its format yet. However, you can import categories using CSV files in X-Cart format. Please, refer to this article: X-Cart import format and StoreFront
When I import a CSV file, StoreFront shows that the import will take a few hours, however usually it takes about 5 minutes. Why?
Import process is a quite long and resource consuming procedure. Thus it can affect server performance, so all the other stores which use the same server can load slower because of that. We don't want this. We want to make sure, that all the stores are always loaded quickly. So we have implemented a smart way to import products from different stores. How it works (in a nutshell):
- if some StoreFront users try to import products at the same time on the same server, StoreFront doesn't start to process multiple import jobs simultaneously. All the import files are put into a queue and are processed sequentially, one by one.
- If the server load is too high, all the import jobs are stopped temporarily. StoreFront will continue to import products automatically, once the server load becomes normal.
- depending on the server load and the length of the import queue, StoreFront calculates the approximate ETA of import start. It isn't 100% exact, but gives an estimation when your file will be processed.
As a result, even if 100 StoreFront users decide to import 20,000 products each at the same time, all the other stores will work without any delays or slow downs.
In your particular case we assume that the import queue has already had a bunch of files to import and the server load has been a bit high. So it has taken longer than usual to import your file.
What does the "skip column" option do?
The "skip column" options in the import settings dialog are necessary when your CSV file has some columns that cannot be processed by StoreFront, and you for some reason don't want to modify your CSV file. So, just enable the "skip column" option and StoreFront will ignore the corresponding column in the CSV file.
Troubleshooting
In most cases issues with CSV import in your StoreFront store are related to one of the following:
- invalid CSV file format
- import settings that the store administrator chooses in the StoreFront control panel do not correspond to the file content
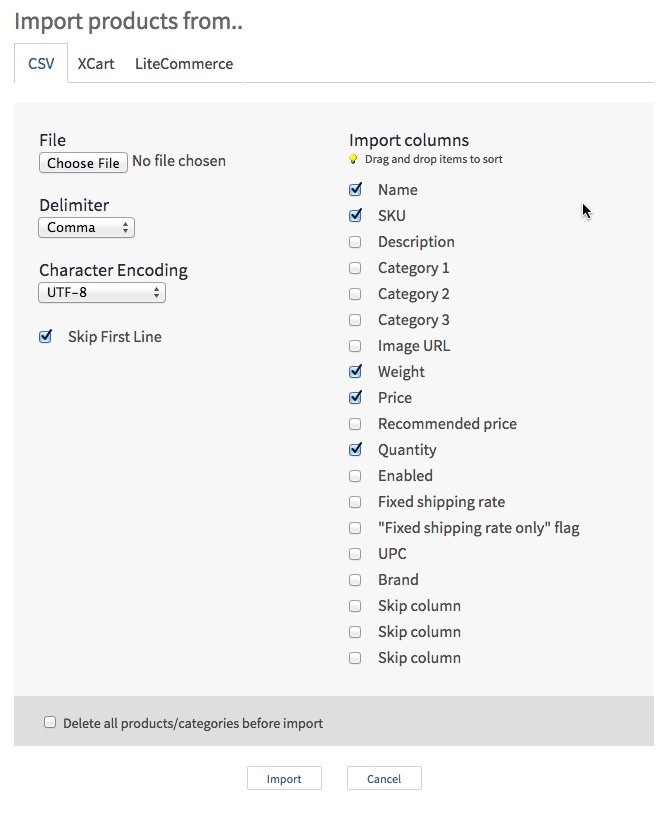
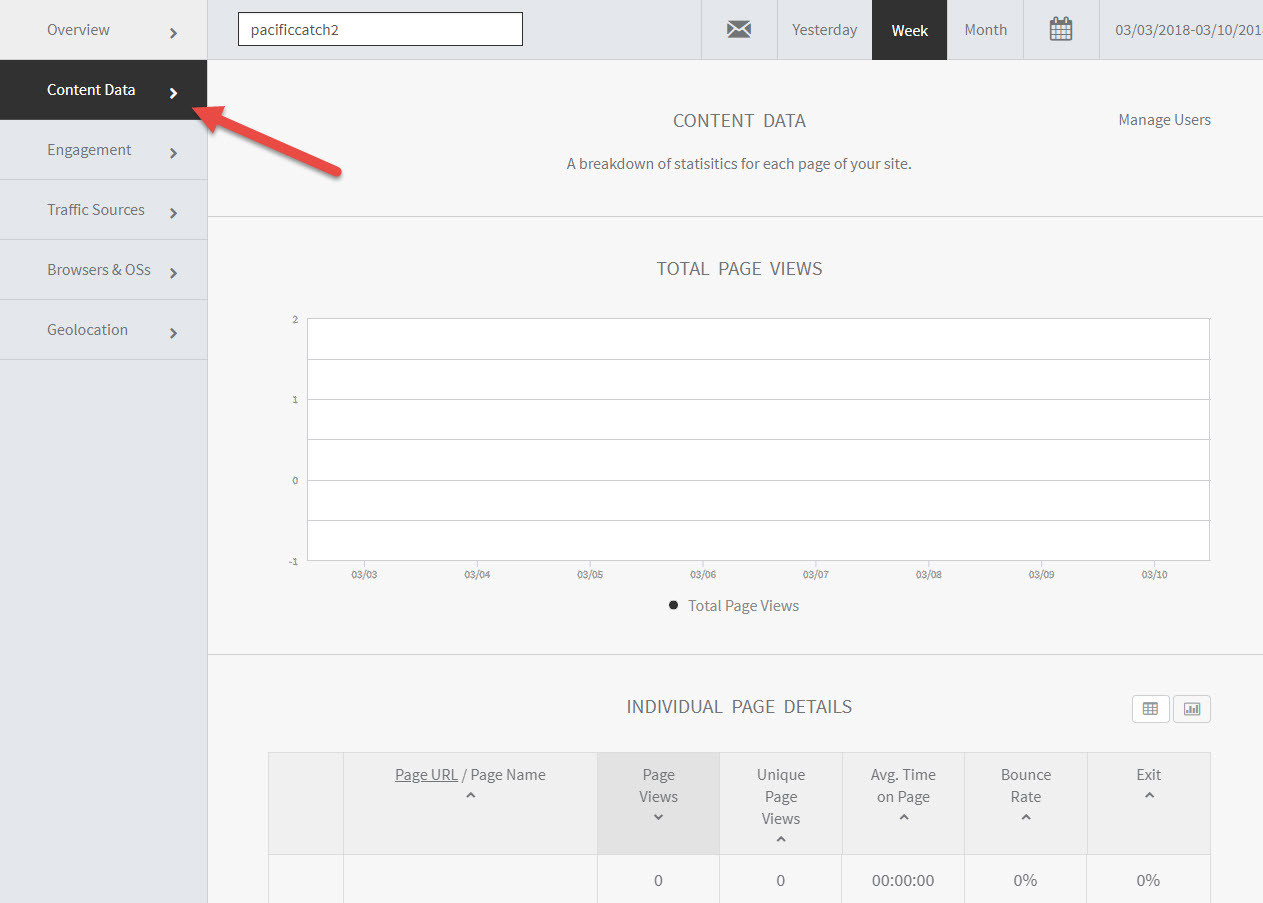
Please look at these screenshots. There you can see an example of a CSV file content and the corresponding import settings:
If you have any problem when importing a CSV file to StoreFront, you should first of all check the below points:
- Your file is in CSV format. For information on what CSV format is see http://en.wikipedia.org/wiki/Comma-separated_values
- Your file contains columns that StoreFront supports.
- Columns that represent numeric product properties (e.g. price, quantity, etc.) contain numbers, not text-strings.
- Columns enabled in the import settings are the same as in the CSV file. For example, if your CSV file contains SKU, name, price and weight columns, exactly the same checkboxes should be ticked in the import settings dialog (SKU, name, price, weight).
- Column order in the CSV file corresponds the column order in the import settings.
- The values separator (comma, semicolon, or tab) used in your CSV file corresponds the 'Delimiter' option in the import settings dialog.
- CSV file encoding is the same as the one you select in the 'Character encoding' option in the import dialog.
Please find the full format specification here.
An error is displayed on the import page. What does it mean?
The import function may generate the following errors:
| In StoreFront maximum category depth is limited to 50. Your import file contains category /Category1/Category2/.../Category80, which has depth of 80. Please reduce the number of its parent categories and try again. | You have too many nested categories |
| 'Category name' is too long (400 symbols) . The maximum allowed length is 255 symbols. | StoreFront has a limit for a the category name field length. Your import file contains a category name value longer than 255 symbols. |
| Wrong columns count. You have selected 10 columns in import dialog, but the file contains only 8. | If you select 10 columns, each line in your file has to contain at least 10 values. Values may be empty (it depends on a column type), for example: sku0001;iPhone 3GS 16Gb;;;;;;;;;;;;; |
| Unsupported image format (http://www.example.com/image.psd) | StoreFront supports only JPG, BMP, PNG and GIF image file formats |
| Image http://www.example.com/image.jpg is bigger than 4Mb | StoreFront doesn't allow uploading images bigger than 4 megabytes |
| 'SKU' or 'Name' column has to contain value | Every product line has to contain at least one value - SKU or Name. Product can not be created (or updated) without SKU and Name |
| 'SKU' is too long (300 symbols) . The maximum allowed length is 255 symbols. | StoreFront has a limit for the SKU field length. Your import file contains SKU values which are longer than 255 symbols |
| 'Name' is too long (350 symbols) . The maximum allowed length is 255 symbols. | StoreFront has a limit on the Name field length. Your import file contains Name values longer than 255 symbols |
| Incorrect 'price'/'weight'/etc value | Column has data of a wrong format. Please do not use letters or currency symbols in numeric columns |
| Malformed image URL htp://example.com/image.jpg | URL is of a wrong format. For example,
Common URL format is [protocol]://[server]/[file path]
|
| Cannot upload image http://www.example.com/image.jpg | StoreFront can not load an image from server example.com due to server failures, timeouts or other network problems |
| StoreFront has a limitation of 10,000 categories per store. | StoreFront has a limitation of 10,000 unique categories per one store. This error message means than your store plus categories from the import file would break this limit |
I have tried to update my products with import, but it has duplicated them. Why is that?
When updating your products with the import function, StoreFront checks if the incoming products already exist in your inventory by their SKUs as the key field. It takes each row of the imported file and verifies whether the SKU is already present among your products. The SKU is verified word-by-word, i.e. the length and the exact characters in the SKU must match both in the imported file and ina your inventory in order for StoreFront to consider this product a target for the update. If such a product is not found, StoreFront will create a new one and will store the information from that row in the new product.
So, for example, SKUs '00050' and just '50' are completely different for StoreFront, despite that they both may represent numeric value 50 and may look the same for humans. When you have a product with SKU '00050' in your inventory, and try to import a product with SKU '50', you will get 2 similar but separate products - because for StoreFront those 2 SKUs are completely different.
We have had a number of reports that Microsoft Excel has to cut off the leading zeros from the SKUs, just like in the example above. This may result in duplicating products when you quickly edit your exported inventory in Excel and import it back to StoreFront.
Excel automatically selects the most similar format for the columns, so if you use numeric SKUs and try to edit an exported file from your StoreFront inventory in Excel, it may decide that SKUs are pure numerals and their leading zeros are meaningless.
To prevent such behavior, you can try to rename the exported *.csv files from StoreFront into *.txt, open them in Excel with 'Open…' menu command (not just by double-clicking on the file). In this case Excel will show the settings dialog, where you can select the exact type for each column; you should select the 'Text' type for the SKU column to preserve its leading zeros.
The other solution is to use OpenOffice.org free office suite to edit the *.csv files exported from StoreFront. No renaming is needed then: you can just open the *.csv files with OpenOffice spreadsheet editor and it will show the settings dialog immediately. Make sure that the settings you use there produce a meaningful table of product properties for you, and the SKU codes match the ones you actually use in your StoreFront shop.
Product images failed to import. Why?
In some cases everything is imported fine except for the product images. If you face such a problem, please follow these troubleshooting steps:
1. Check whether the images URLs you put in your CSV file are correct and accessible on the web.
The images prepared for import have to be available by direct links, e.g. 'http://example.com/images/product_1.jpg'. To check them you can try to open an image URL in your browser: if the image is opened without asking for password or login, it can be included into the import file.
2. Make sure each product image URL leads directly to the image file, not to an HTML page that contains the image.
For example, if you upload your images to some image hosting like Flickr and want to include their URLs to your StoreFront CSV import file, you have to use the direct links (e.g. http://example.com/image.jpg) , not just URLs of HTML pages that display that image (e.g. http://example.com/image_page.html) . Here's how to get a direct link from an HTML page containing the image:
- open the page in your browser
- right-click on the displayed image
- the mouse context menu will likely contain a selection like 'Copy image URL' . This URL will work unless it is protected by your account login.
I use non-English characters in my product names and descriptions. When I export them to a CSV file and open them in Excel, the characters do not show correctly.
StoreFront exports all the information in UTF-8. This encoding is widely used and is already a standard for web applications, because it is compatible with all languages. For example, you can have a part of your product description in French and the other part - in Japanese.
However, if you use a non-English version of Excel, it may expect your CSV file to be in a different encoding, for example in the encoding of your national language. Thus, non-ASCII symbols will be corrupted. In order to fix this issue take these steps:
- Launch Excel.
- Go to the "Data → From text" page (if you use localized Excel, the actual menu items` names may vary). Open your CSV file.
- The "Text Wizard" window will appear. Set the correct delimiter and charset (use "UTF-8")
All decimals are rounded to nearest integers after importing a CSV file. Why?
Such issues are caused by an incorrect number format used in the import CSV file, e.g. when you use a comma as a decimal separator (it must be a dot). Please refer to this paragraph for the details: Number format.
]]>

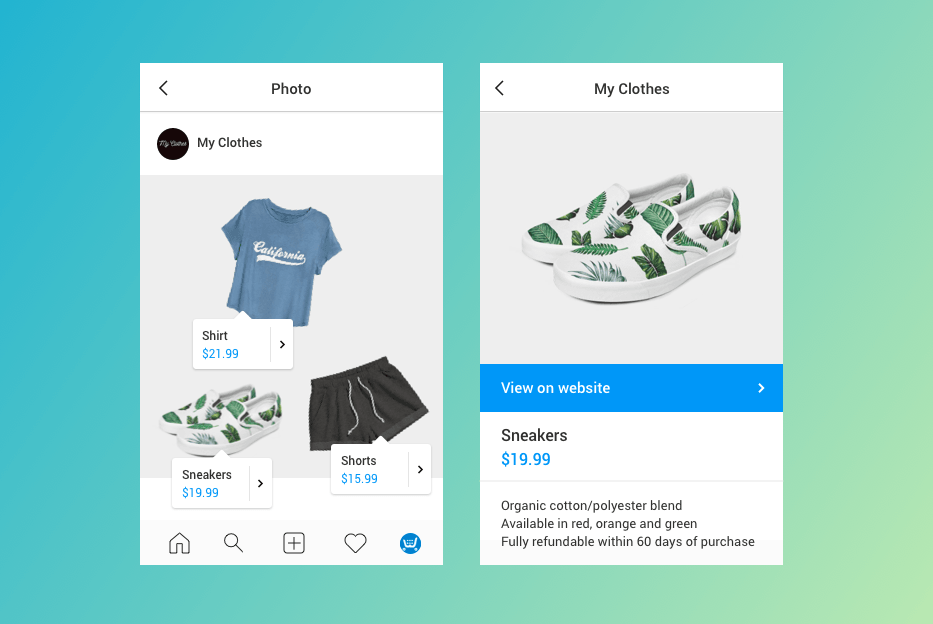


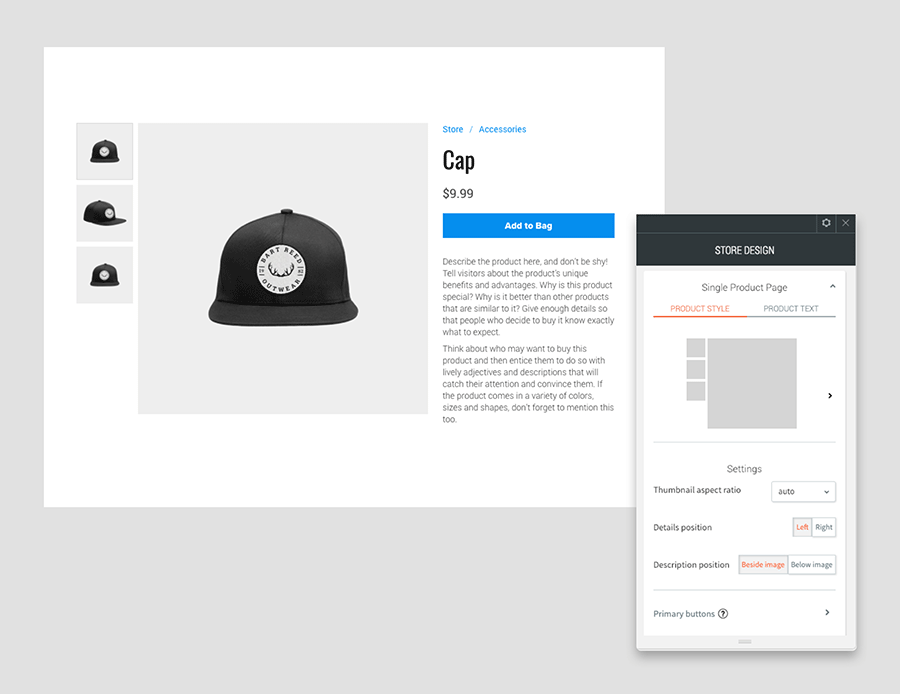
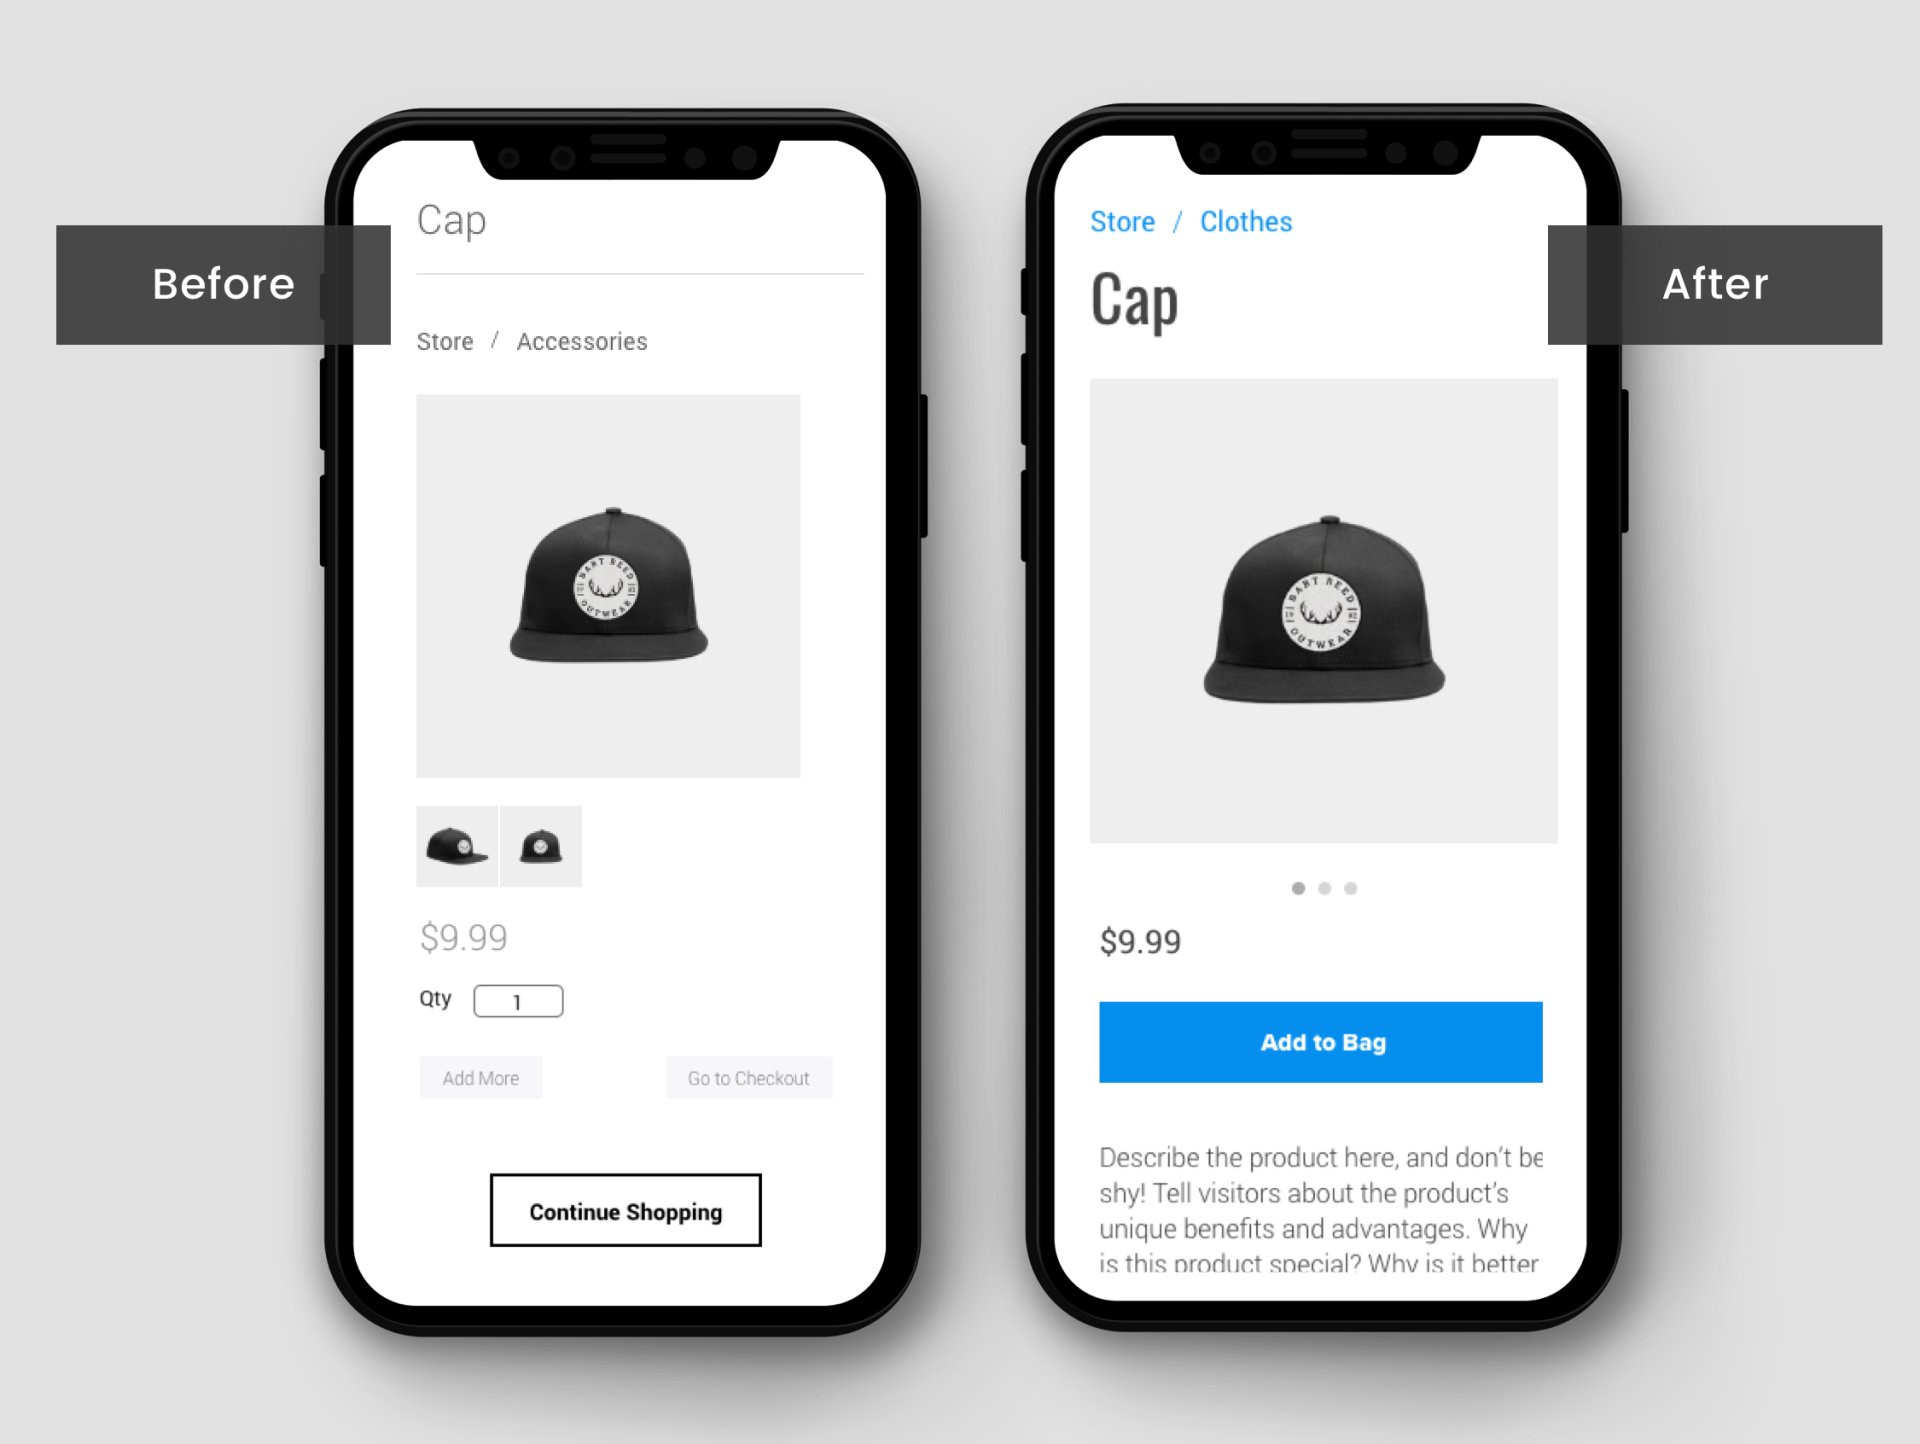 Caption: Single product page - Mobile view
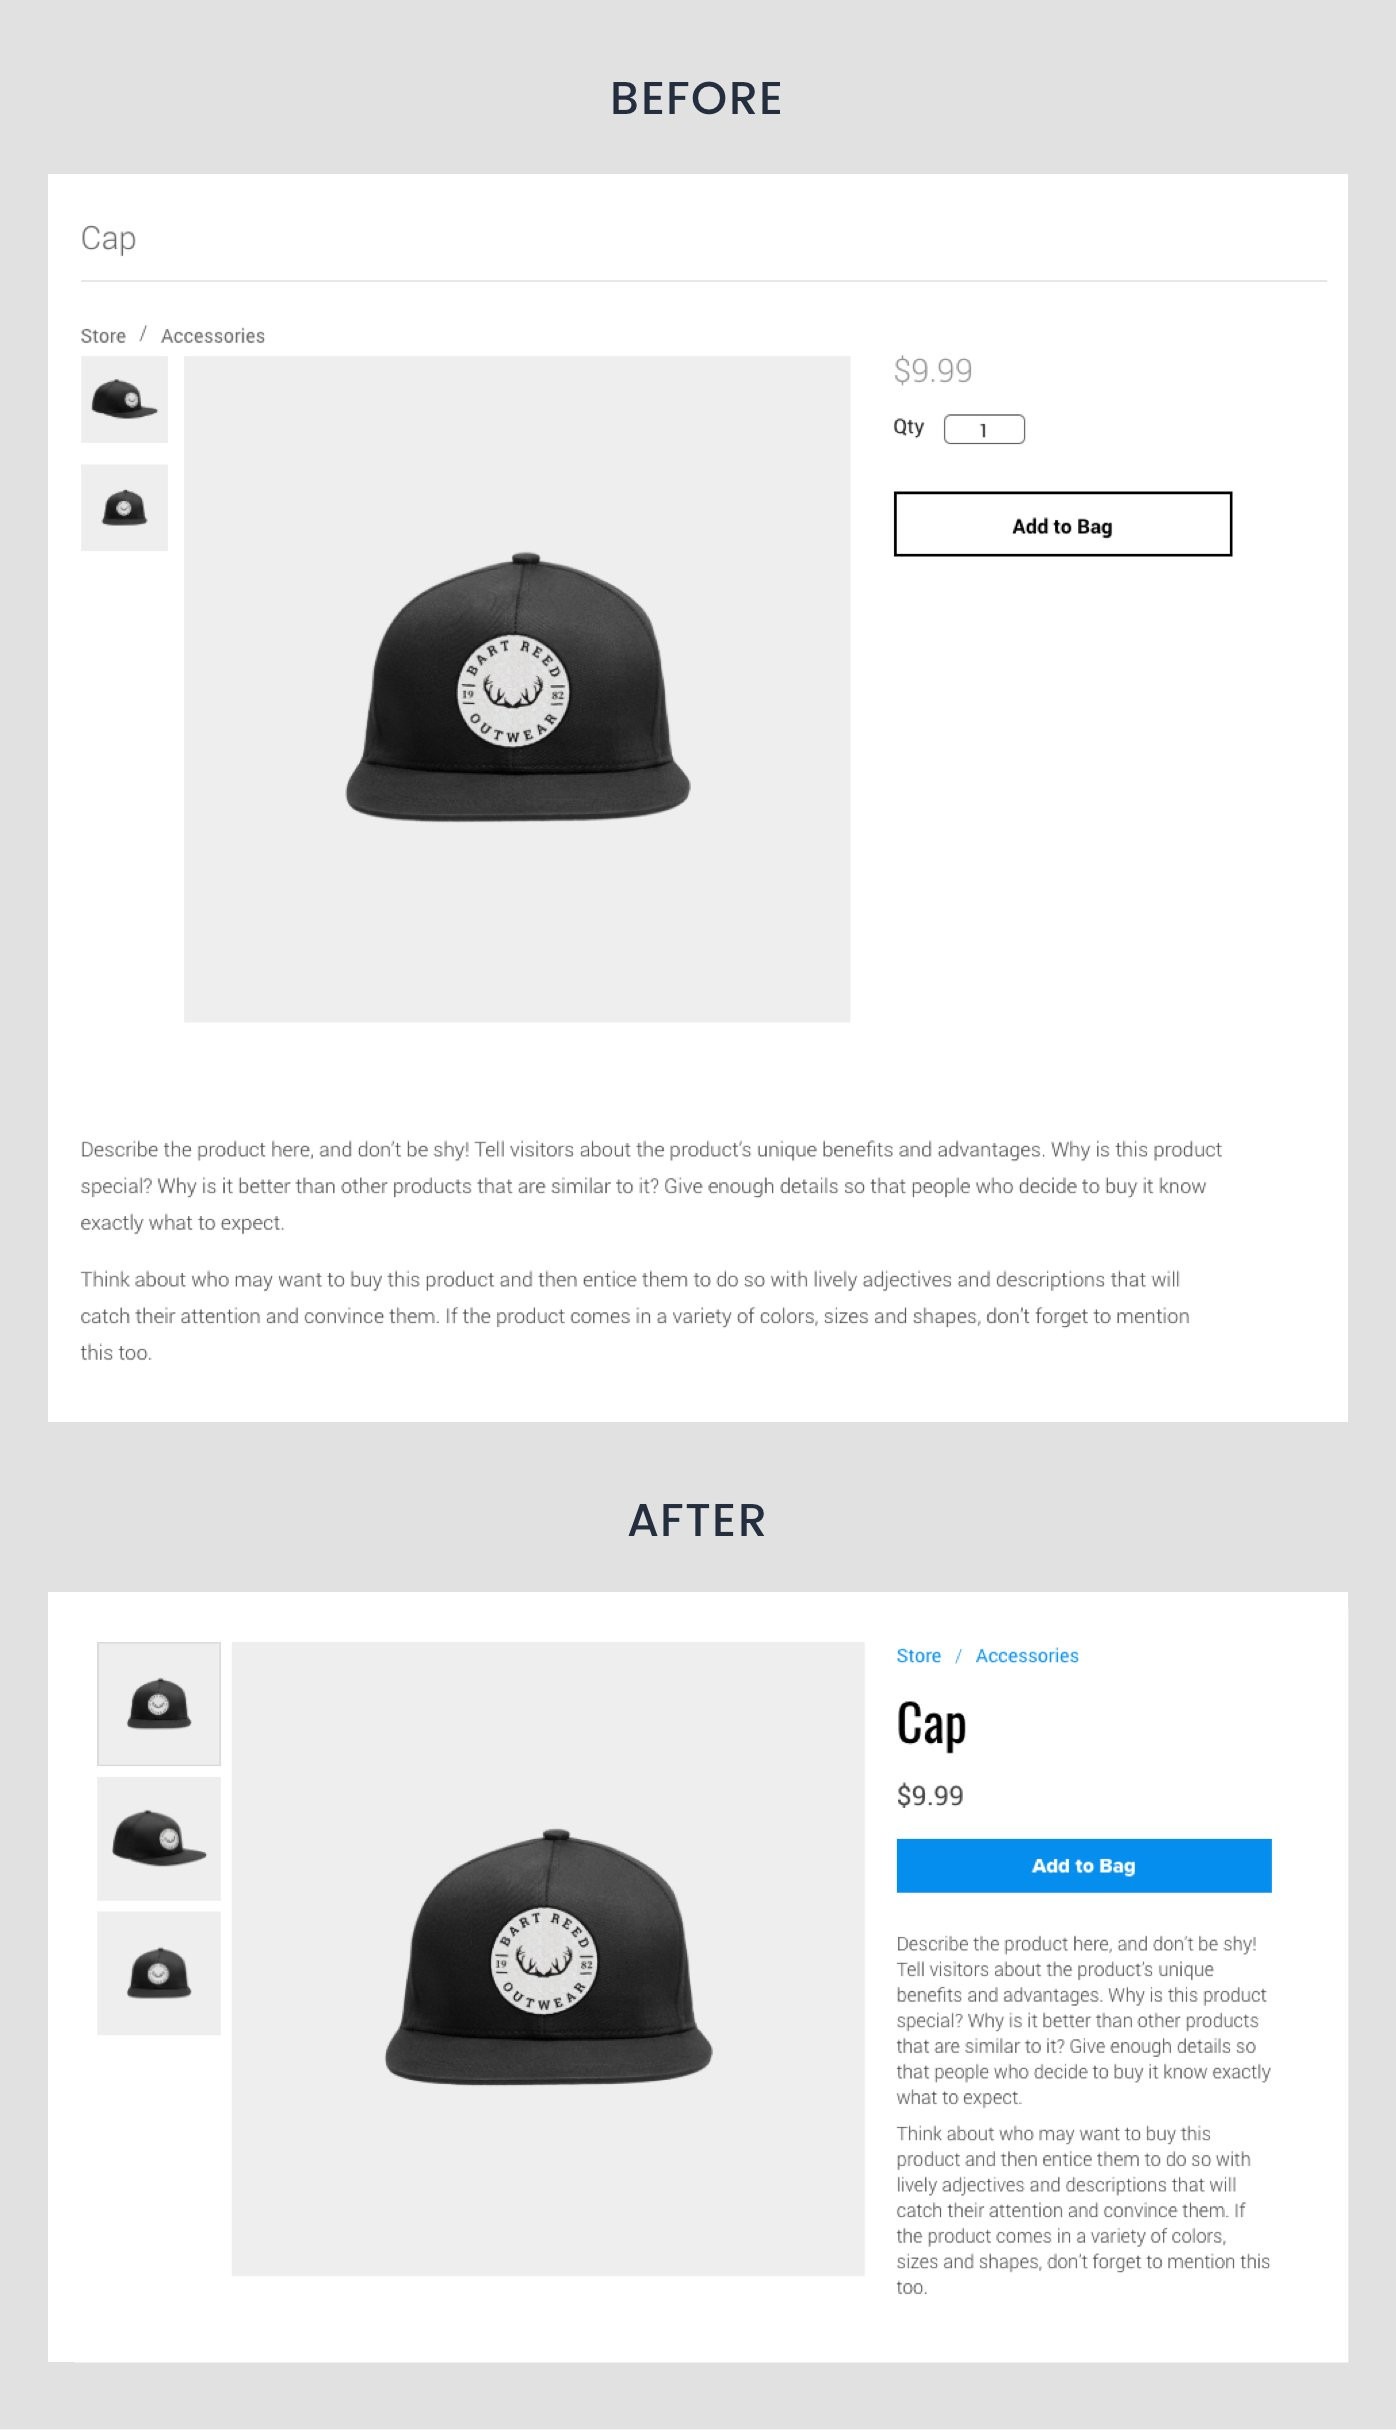 Single product page - Desktop view


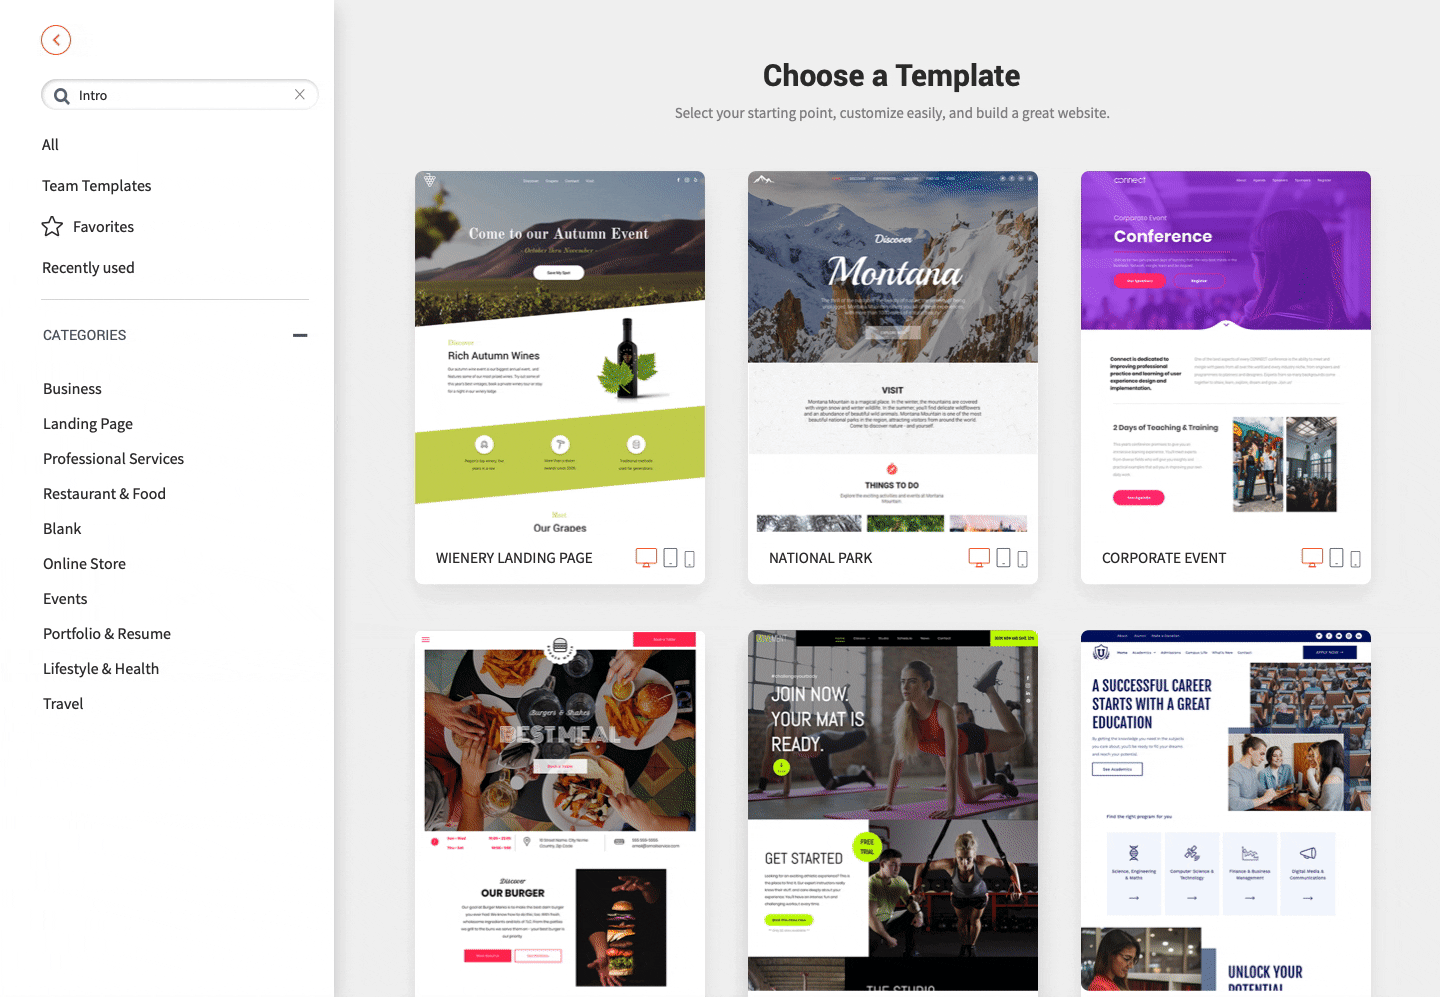
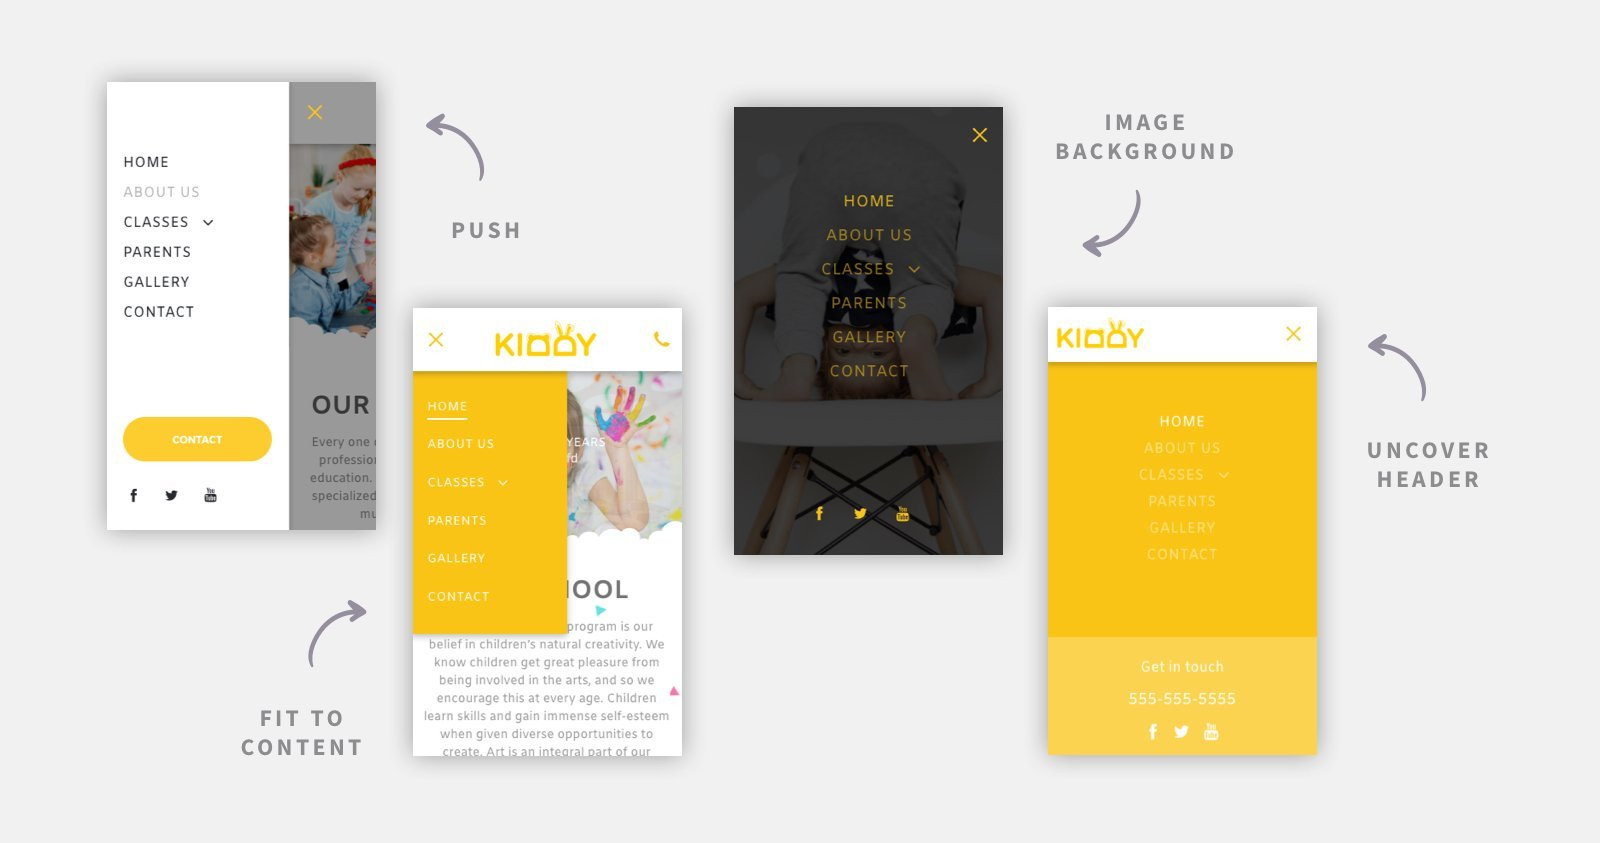
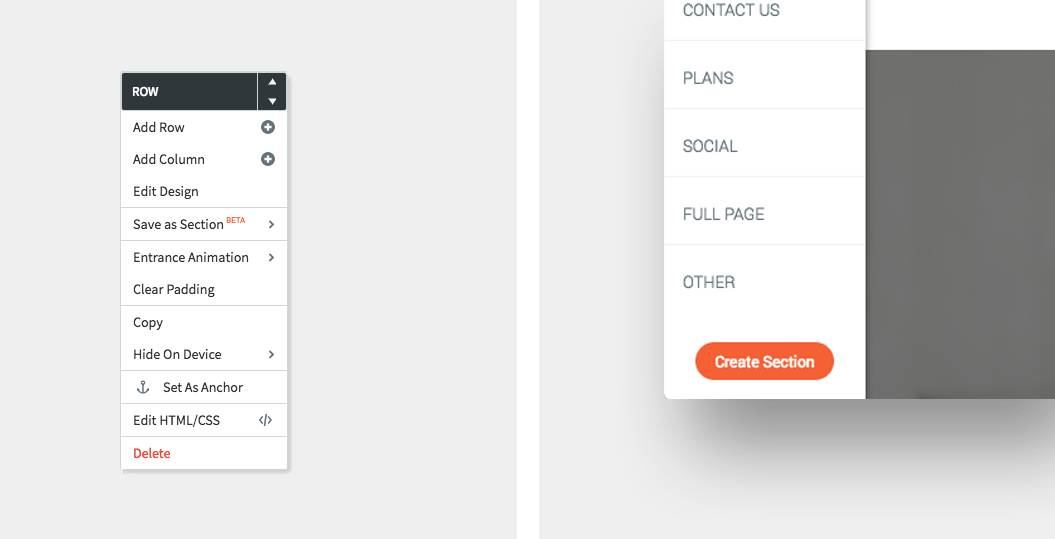
 Find in the INTRO category: Side-by-side buttons
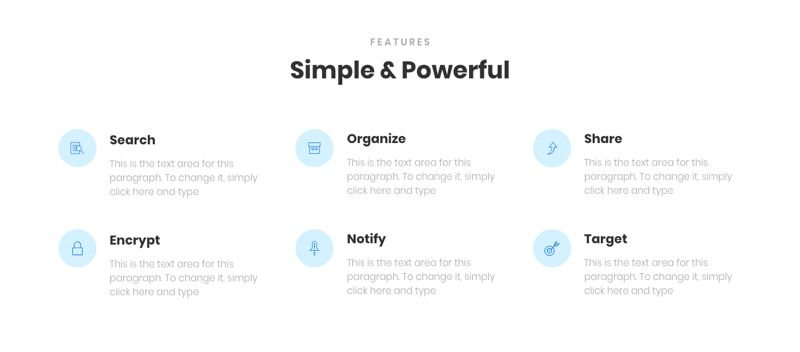 Find in the FEATURES category: Six-column row
 Find in the ABOUT category: Multi-columns with image
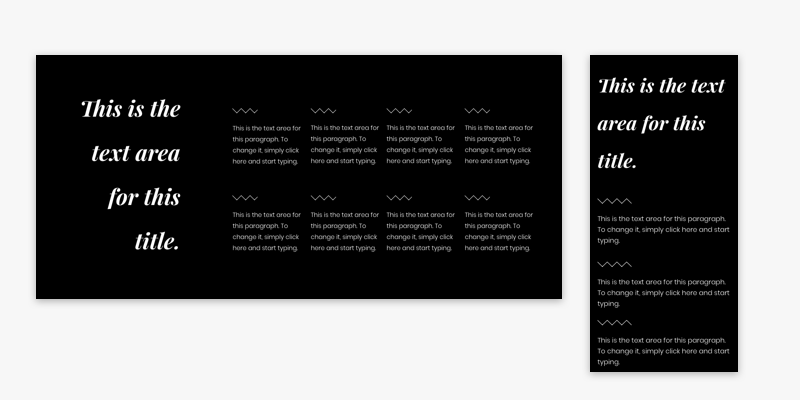
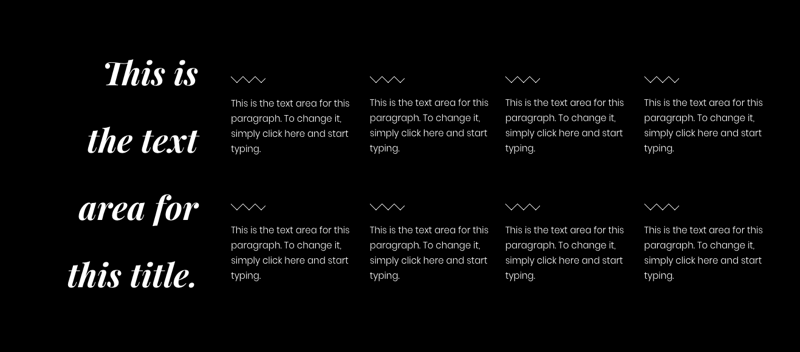 Find in the TEXT BLOCKS category: Five-column row
 Find in the TEXT & IMAGE category: Multi-column section with image
 Find in the TEAM category: Grid with multi-column cards
 Find in the CONTACT US category: Contact information with icons


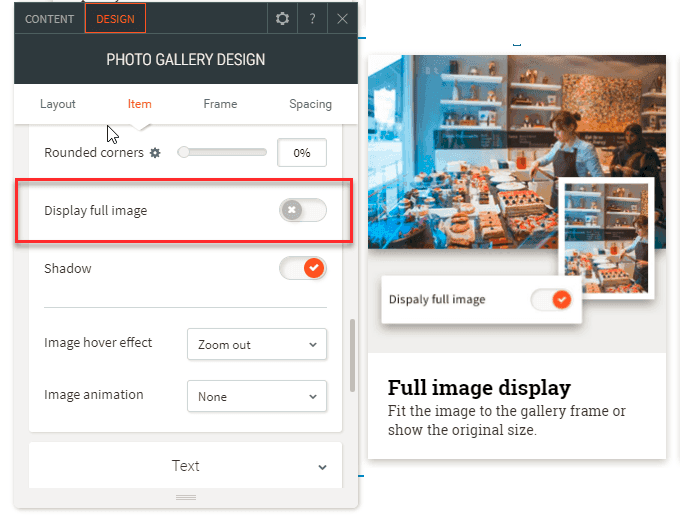
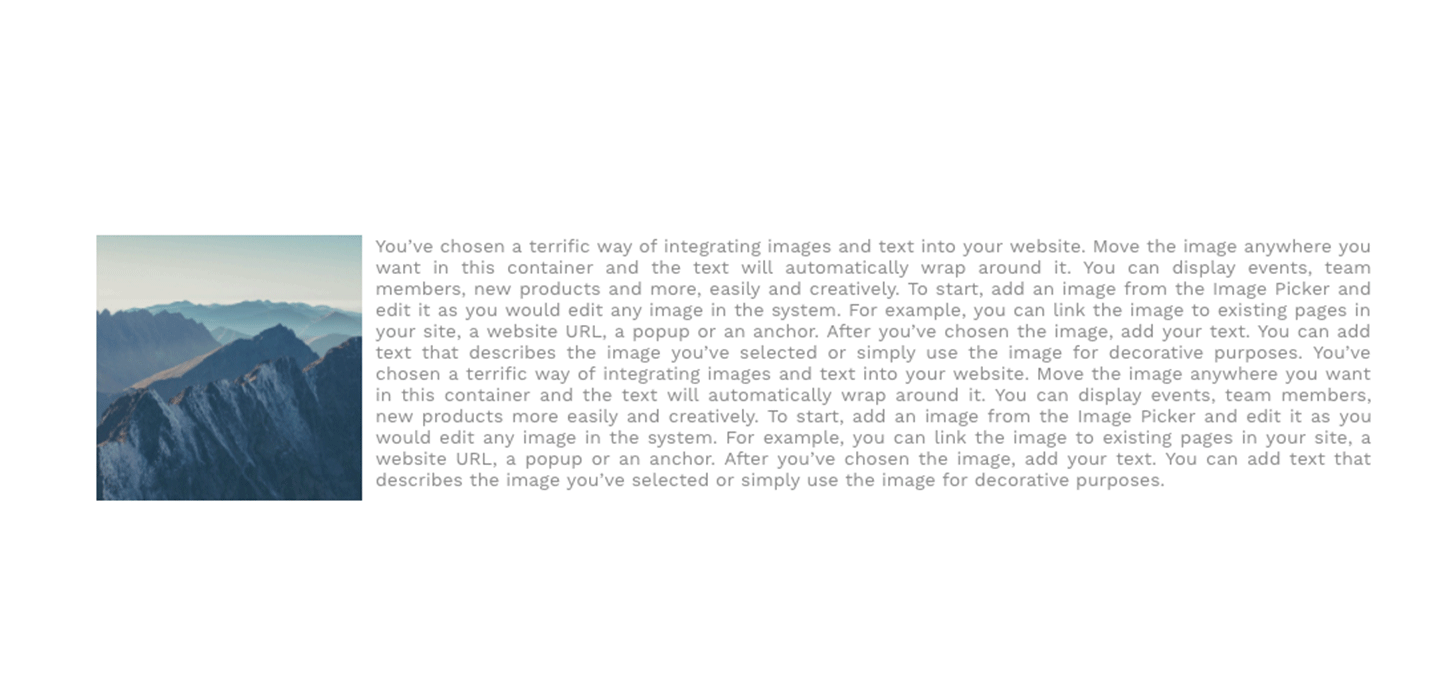
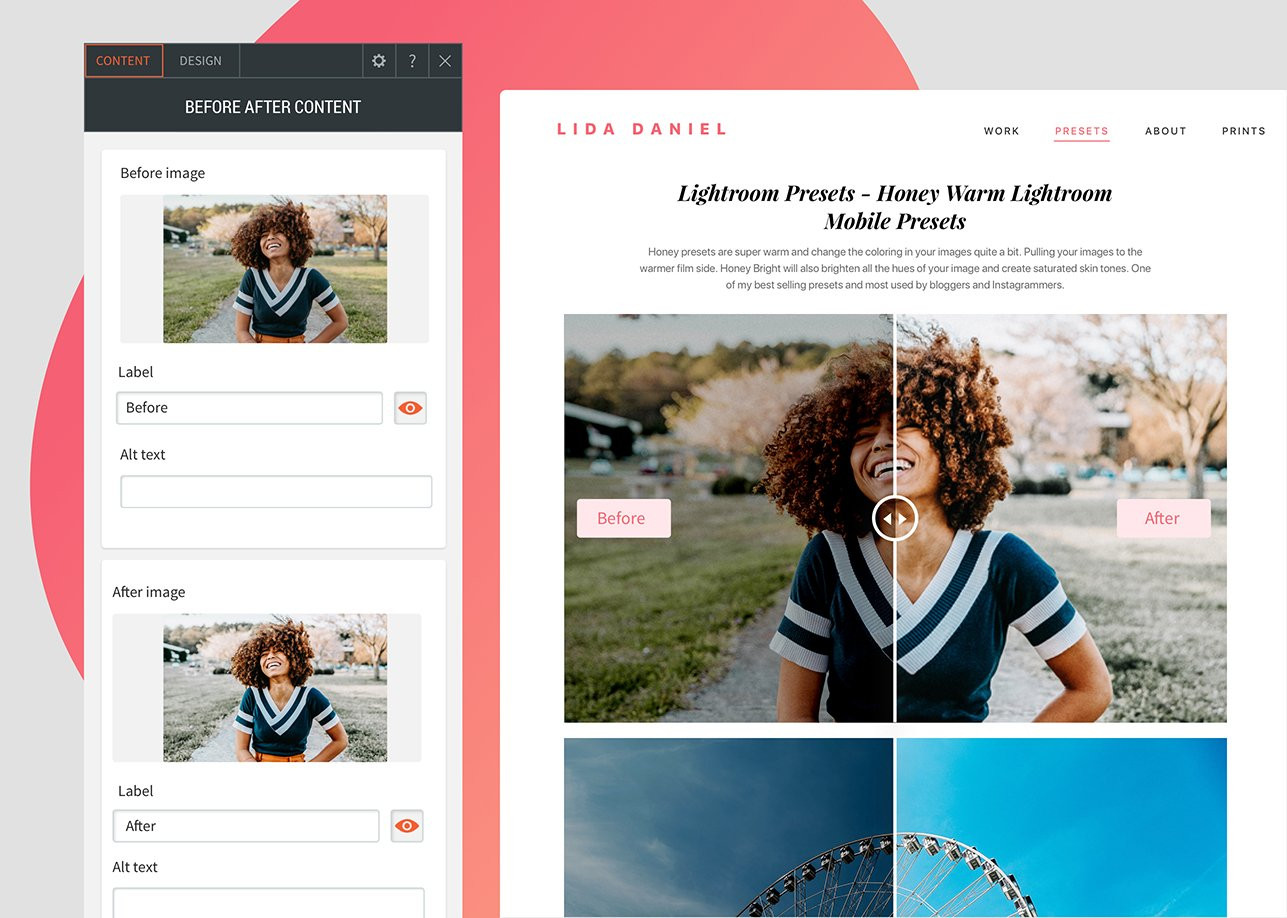
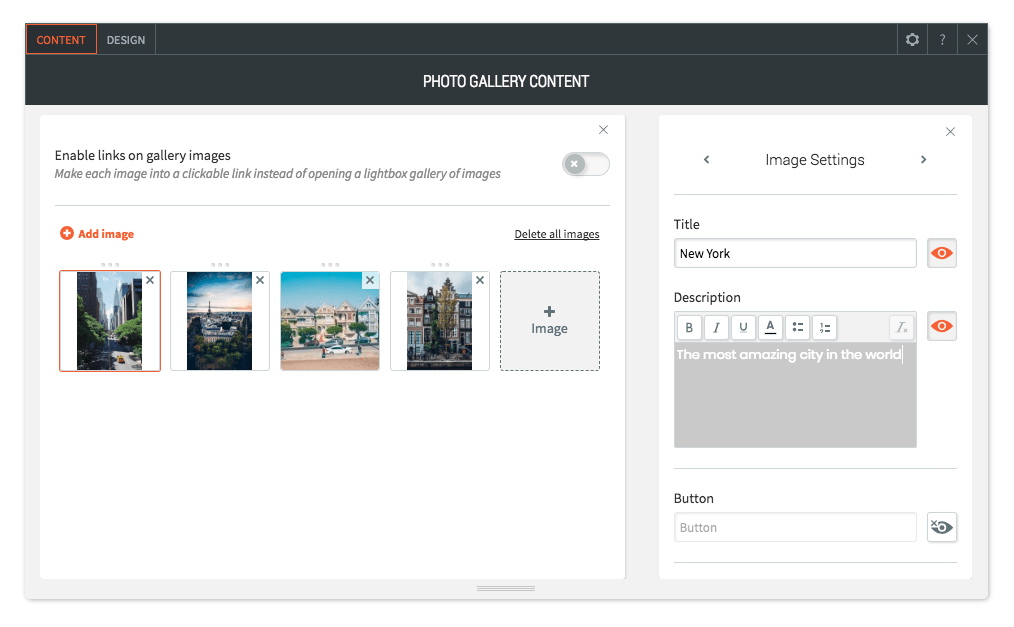 In the Photo Gallery widget, you can add text to any image via the Title and Description fields.
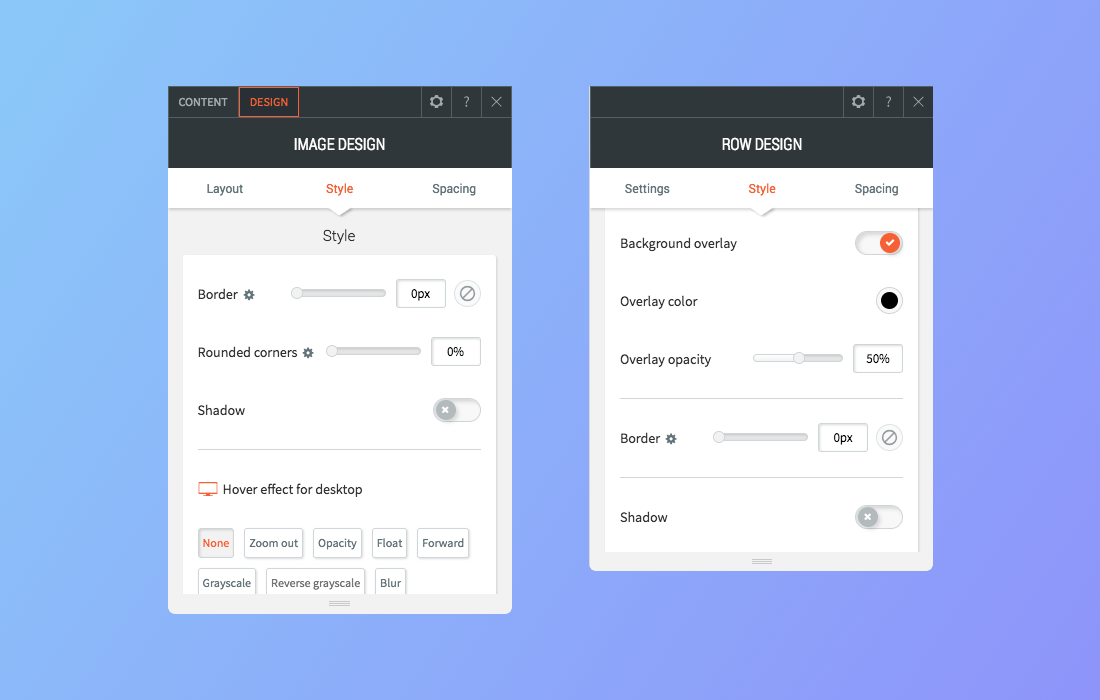
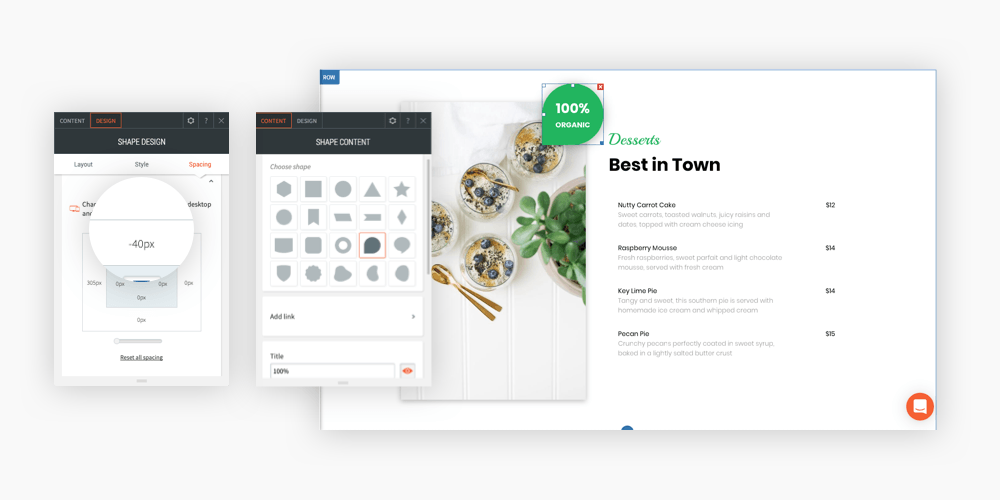
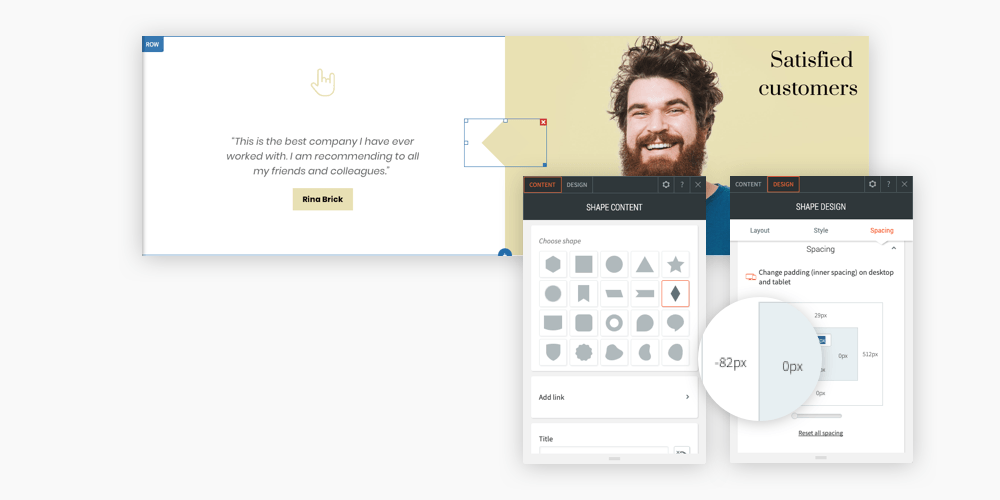
 So many shadow possibilities!
 You have full control over the shadow position. Here, there’s an outer shadow along the bottom right of the element.
 In this example, an inner shadow appears along all sides of the element.
 Use a shadow to highlight important calls to action.
 Use a shadow to highlight services or features.
 Use a shadow that’s visible on a light background. In this case, #c7c7c7.
 Don’t use a shadow that is much darker than the background. In this case, #999999.
 Use a shadow that’s visible on a dark background.
 Use a color shadow that suits the element or website color. Preferably, choose a lighter/darker color.


 Using a creative font with a header image can really bring life to the image.
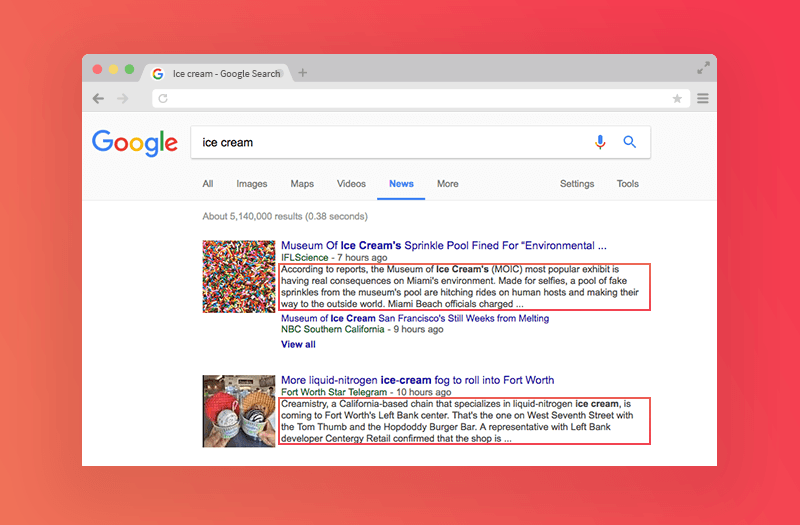 These are the top two results for “ice cream” on the Google SERP. Note that they are both longer than the old 165-character limit.
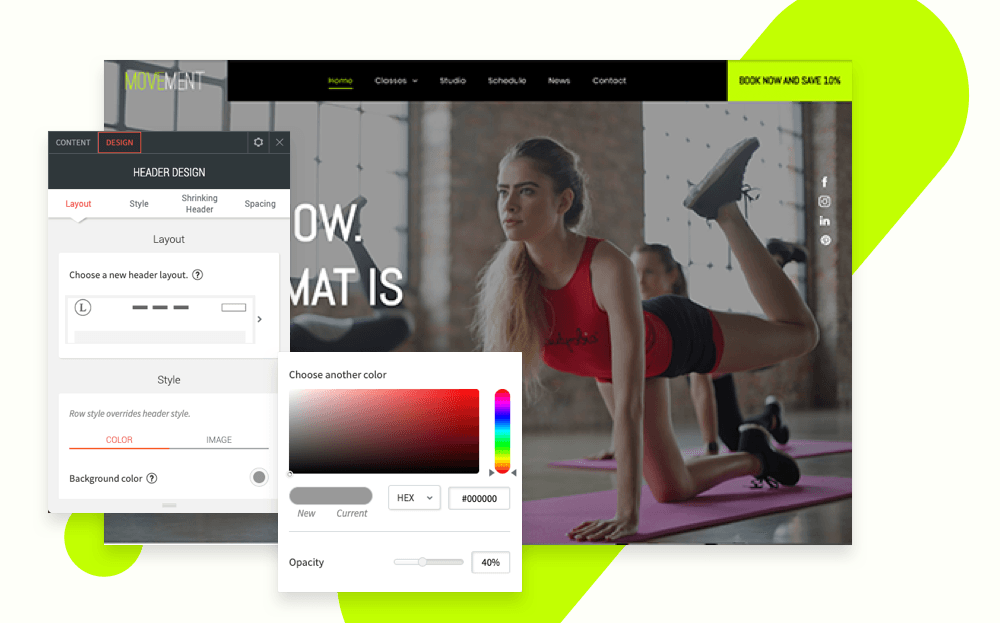
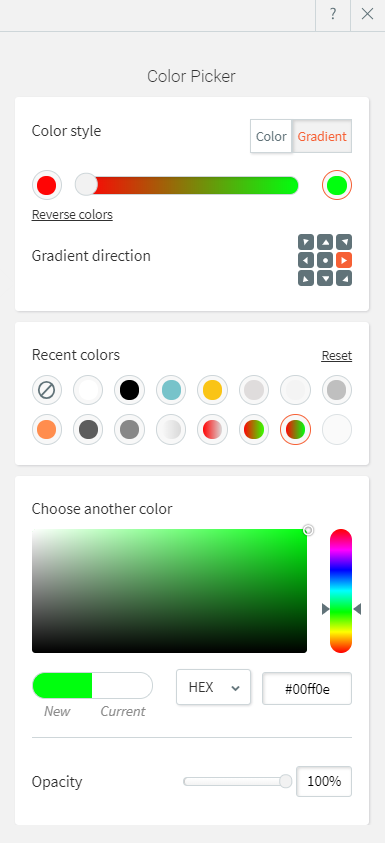
 Image overlay: Create a sense of atmosphere by adding a delicate gradient to a background image overlay.
 Row background: Draw attention to important information by adding a vibrant gradient to a row background.
  Button gradient: Emphasize a page’s primary Call to Action by using an eye-catching gradient.


 All sites are now optimized for the iPhone X incredible edge-to-edge display.


 Your Mixcloud layout options
 Your SoundCloud layout options


