The idea of the Workspace feature is to store your social media pages in folders (by businesses) . Per your permission, other people can have access to it. You can invite your clients and teammates to a workspace, add pages and collaborate on the content together.
Follow this guide to create a workspace and tweak it the way you need.
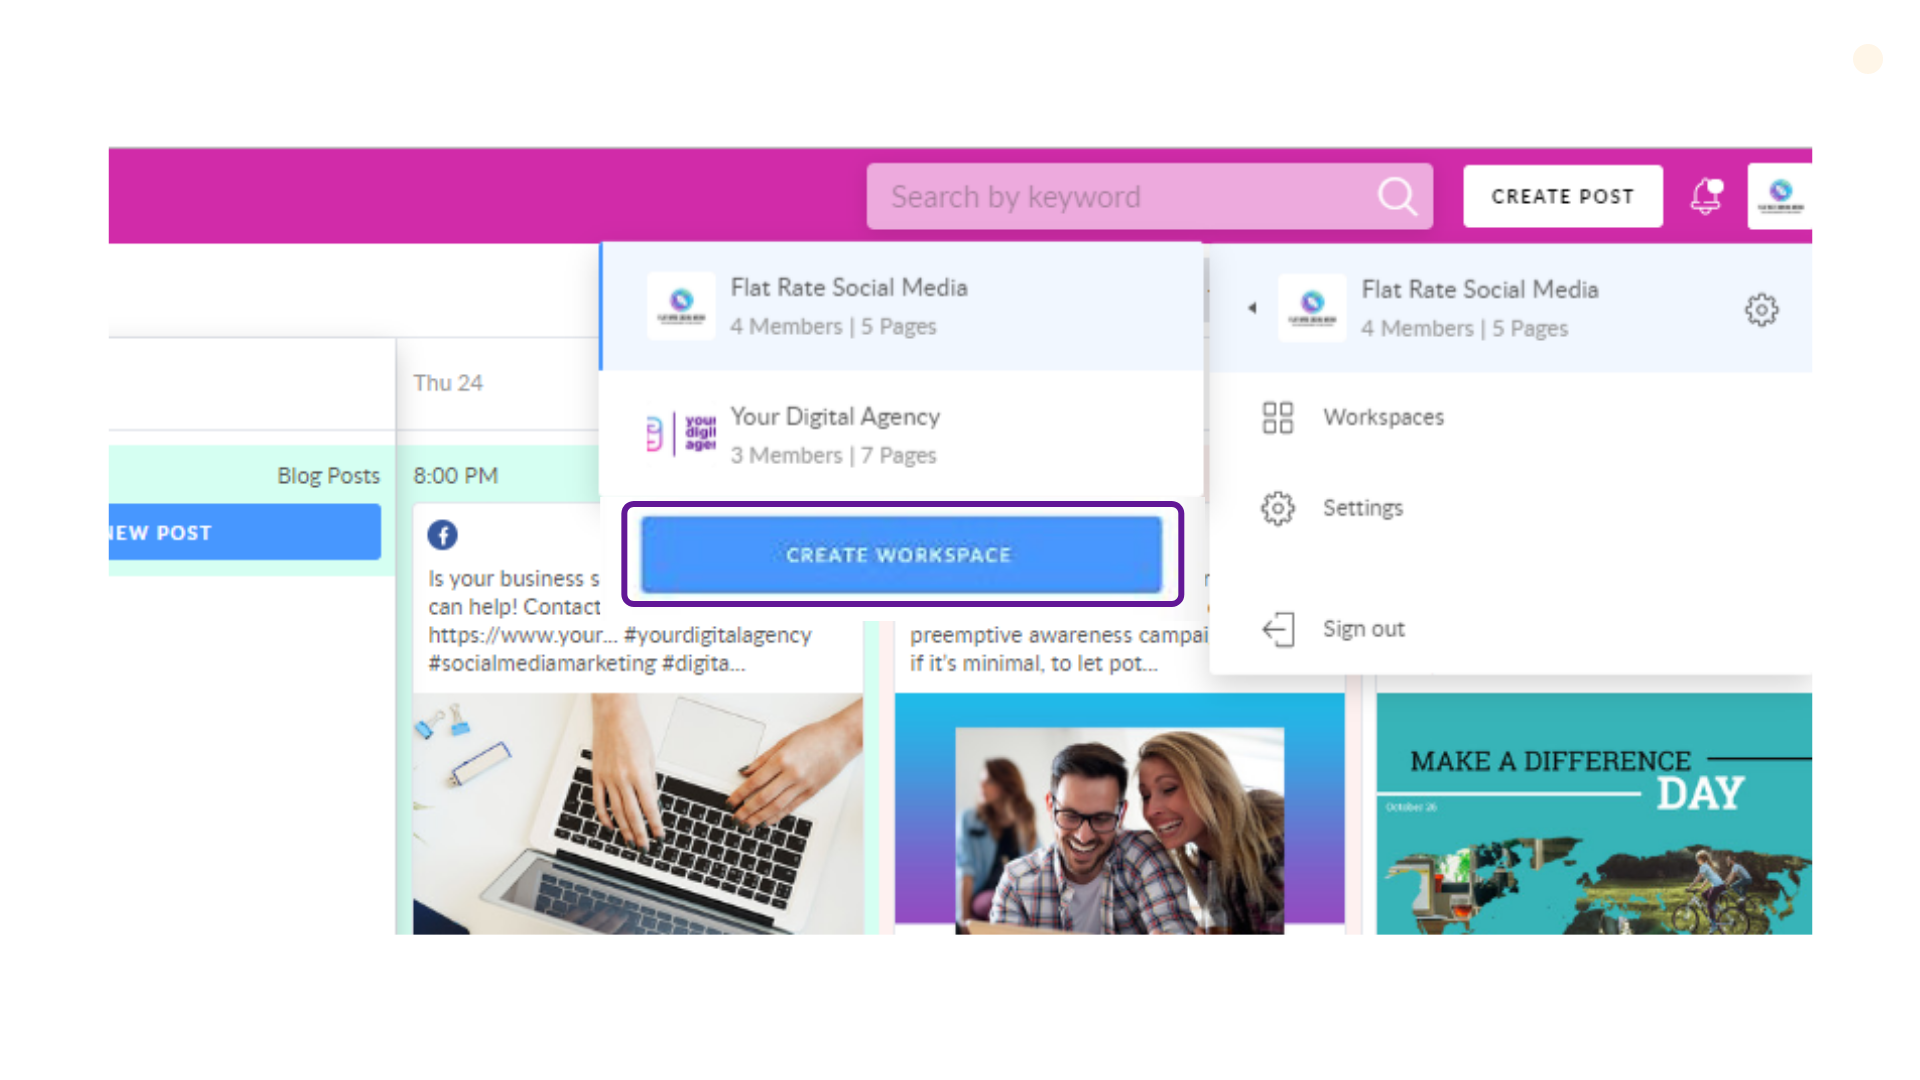
1. Click on the top right corner in your YDA Social Dashboard and move cursor downwards. An additional window will emerge with the blue Create Workspace button. Go ahead and hit it!
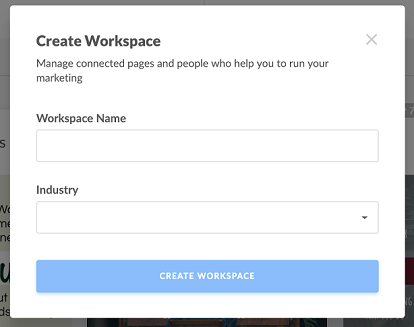
2. Create a new workspace, adding its name and industry.
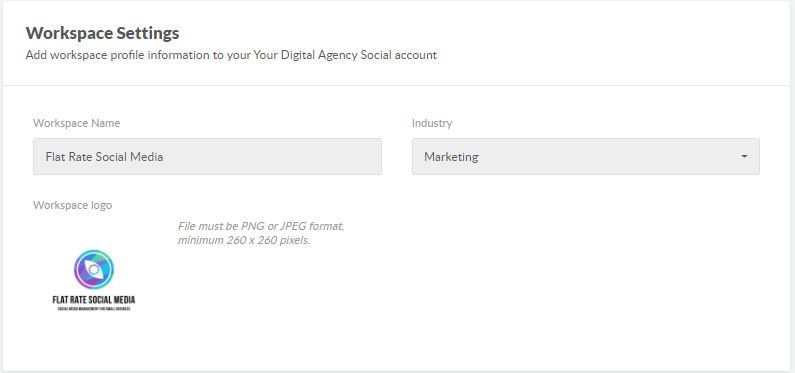
3. Then you will be redirected to the workspace settings, where you can:
-
Adjust the its logo;
- Add collaborators;
- Connect your social pages.
You can change the workspace name, industry and logo as often as necessary. We recommend uploading the company logo to identify your client easily.
In order to add a collaborator, click on the plus icon in the Connected Pages and Teammates section. 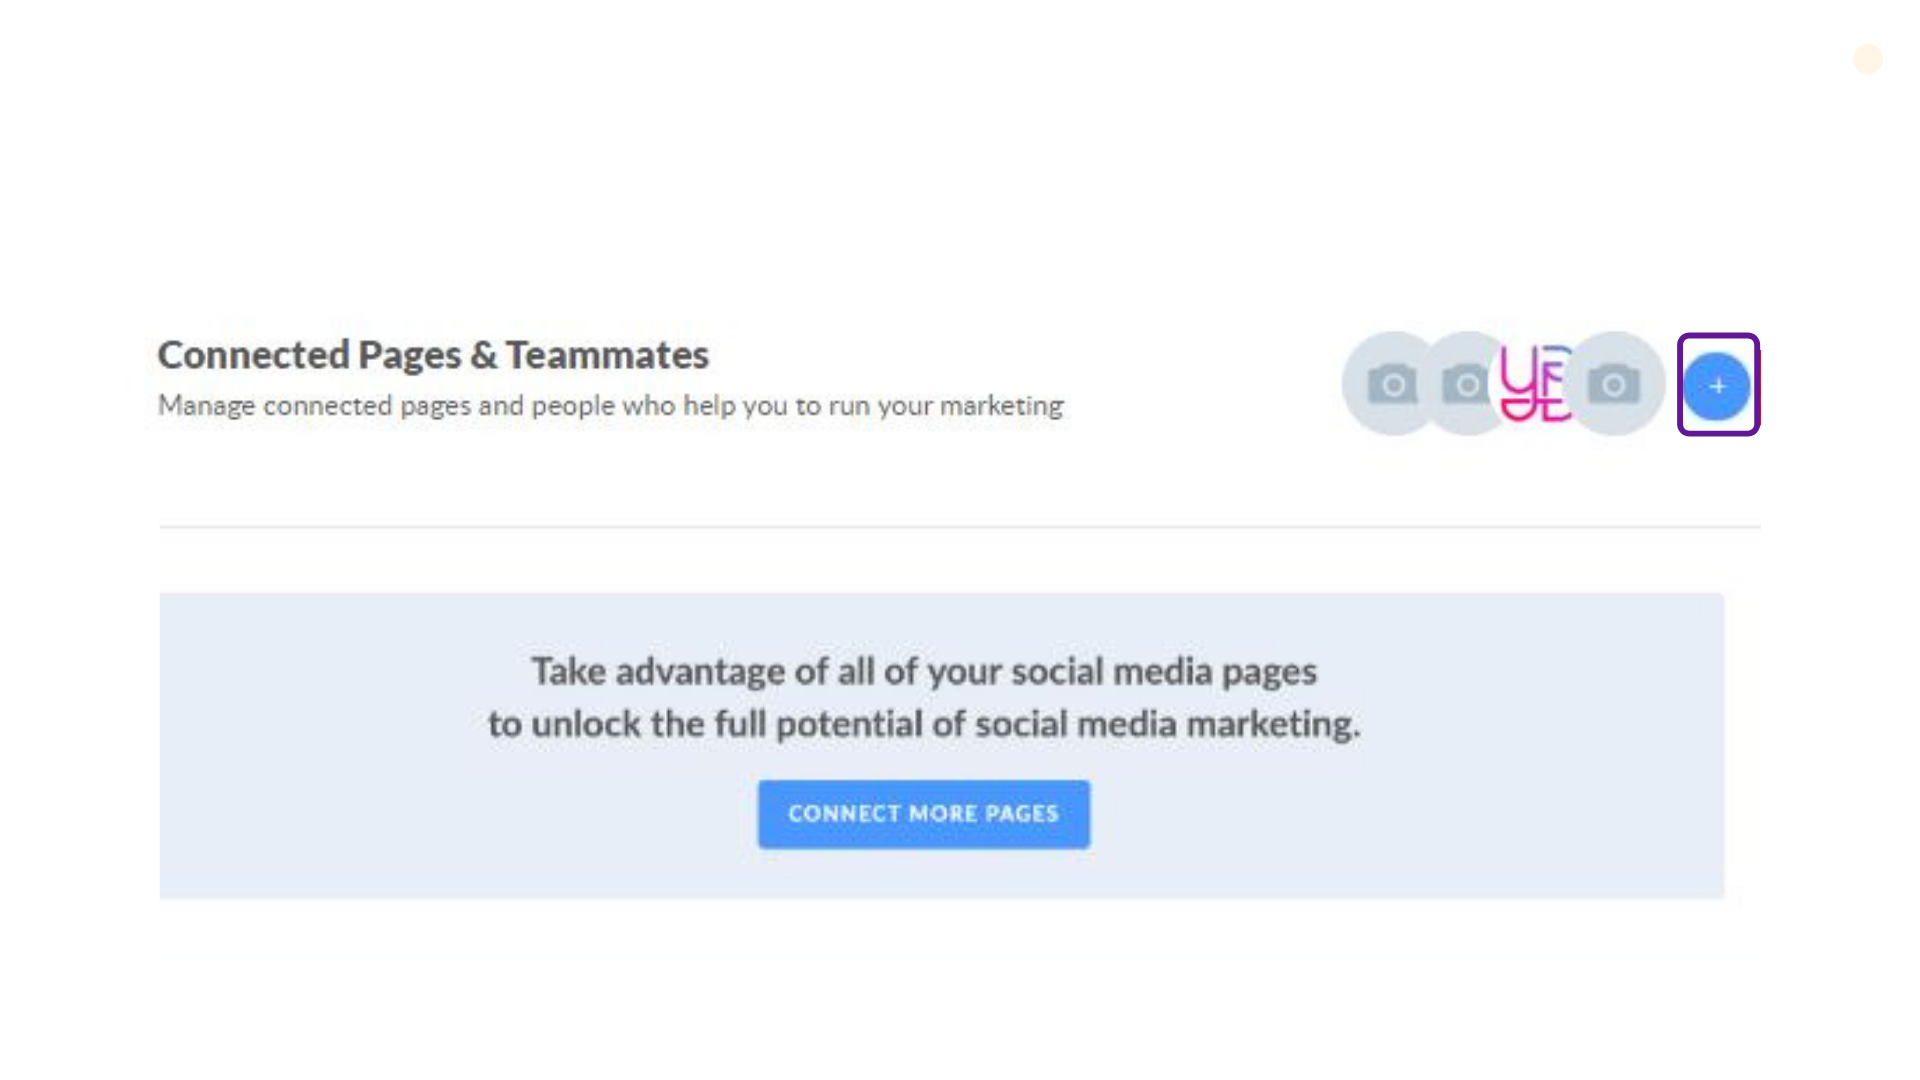
Insert your collaborator's email in the appropriate box and hit Add. Also decide on the role you will assign: Member, Admin or Client.
Please note that the total number of the workspace participants regardless of their role is 5. It means that you, as the workspace owner, can add 4 participants.
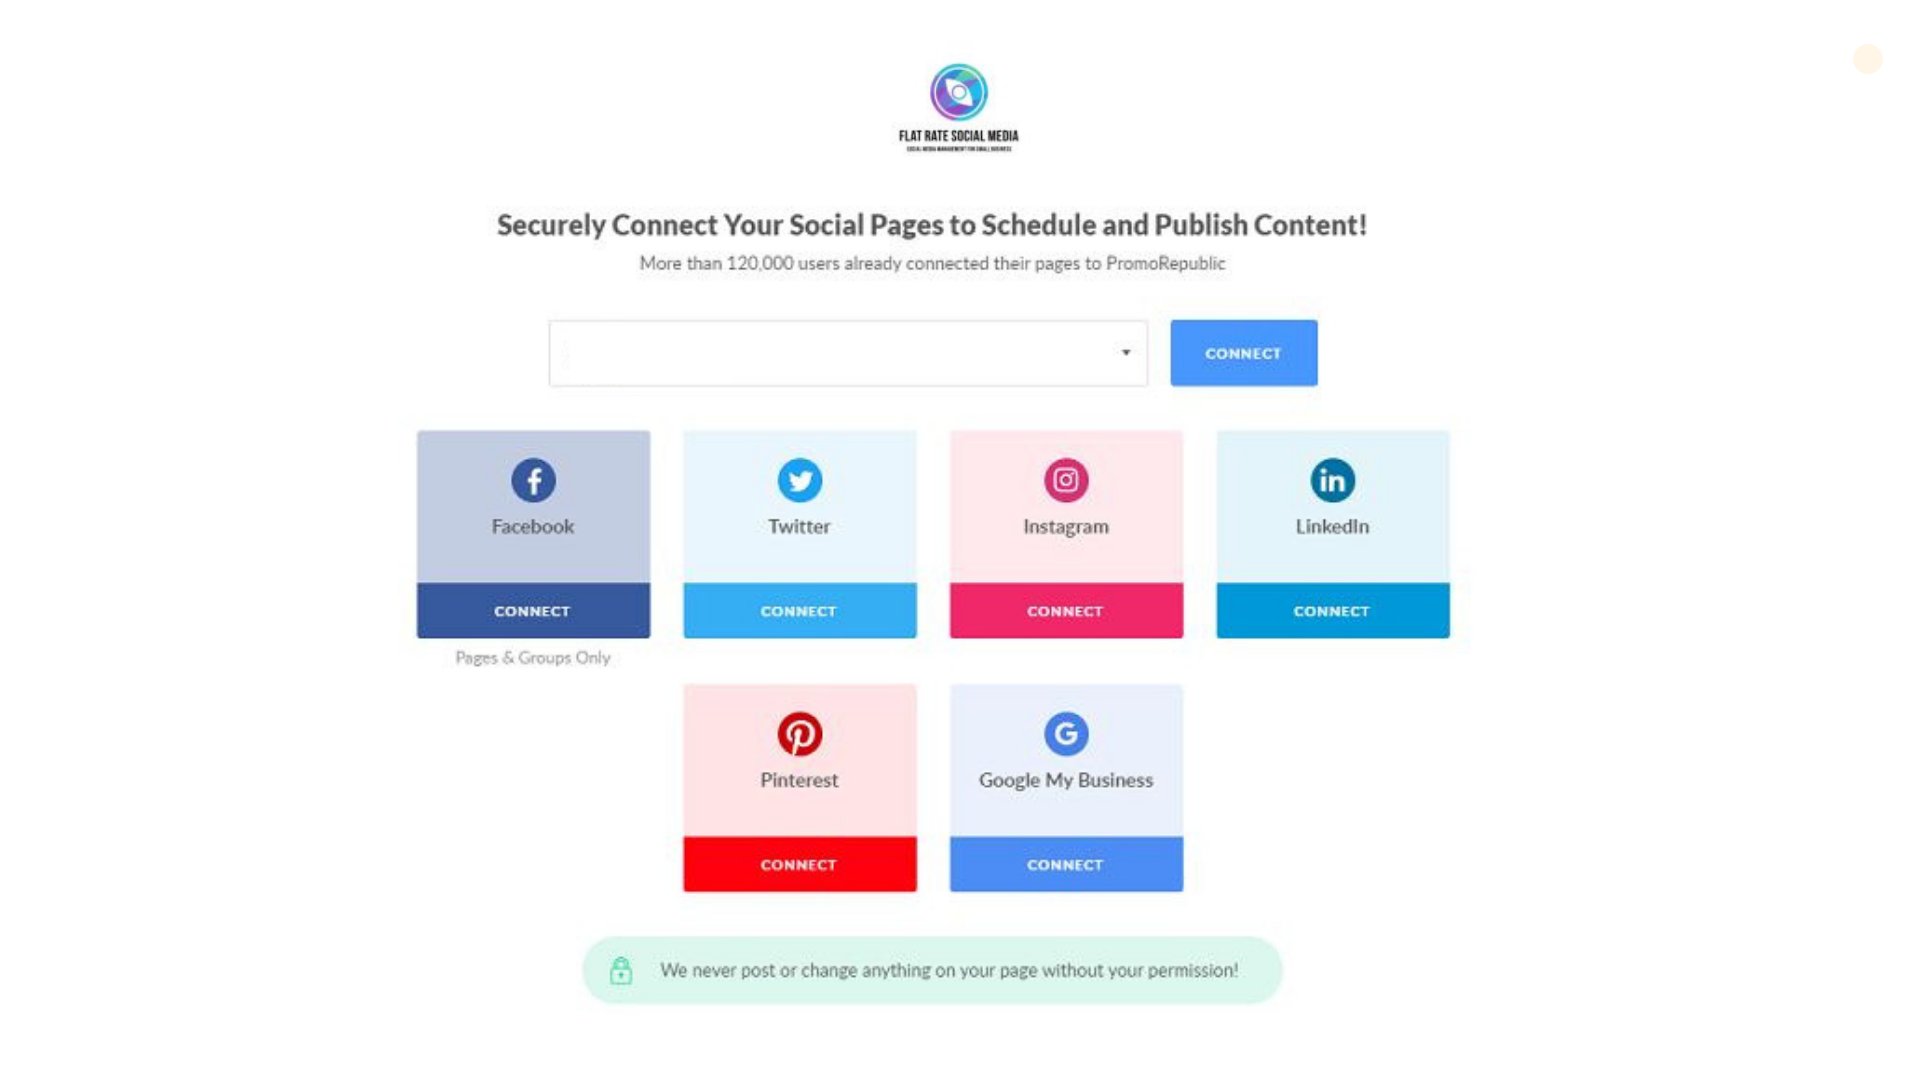
In order to add a page to the workspace, find the blue Connect More Pages button. Once clicked, you will be prompted with the social platforms to connect:
-
Facebook (business pages or groups);
- Twitter;
- Instagram;
- LinkedIn (personal profile or business pages);
- Pinterest boards;
- Google My Business locations.
There are 3 important factors to note when adding pages to a workspace:
- Once a page is within a workspace, you can't connect it in Unassigned Pages. Or vice versa.
- The quantity of workspaces to create or participate in is unlimited, but limited by 5 members per workspace.
- If you participate in a workspace as a member or an admin, pages within there are counted as yours, so you can't connect more.

